Headlights play a vital role in vehicle safety, providing visibility during nighttime driving or poor weather conditions. However, faulty wiring can lead to dim, flickering, or completely non-functional headlights, increasing the risk of accidents. Identifying and addressing wiring issues early can save both time and money while ensuring a safer driving experience.
A multimeter is an essential tool for diagnosing electrical problems in vehicles. It helps measure voltage, continuity, and resistance, allowing drivers and mechanics to pinpoint wiring faults accurately. By using a multimeter, you can quickly determine whether the issue lies with the headlight bulb, fuse, switch, or wiring connections.
In this guide, we’ll walk you through the complete process on how to test headlight wiring with a multimeter. We’ll cover the necessary tools, important safety precautions, and a step-by-step approach to diagnosing and fixing common headlight wiring problems effectively.
Understanding Headlight Wiring Basics
Types of Headlight Systems
- Halogen – The most common and affordable type of headlight, using a tungsten filament.
- HID (High-Intensity Discharge) – Brighter than halogen and more energy-efficient but requires a ballast.
- LED – Modern, long-lasting, and energy-efficient with minimal heat production.
Components of the Headlight Wiring System
- Power supply – Headlights draw power from the battery and alternator.
- Fuses and relays – Protect the circuit from overload and control the operation of the headlights.
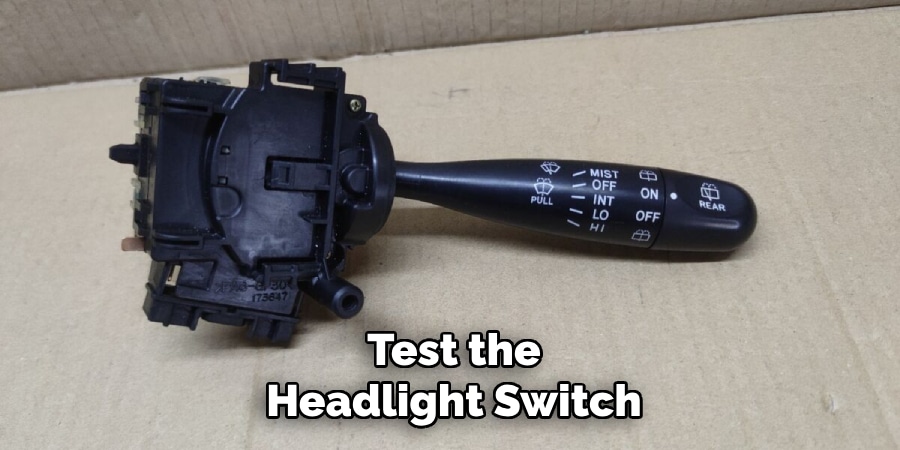
- Switches – Allow manual control of the headlights.
- Connectors – Ensure proper electrical connections between components.
- Grounding – Provides a return path for electrical current and prevents circuit failures.
Common Wiring Problems
- Loose or corroded connections – Can cause intermittent lighting issues.
- Broken or frayed wires – Interrupts the electrical circuit.
- Faulty relays or fuses – Can result in total headlight failure.
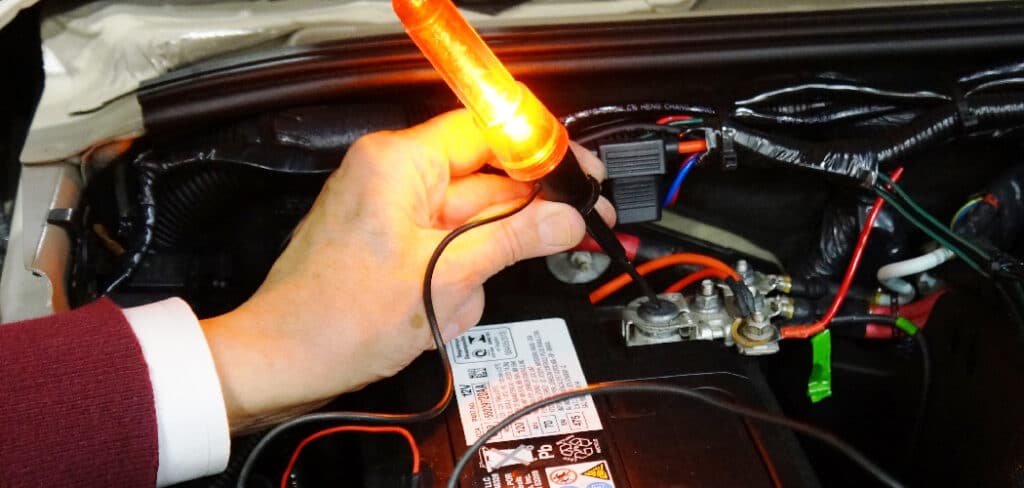
Tools and Safety Precautions
Essential Tools
- Digital Multimeter
- Screwdrivers
- Wire stripper/cutter
- Electrical tape
- Protective gloves and safety glasses
Safety Precautions
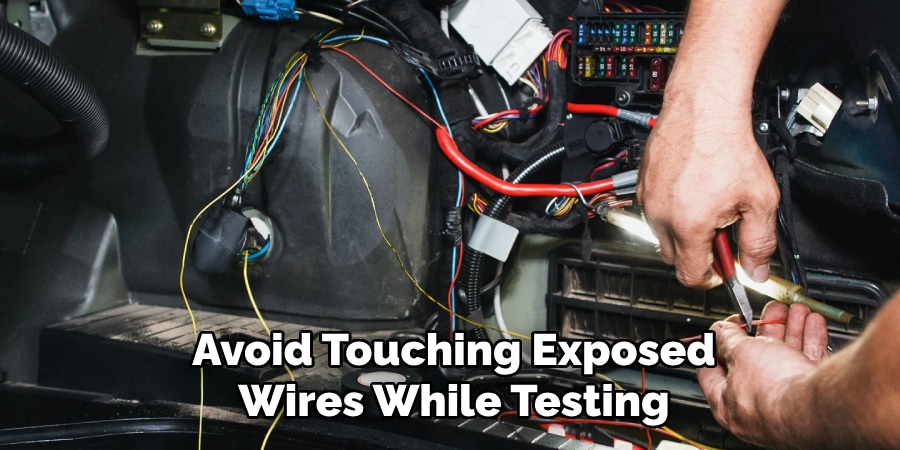
- Always turn off the vehicle before testing to prevent electrical shocks.
- Avoid touching exposed wires while testing.
- Work in a well-lit, dry area to prevent accidents.
- If working under the hood, secure the vehicle properly to prevent movement.
5 Easy Steps on How to Test Headlight Wiring With a Multimeter
Headlight wiring problems can lead to dim, flickering, or completely non-functional headlights. Testing the wiring with a multimeter is an efficient way to diagnose these issues. Follow these five simple steps to check the wiring, fuses, relays, and connections to restore proper headlight function.
Step 1: Checking the Headlight Fuse
Start by locating the fuse box, which is usually found under the dashboard or in the engine compartment. Refer to the vehicle’s manual to identify the specific fuse responsible for the headlights. Once located, remove the fuse and set your multimeter to continuity mode or resistance mode (Ω).
Place one probe at each end of the fuse and check for continuity. If the multimeter does not beep or shows an infinite reading, the fuse is blown and needs to be replaced with one of the same rating. A faulty fuse is one of the simplest issues to fix and can restore power to the headlights immediately.
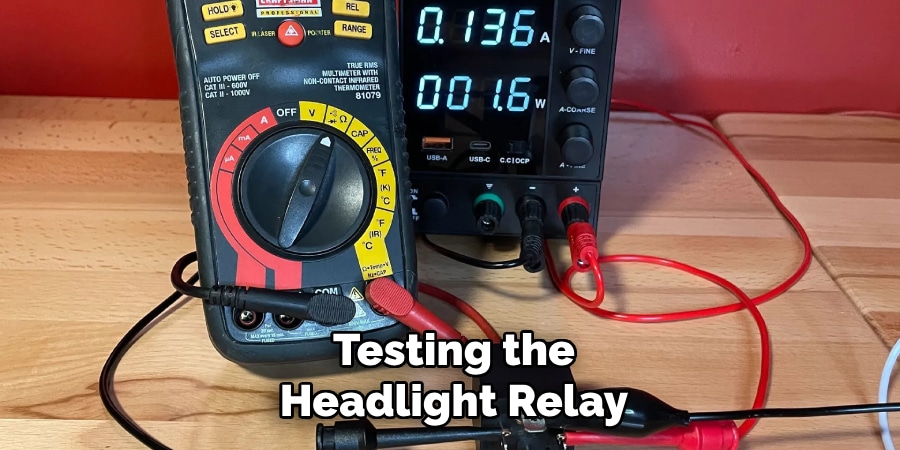
Step 2: Testing the Headlight Relay
The headlight relay controls the electrical flow to the headlights, and a faulty relay can prevent them from working. Locate the relay, usually found in the fuse box or relay panel, and remove it from its socket. Set the multimeter to continuity mode and check the resistance between terminals 85 and 86; a normal reading should be between 50 and 100 ohms.
Next, test for continuity between terminals 30 and 87 when the relay is activated by turning on the headlights or applying power to the relay. If the resistance readings are incorrect or there is no continuity where there should be, replace the relay with a new one.
Step 3: Testing Headlight Bulb Socket for Voltage
If the fuse and relay are functioning correctly, the next step is to check whether the headlight socket is receiving power. Remove the headlight assembly to access the socket. Set the multimeter to DC voltage mode and insert the red probe into the power terminal of the socket while placing the black probe on a metal part of the car’s body (ground).
The expected reading should be between 12V and 14V. If there is no voltage or the reading is too low, there may be an issue with the wiring, relay, or a corroded socket connection. If necessary, inspect the socket for rust or damage and clean it to ensure a proper electrical connection.
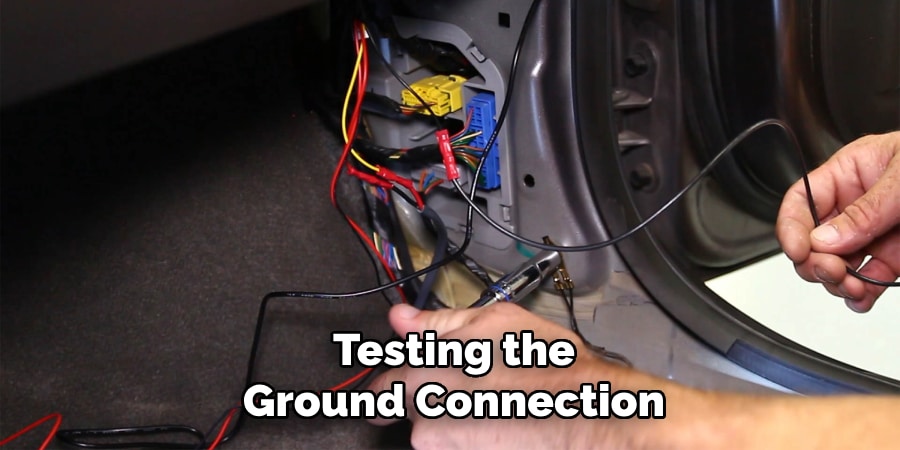
Step 4: Testing the Ground Connection
A poor ground connection can cause dim headlights or complete failure. Locate the headlight ground wire, which is usually a black wire connected to the car’s chassis. Set the multimeter to continuity mode and place one probe on the ground wire and the other on a bare metal part of the chassis.
If the multimeter does not show continuity, the ground connection is faulty. Clean any corrosion or rust from the grounding point and tighten the connection. If the wire itself is damaged, replacing it will help restore proper headlight function.
Step 5: Checking for a Short Circuit or Open Circuit
If the issue is still unresolved, check for broken wires or short circuits. To test for an open circuit, disconnect both ends of the suspected wire and touch the multimeter probes to each end.
If the reading is infinite (OL), the wire is broken and needs replacement. To detect a short circuit, place one probe on the wire and the other on the chassis. If the multimeter shows continuity when it shouldn’t, the wire is shorted. Look for exposed or pinched wires and repair them accordingly to prevent further electrical issues.
By following these five steps, you can effectively diagnose and fix most headlight wiring problems using a multimeter, ensuring safe and properly functioning headlights for your vehicle.
Troubleshooting Common Wiring Problems
Headlight wiring problems can cause issues like dim lights, flickering, or complete failure. Diagnosing these issues early ensures safer driving and prevents costly repairs. Here’s how to troubleshoot the most common wiring problems using a multimeter.
Dim or Flickering Headlights
Dim or flickering headlights are often caused by poor electrical connections or insufficient power supply. Start by checking for any loose or corroded wiring connections. Use a multimeter to test the alternator output voltage—it should be around 13.8V to 14.4V when the engine is running. If the voltage is too low, the alternator may not be supplying enough power. Also, inspect the ground wiring for corrosion, as a poor ground can cause unstable voltage.
One Headlight Not Working
If only one headlight is out, the issue may be a faulty bulb. Swap the working bulb into the non-working socket to confirm. If the bulb is fine, test for voltage at the headlight socket with a multimeter. If there’s no voltage, check the wiring and connections for damage.
Both Headlights Not Working
When both headlights fail, the issue is likely with the headlight switch, relay, or main power wiring. Test the headlight switch for continuity and inspect the relay for proper function. If they are working correctly, check the power wiring for damage or breaks.
Intermittent Headlight Issues
Intermittent problems are often due to loose connectors or broken wires. Inspect all connections and use a multimeter to test for voltage drops along the circuit. A significant voltage drop may indicate a failing wire or poor connection that needs repair.
Frequently Asked Questions
Q: Why do my headlights keep flickering even after replacing the bulbs?
Ans: Flickering headlights are often caused by a loose or faulty connection, a failing relay, or a weak ground wire. Testing the wiring with a multimeter can help pinpoint the exact issue.
Q: How do I know if my headlight relay is bad?
Ans: Remove the relay and test for resistance between terminals 85 and 86, which should read between 50 and 100 ohms. Also, check continuity between terminals 30 and 87 when activated. If these readings are incorrect, replace the relay.
Q: How do I check if my headlight fuse is blown?
Ans: Remove the fuse and set the multimeter to continuity mode. Touch the probes to both ends of the fuse. If there’s no continuity, the fuse is blown and should be replaced.
Q: How do I find a short circuit in my headlight wiring?
Ans: Disconnect both ends of the suspected wire and set the multimeter to continuity mode. If there’s continuity between the wire and the chassis where there shouldn’t be, it indicates a short circuit. Look for exposed or pinched wires.
Q: What voltage should my headlight socket read?
Ans: A properly functioning headlight socket should read between 12V and 14V when the headlights are turned on. If the voltage is lower or absent, check the wiring, fuse, or relay.
Conclusion
Testing headlight wiring with a multimeter is an essential skill for diagnosing and fixing lighting issues. By following this guide, you can systematically check the fuse, relay, socket, ground connection, and wiring to pinpoint the problem.
Regular maintenance and inspections can prevent headlight failures and ensure safe nighttime driving. If troubleshooting doesn’t resolve the issue, consider consulting a professional mechanic. Keeping your vehicle’s lighting system in optimal condition is crucial for visibility and road safety.