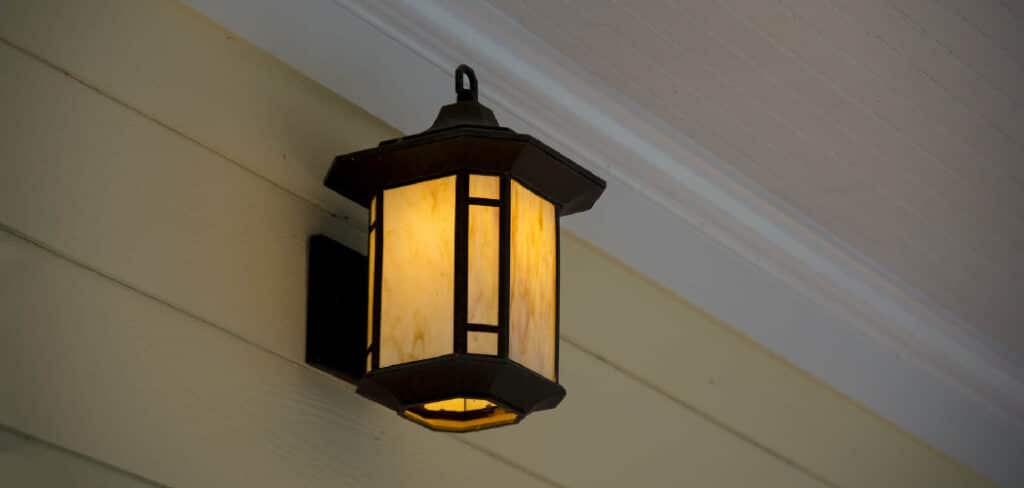
Porch light covers serve an essential purpose in both protecting and enhancing outdoor lighting. They shield the light bulb from rain, snow, dust, and insects, preventing damage and ensuring longevity. Additionally, they help diffuse light evenly, reducing glare and creating a pleasant ambiance.
Over time, exposure to the elements can cause porch light covers to become discolored, cracked, or outdated, making a replacement necessary. Whether you want to restore your home’s exterior appeal or improve the efficiency of your lighting, changing the light cover is a straightforward DIY task. With just a few tools and basic knowledge, you can replace it quickly and safely. This article provides a comprehensive guide on how to replace a porch light cover effectively.
Understanding Porch Light Covers
What is a Porch Light Cover?
A porch light cover is a protective casing that encases the light bulb, often made from glass, plastic, or metal. It enhances illumination, shields the bulb from environmental elements, and adds a decorative touch to your home’s exterior.
Types of Porch Light Covers
- Glass Covers – Traditional and elegant but fragile and prone to breakage.
- Plastic Covers – Lightweight, shatter-resistant, but can yellow over time.
- Metal or Wire Covers – Highly durable and provide extra protection against impact.
Signs You Need to Replace Your Porch Light Cover
- Visible cracks or damage.
- Yellowing or cloudiness reducing brightness.
- Desire for an aesthetic upgrade.
Tools and Materials Needed
Essential Tools:
- Screwdriver
- Ladder
- Gloves
- Safety glasses
- Soft cloth
- Electrical tape
- Replacement screws
Safety Precautions Before Starting
Turn Off the Power
- Locate your electrical panel and switch off the circuit breaker connected to the porch light.
- Double-check by flipping the light switch to ensure no power is running.
- Use a voltage tester (optional) to confirm the fixture is not live.
Check for Fragile or Loose Components
- Handle old glass covers carefully to prevent breakage.
- Inspect for loose screws or rusted brackets that may need replacement.
Work in Daylight for Better Visibility
- If working at night, use a flashlight or headlamp for adequate lighting.
6 Easy Steps on How to Replace a Porch Light Cover
6 Easy Steps on How to Replace a Porch Light Cover
Replacing a porch light cover is a simple yet essential task that helps maintain both the functionality and aesthetic appeal of your outdoor lighting. Below, we’ll walk you through the process to ensure a smooth and hassle-free installation.
Step 1: Turn Off the Power
Before working on any electrical fixture, safety should be your top priority. The first step is to turn off the power supply to the porch light to prevent electrical shocks or short circuits. Locate your home’s electrical panel or circuit breaker box. Identify the switch corresponding to your outdoor lights and turn it off.
To confirm that the power is off, flip the light switch inside your home to see if the fixture turns on. If it remains off, you are safe to proceed. Taking this precaution eliminates any risk of electrocution and ensures a safe working environment.
Step 2: Remove the Old Light Cover
Once the power is off, you can start removing the existing light cover. Different fixtures have various attachment methods, so it’s essential to identify the type of mount before proceeding. Some porch light covers are secured with screws. If this is the case, use a screwdriver to loosen them, but do not remove them entirely until you’re ready to lift the cover off.
Some covers require a counterclockwise rotation to detach them from the fixture. Gently twist and pull down. For covers held in place by clips or latches, press and release them carefully to unlock the cover. To avoid dropping and breaking the cover, hold it with both hands while removing it. Once detached, place it on a soft surface to prevent damage.
Step 3: Clean the Light Fixture and Bulb
With the old cover removed, it’s a good opportunity to clean the light fixture and inspect the bulb for any issues. Dirt, dust, and cobwebs can accumulate inside the fixture, affecting light output and efficiency. Use a dry microfiber cloth or a damp cloth to wipe down the fixture, removing dust and debris. If necessary, use a mild soap solution for tougher stains or grime buildup.
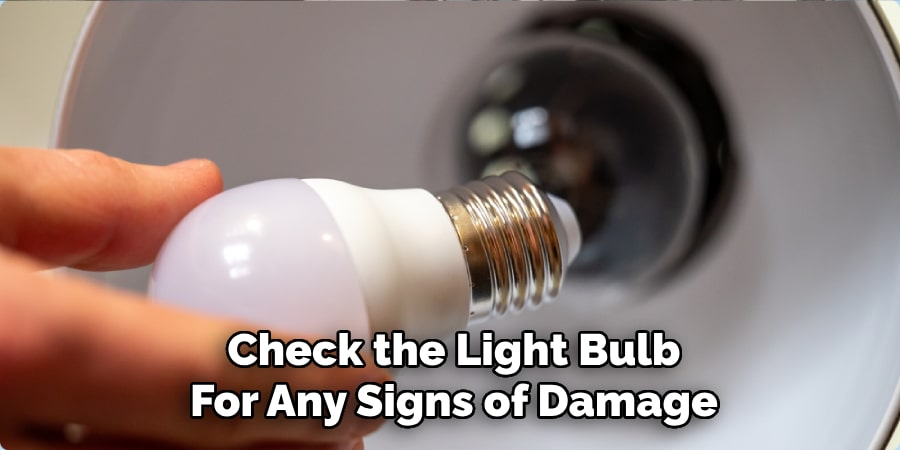
Check the light bulb for any signs of damage, discoloration, or dirt. If the bulb appears burnt out or dirty, replace or clean it before proceeding. Inspect the fixture for loose wires or rusted screws. If you notice any damage, tighten screws or replace corroded parts as needed. A clean fixture ensures better light distribution and extends the lifespan of your lighting system.
Step 4: Install the New Light Cover
Now that your fixture is clean and prepped, it’s time to install the new light cover. Ensure that the new cover matches the fixture’s size and attachment type for a secure fit. Align the new cover with the fixture, making sure it sits properly. If the cover is secured with screws, gently tighten them to hold the cover in place, being careful not to over-tighten and crack the cover.
For twist-lock covers, rotate the cover clockwise until it clicks into position. If your cover is held by clips or latches, snap it into place and ensure it is securely fastened. Adjust the positioning if necessary to ensure a snug and stable fit. Proper installation prevents the cover from falling off or shifting due to wind, vibrations, or weather conditions.
Step 5: Restore Power and Test the Light
Once the new light cover is in place, it’s time to restore power and test the fixture. Go back to your electrical panel and turn the circuit breaker back on. Flip the light switch to check if the fixture is working properly. If the light doesn’t turn on, ensure the bulb is correctly installed and not burnt out.
Check if the new cover is obstructing the light or interfering with connections. Inspect for loose wires inside the fixture that might have been disturbed during installation. If the problem persists, consult an electrician to inspect the fixture.
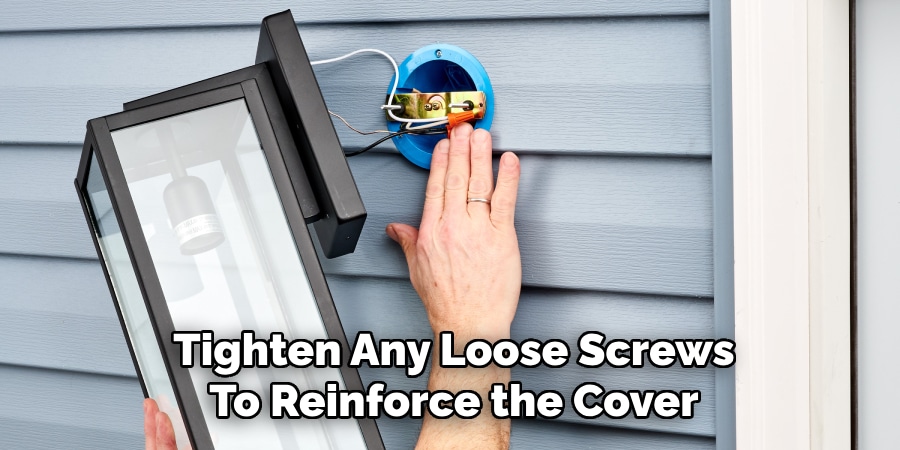
Step 6: Perform Final Adjustments and Maintenance
With the light working properly, perform a few final adjustments to ensure everything is secure and clean. Tighten any loose screws to reinforce the cover’s stability. Use a soft cloth to wipe the new cover and remove any fingerprints or smudges. Stand back and inspect the fixture’s alignment, ensuring it looks neat and properly positioned.
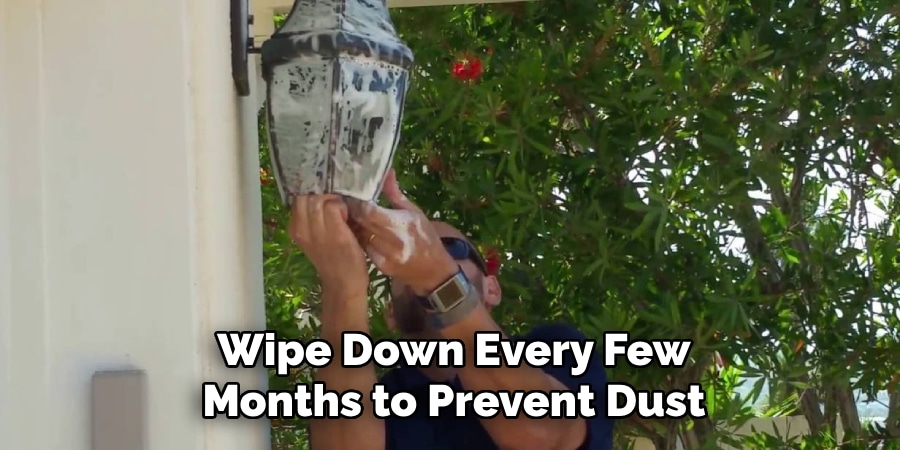
Regular maintenance is key to keeping your porch light in top condition. Clean the light cover every few months to prevent dirt buildup and maintain brightness. Inspect the fixture after harsh weather conditions to ensure it remains intact. Periodically check the light bulb and replace it if it dims or burns out.
Testing and Troubleshooting
Turn the Power Back On
- Flip the circuit breaker switch back on.
- Turn on the porch light to check for proper functionality.
Common Issues and Fixes
- Light doesn’t turn on – Ensure the bulb is seated properly or test with a new bulb.
- Flickering light – Check for loose wiring or a faulty bulb.
- Loose cover – Tighten screws or adjust the locking mechanism.
Maintenance Tips for Longevity
Regular Cleaning
- Wipe down every few months to prevent dust buildup.
- Remove insects or spider webs from inside the cover.
Seasonal Inspections
- Check for cracks or damage after extreme weather conditions.
- Ensure screws remain tight to prevent cover loosening.
Upgrading When Necessary
- Consider LED-compatible covers for better efficiency.
- Opt for motion-sensor or dusk-to-dawn covers for added convenience.
Frequently Asked Questions
Q: What tools do I need to replace a porch light cover?
Ans: Typically, you will need a screwdriver (Phillips or flathead, depending on the fixture), a soft cloth for cleaning, and possibly a ladder if the light is positioned high. In some cases, you may also need a new light bulb if the existing one is damaged.
Q: How do I remove a stuck porch light cover?
Ans: If the cover is stuck due to dirt or paint buildup, gently wiggle it back and forth while applying light pressure. For screw-mounted covers, ensure all screws are loosened. If it’s a twist-lock cover, try rotating it counterclockwise while applying even pressure.
Q: What should I do if the light doesn’t turn on after replacing the cover?
Ans: First, check if the bulb is properly installed and not burnt out. Then, inspect for any loose wires or poor connections inside the fixture. If the issue persists, reset the circuit breaker or consult an electrician for further troubleshooting.
Q: Do I need to turn off the power before replacing the porch light cover?
Ans: Yes, turning off the power at the circuit breaker is essential for safety. Even though you are not directly handling wiring, this precaution prevents any accidental shocks while working on the fixture.
Q: Can I use a glass cleaner on my light cover?
Ans: Yes, but only if the cover is made of glass. For plastic or acrylic covers, use mild soap and water, as harsh cleaners can cause clouding or damage to the material.
Conclusion
Replacing a porch light cover is an easy yet impactful way to maintain and upgrade your home’s outdoor lighting. By following these steps, you can quickly and safely install a new cover while ensuring optimal functionality. Safety precautions, proper cleaning, and periodic maintenance will extend the lifespan of your light cover and enhance your home’s curb appeal. Choose a cover that suits your home’s style and weather conditions to ensure a long-lasting and visually appealing lighting fixture.