Modern lighting systems, especially smart switches and fixtures, often rely on a neutral wire to function properly. However, many older homes—especially those built before the 1980s—lack this crucial component in their light switch boxes. This can be frustrating for homeowners who want to upgrade to newer technology, only to find they’re missing the infrastructure needed to support it.
A neutral wire serves a critical function in an electrical circuit, providing a return path for current and allowing devices to operate continuously. Without it, smart switches might not work at all or could behave erratically, such as flickering or power leakage. This article provides a comprehensive guide on how to add neutral wire to light switch.
Fortunately, there are several safe and effective ways to add a neutral wire to a light switch box. Whether you’re upgrading your home to be smart-ready or simply improving electrical functionality, understanding the role of a neutral wire and how to install one is essential.
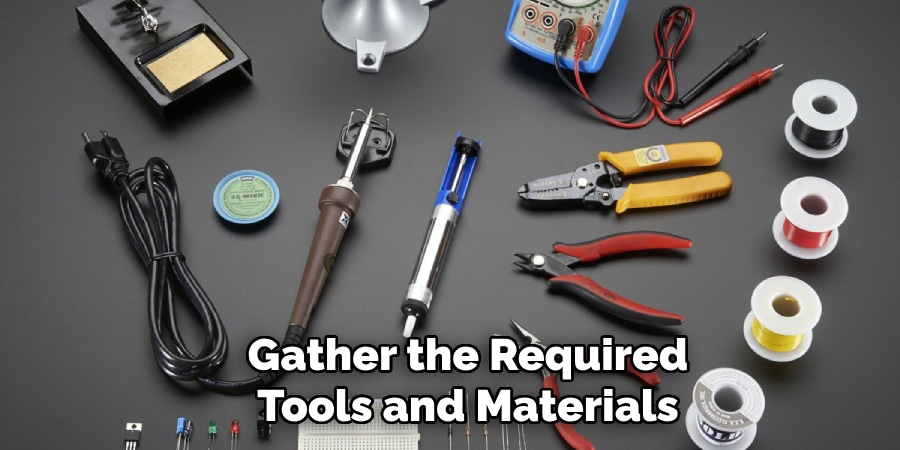
Tools and Materials Required
Before adding a neutral wire, gather the necessary tools and materials to make your work efficient and safe.
Tools:
- Voltage tester – to safely verify power.
- Flathead and Phillips screwdrivers – for switch removal and installation.
- Wire strippers – to prepare the new wire ends.
- Electrical fish tape – to pull wire through walls or conduit.
- Drill (if needed) – for new holes in studs or junction boxes.
- Pliers – for twisting wires together.
Materials:
- 14/2 or 12/2 electrical wire – match existing circuit wire gauge.
- Wire nuts – for safe wire connections.
- Electrical tape – to secure connections.
- Smart switch or standard switch – depending on your upgrade.
- Junction box – if installing a new wire branch or outlet.
Having all these on hand ensures a smooth process, especially if you’re working alone.
Safety Precautions Before Adding a Neutral Wire
Turning Off Power at the Breaker
Before touching any wires, turn off the power at your breaker panel. Use the labeling to find the correct circuit, and verify it’s off using a non-contact voltage tester at the switch location.
Understanding Local Electrical Codes
Check your local building codes—some regions may require a permit for electrical work. Also, ensure that the wire gauge you’re using (typically 14 AWG for 15-amp circuits, or 12 AWG for 20-amp) matches the rest of your system.
When to Call an Electrician
If you find aluminum wiring, or if adding a neutral involves modifying your electrical panel, it’s best to call a licensed electrician. Complex jobs can become dangerous or non-compliant if handled incorrectly.
Your safety is the top priority. Always double-check connections and never rush electrical work.
5 Easy Steps on How to Add Neutral Wire to Light Switch
If you’re installing a smart switch or a device that requires a neutral wire and your current switch box doesn’t have one, don’t worry—it’s a common issue in older homes. One effective method is to pull a neutral wire from a nearby outlet or switch box on the same circuit that already has a neutral connection. Here’s how to do it step by step.
Step 1: Identify a Source
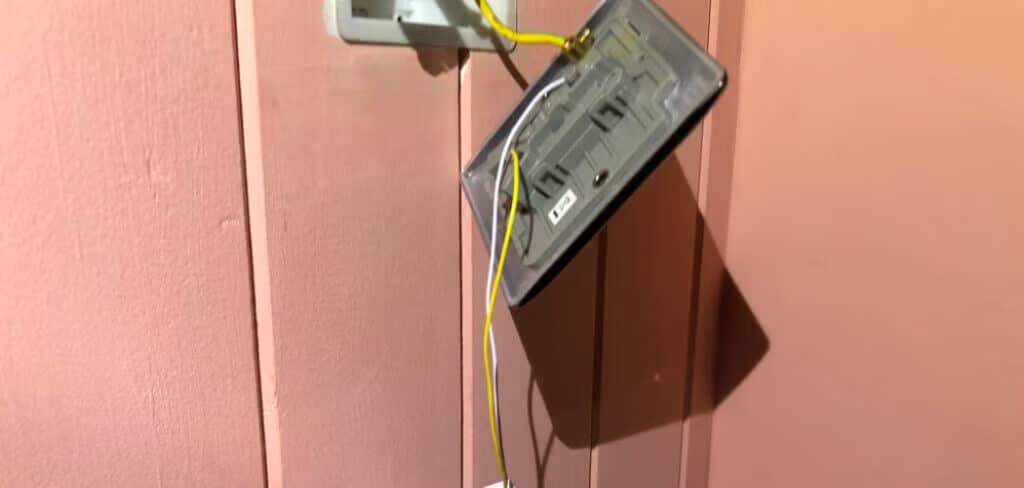
Start by locating an outlet or switch near the original switch box. Turn off power to the circuit at the breaker. Remove the cover of the outlet or switch and inspect the wires. You’re looking for a white (neutral) wire inside the box, usually bundled with other white wires and connected using a wire nut.
Step 2: Plan Your Route
Once you confirm a neutral wire is present, plan how to run a new cable from that source to your switch box. The ideal path should minimize damage or disruption to your walls. Consider going through attics, basements, or crawl spaces if accessible. Mark both entry and exit points for easier routing.
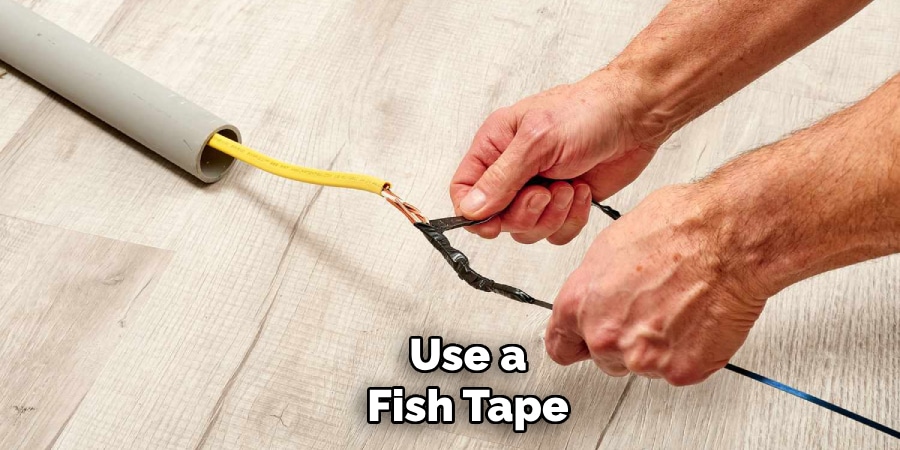
Step 3: Use Fish Tape
Feed electrical fish tape from one box to the other through the wall or conduit. Once the tape reaches the second box, securely attach a 14/2 or 12/2 electrical wire to it (white for neutral, black for hot, and ground wire). Slowly pull the fish tape back through the wall, guiding the new wire along the planned path.
Step 4: Make the Connections
At the source box, strip the ends of the new cable and twist the new white wire together with the existing neutral wire bundle. Secure them using a wire nut and wrap with electrical tape for safety. Then, at the switch box, strip the white wire and connect it to the neutral terminal of your new smart switch or device. Leave a little slack for easier connection and future maintenance.
Step 5: Secure and Test
Once all connections are made, carefully fold the wires back into the boxes. Use cable clamps if needed to secure them. Screw the outlet and switch back into place, replace the cover plates, and restore power at the breaker. Finally, test your smart switch or device to ensure everything works properly.
Installing a Smart Switch That Works Without a Neutral
If rewiring isn’t an option, some smart switches are designed to work without a neutral wire. These switches draw minimal power and often include capacitors or bypass modules to prevent flickering.
Examples include:
- Lutron Caseta Wireless – works with its hub and supports a wide range of bulbs.
- GE Cync Smart Switch – compatible with no-neutral wiring.
- Leviton Decora Smart – certain models support no-neutral setups with hubs.
These are perfect if you’re in a rental or older home and want to avoid invasive work.
Using a Relay or Bypass Module
A bypass module, such as the Shelly Bypass or Aeotec Bypass, can be installed at the light fixture. It helps stabilize power by offering a return path for minimal current flow.
This solution is especially effective for LED and CFL bulbs that require low standby power. Relays can also be installed in junction boxes to allow smart switches to function properly even without a neutral wire.
Running a New Electrical Circuit from the Breaker Panel
This is the most advanced method and offers a permanent fix. It involves running a brand-new wire—hot, neutral, and ground—from your breaker panel to the switch box.
You’ll need to drill through walls and possibly install a new breaker. This method ensures proper current flow and future compatibility but often requires a licensed electrician due to the complexity and safety risks.
Connecting the Neutral Wire to Your Light Switch
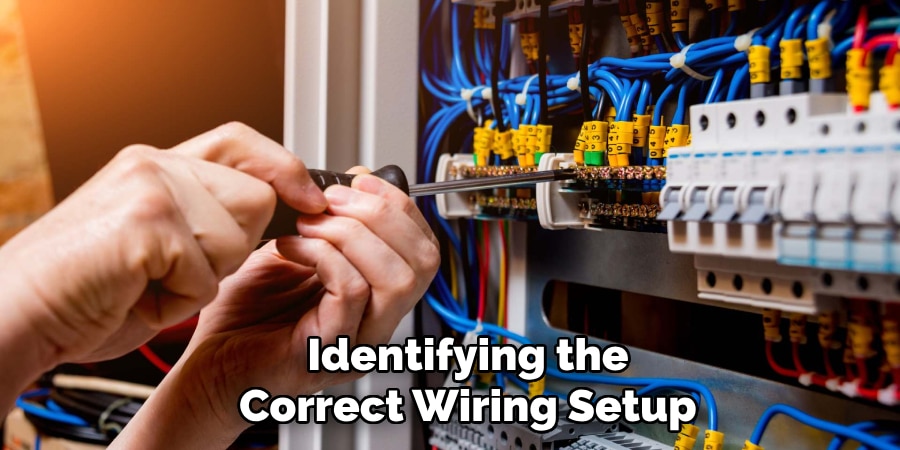
Identifying the Correct Wiring Setup
Determine if you’re working with a single-pole, 3-way, or 4-way switch:
- Single-pole: One switch controls one light.
- 3-way: Two switches control one light.
- 4-way: Three or more switches control one light.
Trace the existing wires and ensure your new neutral wire corresponds to the correct box.
Attaching the Neutral Wire to the Switch
Once you’ve verified everything:
- Loosen the neutral terminal screw on your smart switch.
- Insert the new white neutral wire and tighten the screw.
- Use wire nuts and electrical tape to join any bundled neutrals securely.
Ensure wires are properly stripped (about ¾ inch), twisted, and well-insulated.
Reassembling the Switch and Testing the Circuit
- Tuck the wires neatly into the box.
- Screw the switch back into place and attach the cover plate.
- Turn the power back on at the breaker.
- Test the switch and verify smart features work correctly.
If everything is functional and there are no flickers or tripped breakers, you’re good to go!
Alternative Solutions If You Can’t Add a Neutral Wire
Using Smart Bulbs Instead of a Smart Switch
Smart bulbs like Philips Hue or TP-Link Kasa can be controlled via apps or voice assistants without needing a new switch or wiring. They plug into standard sockets and work seamlessly over Wi-Fi or Zigbee.
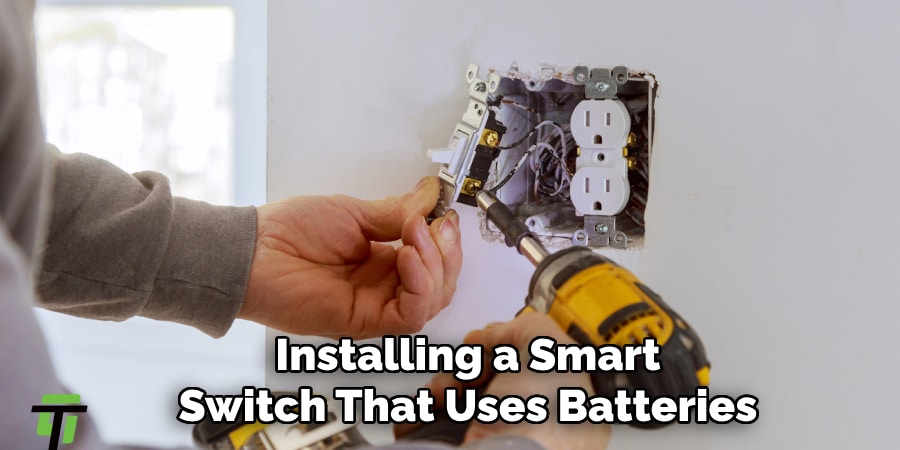
Installing a Smart Switch That Uses Batteries
Battery-powered wireless switches like the Lutron Aurora or Philips Hue Tap Switch stick on your wall and communicate directly with bulbs or hubs. No wiring required.
They’re perfect for renters or temporary setups.
Upgrading Electrical Wiring for Long-Term Solution
If you’re renovating or planning long-term smart upgrades, consider a full rewire. It’s costly but ensures compliance with modern standards and improves home value. Always hire a licensed professional for large-scale rewiring.
Frequently Asked Questions
Q: What is a neutral wire, and why do I need it at my light switch?
Ans: A neutral wire completes the electrical circuit and allows modern smart switches and dimmers to function properly. Many older homes don’t have a neutral wire in the switch box.
Q: How can I tell if my switch box already has a neutral wire?
Ans: Open the switch box and look for a bundle of white wires connected with a wire nut. If you don’t see one, it likely doesn’t have a neutral wire.
Q: Can I run a neutral wire from a nearby outlet or switch?
Ans: Yes, if the outlet or switch is on the same electrical circuit, you can safely extend a neutral wire from there.
Q: Is it safe to add a neutral wire myself, or should I hire an electrician?
Ans: If you’re experienced and comfortable with electrical work, it can be a DIY task. However, hiring a licensed electrician is recommended for safety and code compliance.
Q: What type of wire should I use to add a neutral wire?
Ans: Use 14/2 or 12/2 NM cable (Romex), depending on your circuit’s amperage—14-gauge for 15 amps, and 12-gauge for 20 amps.
Conclusion
A neutral wire is a key component for modern lighting and smart home systems. While older homes might not have them in light switch boxes, there are several effective methods to add one—ranging from running a new wire to using bypass modules or smart alternatives.
Understanding your wiring, using the right tools, and following safety protocols ensures success. Whether you’re doing a quick upgrade or a full renovation, adding a neutral wire paves the way for a more convenient, energy-efficient, and tech-friendly home. If unsure, always consult an electrician for safe and code-compliant results.