Tiffany lamps are widely admired for their dazzling stained glass shades and timeless elegance. These artistic lighting fixtures originated in the late 1800s when Louis Comfort Tiffany revolutionized the decorative arts world by introducing stunning lamps made from colorful, hand-cut stained glass.
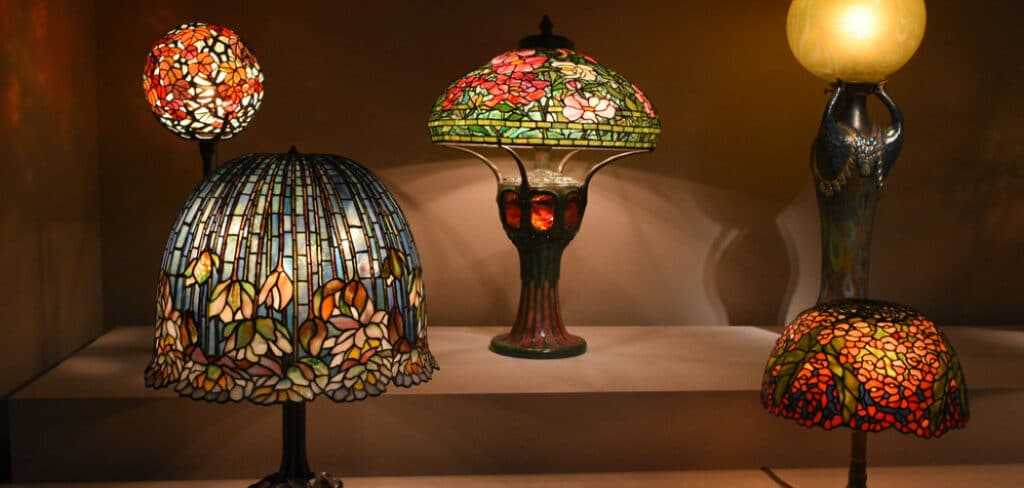
His design philosophy combined artistry, craftsmanship, and functionality, making Tiffany lamps both decorative and practical. What makes Tiffany lamps particularly enchanting is their intricate design, rich color palettes, and handcrafted appeal. They effortlessly blend antique charm with modern usability.
From floral motifs to dragonflies and geometric designs, their stained glass shades transform ordinary lighting into visual art. For DIY enthusiasts, making a Tiffany-style lamp can be a deeply rewarding experience. It allows for personal expression while creating a beautiful, functional object that can become a family heirloom. In this article, you’ll learn how to make a tiffany lamp step-by-step.
Understanding What a Tiffany Lamp Is
What Makes a Lamp “Tiffany”?
A Tiffany lamp is defined by its distinctive stained-glass shade, created by soldering small pieces of colored glass into artistic patterns. These patterns often draw inspiration from nature—floral vines, dragonflies, butterflies—or more abstract, geometric styles.
One crucial technique that sets Tiffany lamps apart is the copper foil method, rather than the traditional lead used in many stained-glass works. Each piece of glass is wrapped in adhesive copper foil, then soldered together, allowing for more detailed and intricate shapes.
Tiffany-style shades are usually dome-shaped or umbrella-like, often mounted on heavy bronze or metal bases to support their weight and complement their design.
What You Need for How to Make a Tiffany Lamp
Basic Tools
- Glass Cutter – A handheld scoring tool used to cut stained glass along design lines.
- Running Pliers – Help break the glass cleanly along scored lines.
- Glass Grinder – Essential for refining the edges of cut pieces to ensure a snug fit.
- Soldering Iron – Choose a high-quality 80–100 watt iron for strong and smooth solder lines.
- Flux Brush – For applying flux to copper foil before soldering.
- Burnishing Tool or Fid – Used to press the copper foil securely onto the glass.
- Pins or clamps – For holding glass pieces on the mold during soldering.
Essential Materials
- Stained Glass Sheets – Choose colors based on your design. Opalescent, iridescent, or textured glass adds extra flair.
- Copper Foil Tape – Typically 1/4” wide and adhesive-backed for wrapping glass edges.
- 60/40 Tin-Lead Solder – Ideal mix for smooth flow and strong connections.
- Liquid Flux – Helps solder bond with copper foil.
- Lamp Base and Cap – Ensure the base can safely support the weight of your shade.
- Wiring Kit – Includes socket, cord, and switch for final assembly.
Safety Gear
Working with glass and soldering requires proper protection:
- Safety Goggles and Gloves – Protect from glass shards and burns.
- Respirator Mask – Prevents inhalation of lead and solder fumes.
- Apron or Protective Clothing – Shields your clothes from flux, solder, and sharp glass.
Designing Your Tiffany Lamp Shade
Choosing a Pattern
Design is at the heart of every Tiffany lamp. You can either draw your own pattern or use pre-made designs available online or in stained-glass books. Beginner-friendly designs feature fewer, larger pieces, while advanced ones include intricate details and multiple color transitions.
Pick a pattern that fits your skill level and the size of the lamp you want to create. Floral patterns, dragonflies, or mosaic-style abstracts are popular choices.
Creating a Mold or Form
To ensure the dome or umbrella shape of your lamp shade, you’ll need a mold. Professional fiberglass molds are widely available in various sizes. For beginners or small-scale projects, you can use foam balls, Styrofoam domes, or even plaster molds.
Tape your pattern pieces to the mold and mark them clearly. This 3D form helps shape your lamp shade accurately during assembly.
Laying Out the Pattern
Cut out your paper pattern pieces, number each one, and assign a color. Use them as templates to trace shapes onto your stained glass. You can use pattern shears—special scissors that create space between the pieces for the copper foil.
Lay the pieces out flat before cutting to visualize the final design and prevent confusion during assembly.
Cutting the Glass Pieces
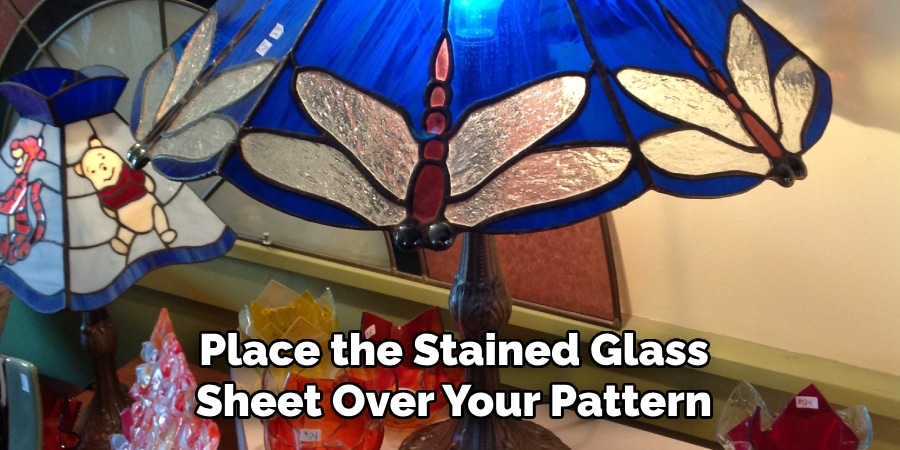
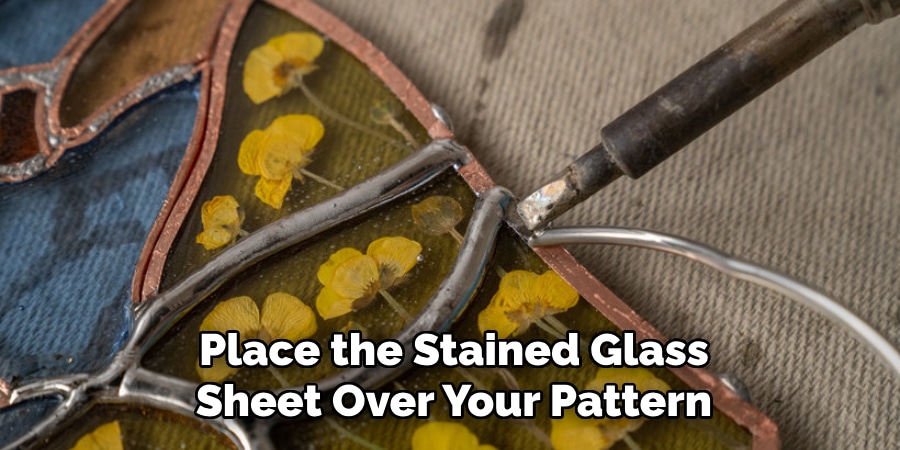
Scoring and Breaking
Place the stained glass sheet over your pattern. Using a glass cutter, score each piece along the marked lines with even pressure. The score should be a clean, shallow scratch—not a deep groove.
After scoring, use running pliers to gently break the glass along the score. Practice on scrap glass if you’re new to this technique.
Grinding the Edges
Each piece should be shaped with a glass grinder to create smooth, uniform edges. This step ensures better fitting and allows the copper foil to adhere properly.
Always rinse and dry the pieces after grinding to remove residue.
Safety Reminders
- Always wear goggles and gloves.
- Clean your workspace regularly to avoid glass splinters.
- Keep tools out of children’s reach.
Applying the Copper Foil
Prepping the Pieces
Clean each glass piece with rubbing alcohol to remove oils and dust. This helps the foil stick firmly and improves soldering.
Wrapping with Foil
Wrap copper foil tape around the edge of each glass piece. Center it carefully so the overhang is even on both sides. Press it down with your fingers initially.
Burnishing the Foil
Use a burnishing tool or wooden stick to firmly press the foil onto the glass, especially around corners and curves. Smooth the edges and check for gaps, bubbles, or loose ends.
Well-applied foil is critical to structural integrity and solder appearance.
Assembling and Soldering the Shade
Placing the Pieces on the Mold
Start placing foiled glass pieces on your mold according to your layout. Use pins, tape, or small tack welds to hold the pieces in place. Check alignment with your pattern regularly.
Tacking the Pieces
Apply a dab of flux where glass pieces intersect. Use your soldering iron to tack the points together. Tacking stabilizes the structure for full soldering.
Full Soldering
Once tacked, apply flux along the seams and begin soldering. Heat the solder with your iron and run it smoothly along the copper foil. Turn the mold to access all areas.
Solder both the outside and inside of the shade. Take your time—neat solder lines make a professional-looking lamp.
Reinforcing the Structure
Solder a metal reinforcement ring around the top of the shade (where it will attach to the cap). This ensures stability and supports the lamp’s weight. You can also add U-channel lead along the bottom edge for additional strength.
Finishing Touches
Applying Patina
To give your solder lines an aged or polished appearance, apply patina using a brush or cloth. Black and copper patina are popular choices. Let it sit for a few minutes, then rinse thoroughly.
Cleaning the Shade
Use a neutral cleaner or glass polish to remove residue and bring out the glass’s shine. Avoid ammonia-based cleaners, as they can damage solder and foil.
Attaching to a Lamp Base
Insert the lamp cap into the reinforced opening of your shade and secure it with solder or a threaded screw. Attach the shade to a matching lamp base using the provided fittings.
Install your wiring kit, ensuring the socket, cord, and switch are correctly connected. If you’re unfamiliar with electrical work, use a pre-wired base or consult an electrician.
Troubleshooting and Pro Tips
Common Issues
- Misaligned pieces: Likely due to pattern cutting errors or inadequate grinding.
- Foil lifting: Usually caused by oily glass or improper cleaning.
- Solder won’t flow: Check if your iron is hot enough or apply more flux.
Pro Tips
- Practice on small projects or scrap glass before tackling a full lamp.
- Label each piece clearly during layout to avoid mix-ups.
- Keep your workstation clean and well-lit for safety and precision.
- Always test fit pieces on the mold before tacking.
Customization Ideas
Tiffany lamps are endlessly customizable. Try these ideas:
- Color Themes: Use greens and browns for nature themes; blues and purples for aquatic styles.
- Glass Types: Mix textured or iridescent glass to add depth and shimmer.
- Jewels: Incorporate colored jewels or beads into the design for accents.
- Mini Lamps: Start with a small nightstand version before progressing to larger table or floor lamps.

Wiring and Safety Tips
- Use UL-certified lamp kits for safety and compatibility.
- If reusing an old lamp base, inspect the wiring for fraying or damage.
- Use LED bulbs to reduce heat, which helps preserve solder and foil over time.
- Ensure the base is heavy enough to support the glass shade without tipping.
- Always unplug your lamp before wiring or replacing bulbs.
Frequently Asked Questions
Q: How long does it take to make a Tiffany-style lamp?
Ans: A small Tiffany lamp takes 20–40 hours. Larger or detailed designs may take over 100 hours. Beginners should expect a slower process while learning cutting, foiling, and soldering techniques.
Q: Can I make a Tiffany lamp if I’m a beginner?
Ans: Yes! Start with a simple design with fewer pieces. Practice cutting and soldering on scrap glass first, then follow each step carefully. Patience and attention to detail are key to success.
Q: Is it safe to work with lead solder?
Ans: Yes, with precautions. Always wear gloves, goggles, and a mask. Work in a well-ventilated space and wash hands after. Keep materials away from children, pets, and food areas.
Q: Where can I find patterns for Tiffany lamps?
Ans: Patterns are available in books, online stores (like Etsy), stained glass forums, or supply shops. Many offer free or beginner-friendly templates ideal for practice and smaller lamp projects.
Conclusion
Building a Tiffany lamp from scratch is more than just a craft project—it’s a personal journey into the world of stained glass art. It combines creativity, craftsmanship, and patience, resulting in a piece that is not only functional but deeply meaningful.
Whether you choose a classic floral design or something more modern, your handmade lamp will carry the story of your effort and vision. Share your finished creation online, gift it to a loved one, or proudly display it in your home.
Tiffany lamps aren’t just lighting—they’re heirlooms, conversation pieces, and symbols of timeless beauty, and now you have the knowledge to make one yourself.