A loose light switch might seem like a minor annoyance, but it’s more than just a wobbly fixture on your wall. Whether it’s the switch itself shifting when pressed or the entire faceplate sticking out, these are signs of a problem that needs fixing.
Left unchecked, a loose switch can lead to electrical hazards like short circuits, exposed wires, or even a fire risk in severe cases. This article will walk you through everything you need to know: what causes a loose light switch, how to fix a loose light switch step by step, what tools you’ll need, and safety precautions to follow. If you’re a DIY enthusiast or simply want to maintain a safe and functional home, this guide is for you.
Understanding the Problem: What Is a Loose Light Switch?
A loose light switch is a switch that feels unstable or moves around when you touch it. It may sink into the wall slightly or tilt to one side. This can be caused by a few different issues, and identifying the specific type of looseness is the first step toward fixing it properly.
There are three main types of looseness you might encounter:
- Loose Faceplate: The external cover is not secured tightly, making the switch appear unstable.
- Loose Switch Mechanism: The internal part of the switch inside the wall box moves when touched.
- Loose Wiring: Though rare, loose or poorly secured wires inside the switch can also cause instability—and pose serious hazards.
Common signs your light switch is loose and needs repair include:
- The switch physically shifts when you press it
- A popping or crackling sound when toggling
- Light flickering or cutting off randomly
- Faceplate not flush with the wall
Common Causes of a Loose Light Switch
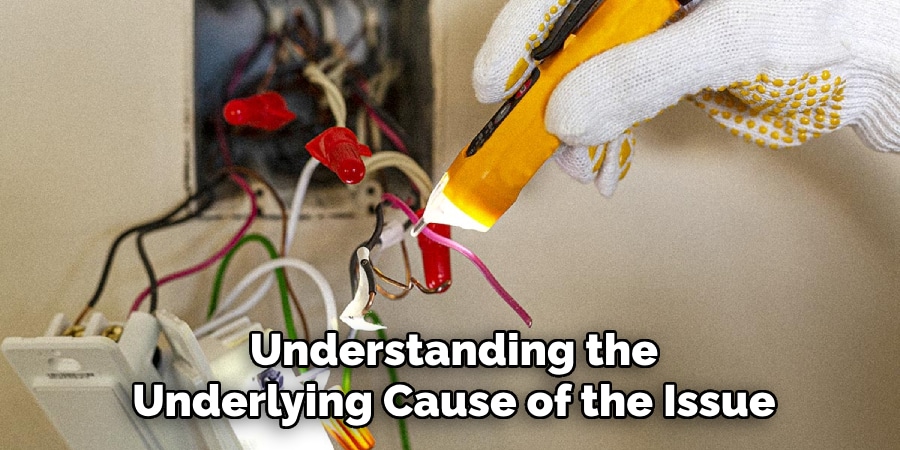
Understanding the underlying cause of the issue will help you choose the right fix. Here are the most common reasons a light switch becomes loose over time:
- Loose Mounting Screws or Stripped Threads: Screws inside the switch or faceplate may loosen or lose grip, especially after repeated use.
- Worn-out or Old Electrical Box: The box behind the wall may no longer hold screws tightly.
- Misalignment During Installation: If the switch wasn’t aligned correctly during initial installation, it might shift later.
- Switch Box Not Properly Anchored to the Wall: A floating or unstable box leads to the entire switch moving.
- Warped Drywall or Faceplate: Poor-quality or damaged wall materials can’t hold hardware securely.
- DIY Wiring Mistakes: Insecurely fastened components in self-installed switches can lead to looseness.
- Settling of Walls or Studs Over Time: As your home shifts naturally, wall-mounted fixtures may become less stable.
Safety First: Precautions Before You Begin
Before touching anything electrical, prioritize safety. A light switch carries current and must be treated with care.
Turn Off Power:
Go to your home’s electrical panel and shut off the breaker that controls the switch you’re fixing. Never work on a switch with power flowing through it.
Test the Switch:
Use a non-contact voltage tester or multimeter to confirm the power is off. Simply toggling the switch is not enough.
Use Proper Tools:
Make sure you have the right equipment before starting:
- Screwdriver set (both Phillips and flathead)
- Voltage tester
- Needle-nose pliers
- Flashlight or headlamp (especially useful if the power is off in a dark room)
Wear Safety Gear:
- Insulated gloves
- Rubber-soled shoes
Important: If at any point you feel unsure or uncomfortable, don’t take risks. Call a licensed electrician.
6 Easy Steps on How to Fix a Loose Light Switch
Follow this detailed step-by-step guide to safely and effectively fix your loose light switch.
Step 1: Remove the Faceplate
Start by turning off the power to the switch from your home’s circuit breaker panel. Never work on a light switch while the power is on, as it poses a serious risk of electric shock.
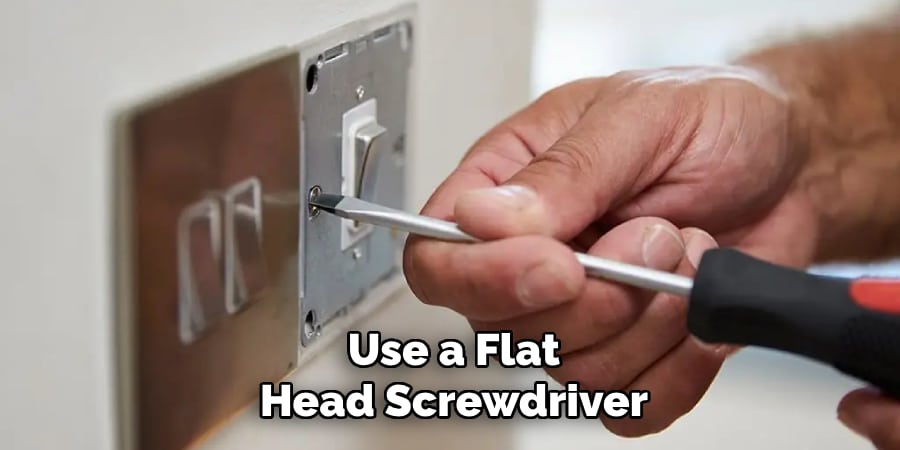
Once the power is off, use a flat-head screwdriver to remove the screws that hold the faceplate in place. These screws are usually located at the top and bottom of the plate. Carefully place them in a small container or a magnetic tray so they don’t get lost. Gently pull the faceplate away from the wall to expose the switch and surrounding area. Be cautious while removing it, especially if the paint has dried around the edges.
Step 2: Inspect the Switch Mounting
Now take a closer look at the light switch itself. Try wiggling it gently with your fingers. If the switch moves inside the electrical box, the mounting screws that hold it in place may be loose. Use a screwdriver to check the tightness of the screws on the top and bottom of the switch.
If the entire switch feels like it’s moving inward or outward with the wall, the issue may be deeper—the electrical box behind the switch could be poorly secured or recessed into the wall. You should also inspect the wall for any damage, such as cracks, crumbling drywall, or holes, which could affect how firmly the switch stays in place.
Step 3: Tighten the Switch
Using a screwdriver, tighten the mounting screws at the top and bottom of the switch. These screws fasten the switch to the metal or plastic electrical box behind the wall. Tighten them just enough so that the switch no longer wiggles when touched. Ensure the switch sits vertically straight and flush with the wall surface.
Important: Do not overtighten the screws. Doing so could strip the threads or even crack the plastic housing of the switch, which would require a replacement.
After tightening, gently press or wiggle the switch again to ensure it feels stable and properly secured.
Step 4: Check the Electrical Box
If tightening the switch did not resolve the looseness, the electrical box itself may be the culprit. There are a few common problems and solutions:
- Loose box: You can use switch box extenders or plastic spacers to fill the gap between the switch and the wall. These are affordable and help provide a secure mounting point.
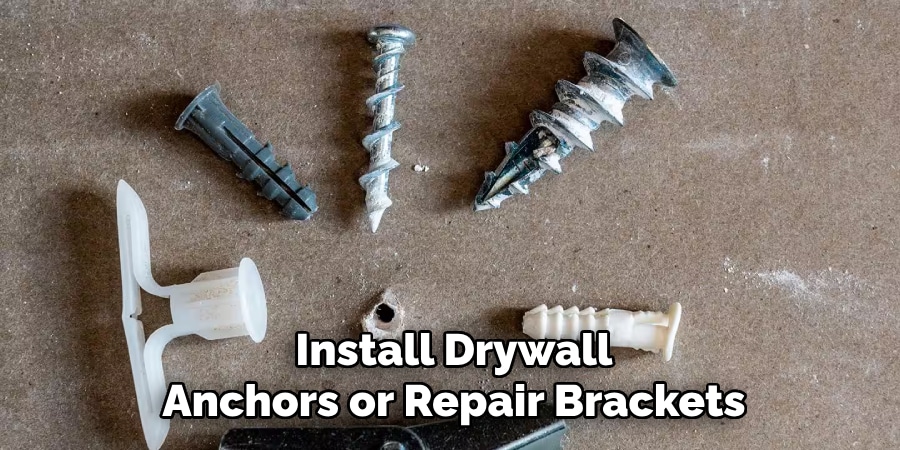
- Wall too thin or damaged: Install drywall anchors or repair brackets around the electrical box to help secure it more firmly to the wall material.
- Box set too deep: If the electrical box is recessed too far into the wall, a box extender can bring the switch forward to match the wall surface. These extenders come in different thicknesses to match the depth of your setup.
Make sure everything is level and steady before proceeding to the next step.
Step 5: Secure the Faceplate
With the switch now properly secured, it’s time to reattach the faceplate. Line it up with the screw holes and use your screwdriver to fasten it in place. Tighten the screws evenly so that the faceplate sits flush against the wall.
Tip: Avoid over tightening the screws, as it can crack the plastic faceplate. If your wall is uneven or has gaps around the plate, consider using a flexible faceplate or a slightly larger one to cover the imperfections.
Step 6: Turn Power Back On and Test
Head back to your electrical panel and turn the circuit breaker for the switch back on. Return to the switch and test it by flipping it on and off several times.
Check for the following:
- The switch feels solid and doesn’t wobble.
- There are no unusual sounds like crackling or sparking.
- The connected light turns on and off smoothly and consistently.
If everything works as expected, congratulations—you’ve successfully fixed your loose light switch!
By following these steps carefully, you can restore both safety and stability to your light switch. If you encounter any signs of damaged wiring or overheating during the process, consult a licensed electrician immediately.
When to Replace Instead of Fix
Sometimes, fixing isn’t enough. If your switch continues to feel loose or shows any of the following signs, it’s time to consider a replacement:
- The switch keeps coming loose even after tightening
- Cracks, burn marks, or discoloration on the switch
- Flickering lights or buzzing noise even after securing
- Damaged electrical box that can’t be repaired
- Presence of aluminum wiring (needs professional handling)
Replacing a switch is not expensive and offers a long-term solution. If you’re unsure whether the fix will hold, hiring a professional electrician is the safest option.
Tips for Preventing Future Issues
To avoid dealing with loose light switches again, consider these tips:
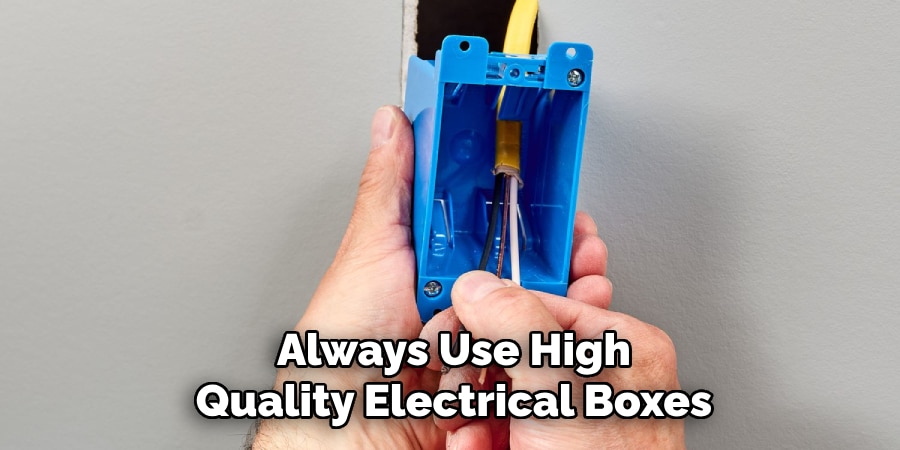
- Always use high-quality electrical boxes and switches
- Avoid over tightening screws during installation
- Use spacers or extenders for deeper wall boxes
- Add drywall anchors or backing support for thin drywall
- Inspect older homes for signs of wall shifting or wear
- Don’t rush DIY electrical work—precision helps longevity
By following these preventive measures, you can reduce the need for repeated maintenance and ensure long-term switch stability.
Frequently Asked Questions
Q: Is it safe to use a light switch that wiggles?
Ans: No. A wiggly switch could mean loose wiring or poor contact, which is a fire hazard.
Q: How much does it cost to fix a loose light switch?
Ans: DIY repair usually costs under $10. Hiring an electrician may cost $50–$100 depending on your location.
Q: Can I use glue to fix a loose switch?
Ans: Absolutely not. Glue is not safe for electrical work and can cause insulation failure or damage.
Q: What if the wall is crumbling behind the switch?
Ans: Use drywall anchors or switch box brackets. If the damage is extensive, consider patching the wall or consulting a professional.
Conclusion
A loose light switch might seem harmless at first, but it can quickly turn into a safety issue if ignored. Thankfully, the solution is usually simple and inexpensive—tightening a few screws, adding a spacer, or securing the electrical box.
By following the step-by-step guide above and using the proper tools, you can fix a loose switch in under 30 minutes. However, if you notice serious damage or feel unsure about electrical safety, don’t hesitate to call a professional.
For more practical lighting tips and repair guides, explore our library of articles on Lightorix.com. We help you keep your home safe, functional, and well-lit—one switch at a time.