Moving to a new house is exciting, but relocating custom-installed LED lighting adds extra challenges. These lights are popular for their efficiency, long life, and sleek designs, making them worth taking along—especially smart systems, strip lights, or hardwired fixtures.
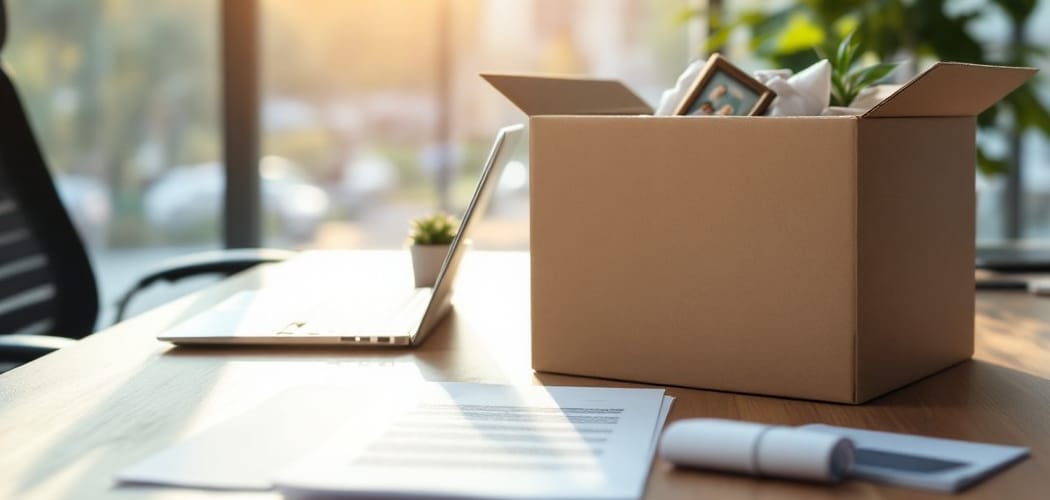
Many homeowners and renters invest in LED lighting to enhance ambiance or highlight features, so leaving them behind can be disappointing. However, moving LED lights isn’t as simple as packing furniture. Without care, you risk damaging components or reinstalling them incorrectly.
It’s crucial to understand your lighting type, disassemble it properly, and reinstall it safely. This article provides a comprehensive guide on how to move LED lights to another house properly, helping you protect your investment and achieve a smooth transition.
Considerations Before Moving LED Lights
Before moving your LED lights, consider whether it’s worth the effort—replacing older or low-cost lights might be easier. However, if you’ve invested in smart systems or custom fixtures, moving them can be a smart choice. Renters should review lease agreements, as some landlords prohibit removing installed fixtures.
Also, check if your current setup is compatible with your new home’s layout and wiring. Not all LED lights are easy to move—plug-in lights are simple, but hardwired ones require care. Plan your new lighting layout in advance and take photos or videos of your existing setup. This documentation will help during reinstallation and ensure your lighting system transitions smoothly to your new space.
Types of LED Lights and Moving Complexity
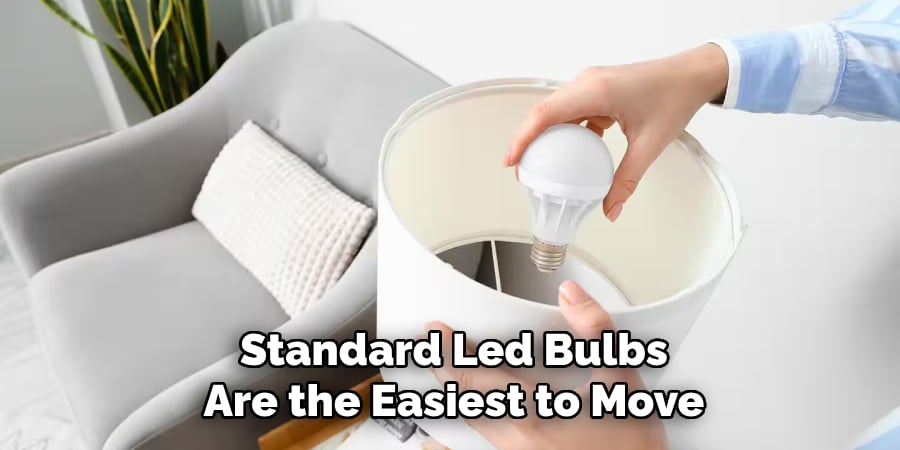
Understanding the types of LED lights you have helps determine how easy or complex the moving process will be. Standard LED bulbs are the easiest to move, while hardwired fixtures like recessed or ceiling-mounted lights require tools and wiring knowledge.
LED strip lights need gentle removal to avoid damage, as their adhesive can stick tightly to surfaces. Smart LED systems, such as Philips Hue or Wiz, involve Wi-Fi connectivity and hubs, which must be reconnected later.
Outdoor LEDs add extra complexity due to weatherproofing and underground wiring. Each type demands different care, so knowing what you’re working with helps ensure a smoother, safer move.
Safety Precautions
Safety should always come first, especially when handling electrical installations. If you’re planning to remove hardwired LED lights, turn off the power supply at the main circuit breaker before touching any wiring. Use a voltage tester to confirm that there is no electrical current flowing through the wires. This simple check can prevent accidents and electrical shocks.
Wear insulated gloves and use the correct tools to avoid damaging the lights or hurting yourself. Label all wiring and fixtures as you disconnect them so you can easily identify them during reinstallation. Lastly, protect your lights during transport by keeping them dry and away from direct sunlight or extreme temperatures, which can degrade certain plastic components or adhesives.
Necessary Tools and Materials
Having the right tools can make the moving process much smoother and help prevent damage to your LED lights. Below is a list of essential items you’ll need for safe removal, packing, and reinstallation:
- Flathead screwdriver
- screwdriver
- Wire strippers
- Voltage tester
- Ladder or step stool
- Cable ties or Velcro straps
- Bubble wrap
- Foam sheets
- Sturdy boxes
- Cardboard rolls
- Plastic containers or zip bags
- Masking tape
- Marker
5 Easy Steps on How to Move Led Lights to Another House
Moving your LED lights is simple with the right plan. Follow these five steps to safely remove, pack, and reinstall them in your new home.
Step 1: Document Your Current Setup
Begin by photographing or recording your existing LED light setup. Focus on mounting styles, wire connections, and component placement—especially for hardwired and LED strip lights. Be thorough with corners, junctions, and accessory arrangements.
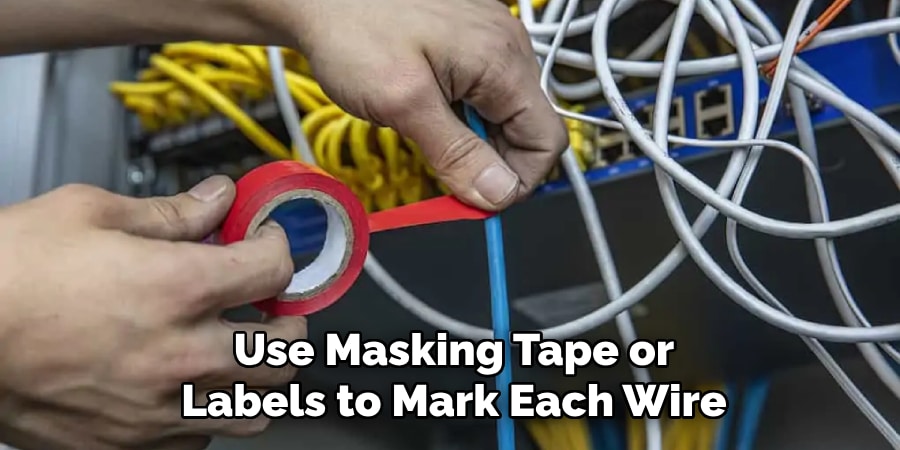
Use masking tape or labels to mark each wire, fixture, and component by room or zone. This organization will greatly simplify reinstallation and help you replicate your setup accurately in the new house. These visuals also serve as reference points in case any troubleshooting is needed later.
Step 2: Turn Off Power and Begin Disconnection
Prioritize safety by turning off the main power supply at your circuit breaker before touching any wires. Never rely on light switches alone. Use a voltage tester to confirm that circuits are inactive. Start disconnecting plug-in lights—they’re the easiest to remove.
Then move to hardwired fixtures by gently removing covers and mounting plates. Keep all screws and small hardware in labeled containers. Carefully disconnect wire nuts or connectors without yanking the wires. If you’re unfamiliar with electrical work, consider hiring a licensed electrician for this part to avoid injury or installation damage.
Step 3: Pack Fixtures and Bulbs Securely
Proper packing is essential to prevent damage during the move. Wrap LED bulbs individually using bubble wrap or foam sheets and place them in padded boxes. For larger fixtures, cushion all sides and separate them with dividers if possible. Store all small components—screws, clips, brackets, wire nuts—in labeled plastic bags or containers.
LED strip lights require extra care: gently heat the adhesive with a hairdryer to ease removal and prevent tearing. Clean off any leftover residue with adhesive remover, then loosely roll the strips around a cardboard tube or flat board to avoid creases or breaks.
Step 4: Prepare the New Space
At your new home, begin by reviewing the layout and deciding where each light will go. Reference your earlier photos and labels to maintain consistency. Clean all mounting areas thoroughly to ensure proper adhesion and secure fixture installation. Dust or grease can weaken adhesive strips or hardware support.
Mark exact placement points using a pencil or painter’s tape. For different wall textures or surfaces, double-check hardware compatibility or use wall anchors if needed. Use a level to ensure brackets or mounts are aligned before screwing them in—this ensures a clean and professional look.
Step 5: Reinstall and Reconnect
Now it’s time to bring your setup back to life. Use your labeled parts and reference materials to reinstall fixtures and reconnect wiring accurately. Hardwired lights should be connected using wire nuts, following your earlier configuration.
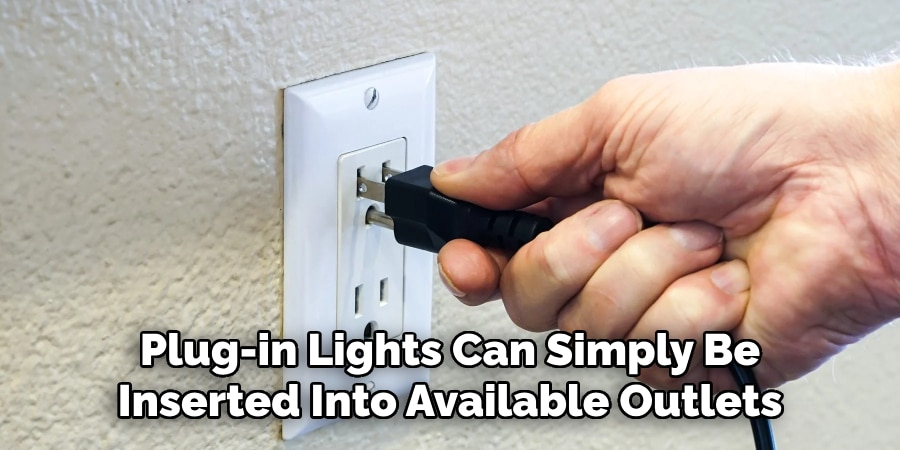
Plug-in lights can simply be inserted into available outlets. LED strip lights should be pressed firmly into place along clean surfaces. If you have smart lighting systems like Philips Hue or Wiz, reconnect hubs or bridges and pair the devices with your app. Ensure your Wi-Fi settings are correct.
Once installed, restore power and test all lights. Fix any flickering or dimming. Use cable ties to keep wires neat and safe.
Common Mistakes to Avoid
There are a few common pitfalls people face when moving LED lighting. One major mistake is failing to label wires and parts during disassembly. This leads to confusion and delays during reinstallation. Another serious error is not shutting off power correctly before handling hardwired lights, which can result in electrical shock or even fire risk.
People also often misplace mounting hardware or use the wrong screws when reinstalling fixtures, leading to instability or loose lights. LED strips, if not removed carefully, can stretch, crease, or break during the process. Finally, smart light users frequently forget to update their home automation apps or reconnect their hubs, resulting in non-responsive lights that can be frustrating to troubleshoot.
Tips for a Smooth Move
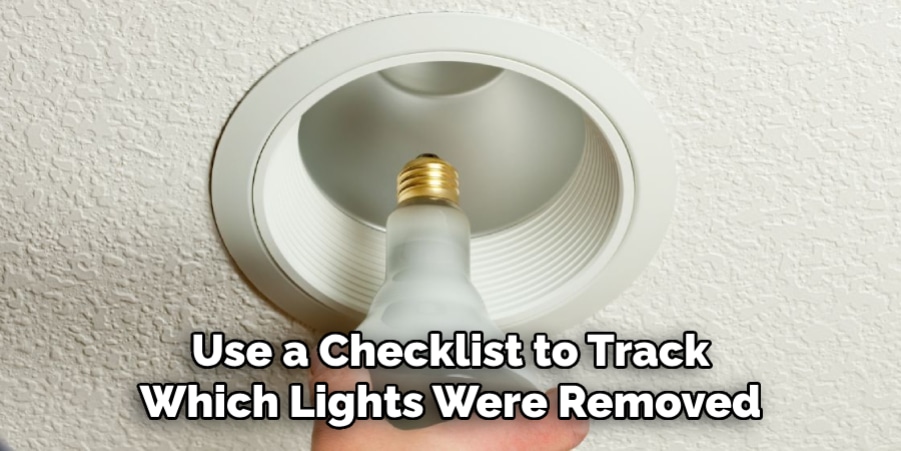
To make the transition as smooth as possible, consider leaving your LED lights as one of the last items to be packed. This minimizes the chance of accidental damage during heavy furniture moving. Keep all your tools in one accessible box or bag so you don’t waste time searching for them later. Use a detailed checklist to track which lights were removed and where they will go in the new home.
Moving can also be a great opportunity to upgrade older lighting or install better-quality fixtures in your new home. If some LED components are outdated or no longer needed, consider donating them or recycling them properly. Keeping your lighting plan organized from start to finish will save time and reduce stress.
Frequently Asked Questions
Q: How do I safely remove hardwired LED lights?
Ans: Always turn off power at the main breaker and use a voltage tester to confirm there is no electrical current. Then, carefully unscrew the fixture and disconnect wires using insulated tools. Label everything for easier reassembly.
Q: Can I reuse LED strip lights after removal?
Ans: Yes, provided they are removed gently. If the adhesive backing is damaged, you can use new double-sided tape. Avoid bending or creasing the strips during removal or storage.
Q: Do I need an electrician to move my LED lights?
Ans: If you’re comfortable with basic electrical work, you may be able to handle it yourself. However, for hardwired or complex smart systems, hiring a licensed electrician ensures everything is installed safely and up to code.
Q: Will my smart LED lights work in a new house?
Ans: Yes, but you’ll need to reconnect them to a Wi-Fi network and possibly reconfigure them in the manufacturer’s app. Remember to bring any required hubs, bridges, or remote controls.
Q: How should I pack LED lights to prevent damage?
Ans: Use bubble wrap or foam to protect bulbs and fixtures. Store them in sturdy boxes and keep strips rolled around cardboard to avoid creases. Keep all screws and accessories in clearly labeled bags.
Conclusion
Moving LED lights to a new house is simple with proper planning, the right tools, and safety measures. Whether it’s plug-in bulbs, LED strips, or smart systems, you can preserve your lighting investment and style with a careful approach. Document your setup, pack securely, and reinstall methodically for a smooth transition.
Always prioritize electrical safety, label components, and stay organized throughout the process. Whether you’re a renter preserving ambiance or a homeowner replicating a setup, this guide helps you move LED lights with confidence. If you’re planning upgrades, explore our recommended tools and accessories to create the perfect lighting experience in your new home.