Boat trailer lights are a vital component for both safety and legal compliance when towing your boat on public roads. They alert other drivers to your braking, turning, and nighttime visibility, reducing the risk of accidents.
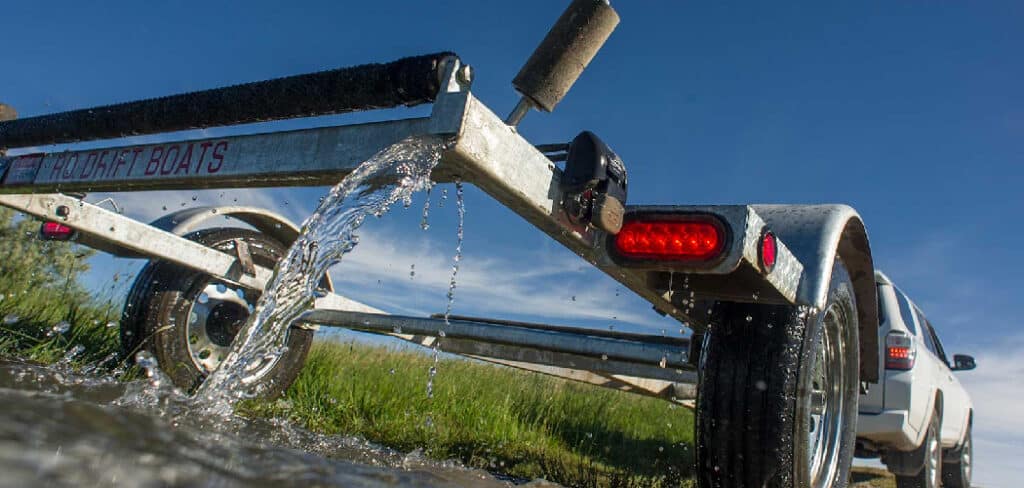
However, constant exposure to water, road debris, and weather can lead to corrosion, cracked lenses, or electrical failure over time. Fortunately, replacing these lights doesn’t require advanced skills.
Whether you’re upgrading to brighter, more efficient LED lights or replacing old, damaged ones, this guide will show you how to replace boat trailer lights step by step. With the right tools, some patience, and attention to detail—especially in wiring and waterproofing—you can easily restore your trailer lights and hit the road safely and confidently.
Necessary Tools and Materials
Having the right tools can make the replacement process much smoother. Here’s a list of essential items you’ll need for safely removing, packing, and reinstalling your LED lights:
- Replacement boat trailer light kit
- Wire cutters/strippers
- Heat shrink connectors or waterproof butt connectors
- Electrical tape or liquid electrical tape
- Multimeter or circuit tester
- Phillips and flathead screwdrivers
- Ratchet and socket set
- Wire crimper
- Zip ties or wire clips
- Silicone sealant
- Sandpaper or wire brush
Safety Precautions
Before working on any electrical components, especially around metal and water-exposed trailers, it’s crucial to follow proper safety measures to prevent accidents or damage.
- Always disconnect the trailer from the towing vehicle before working on wiring.
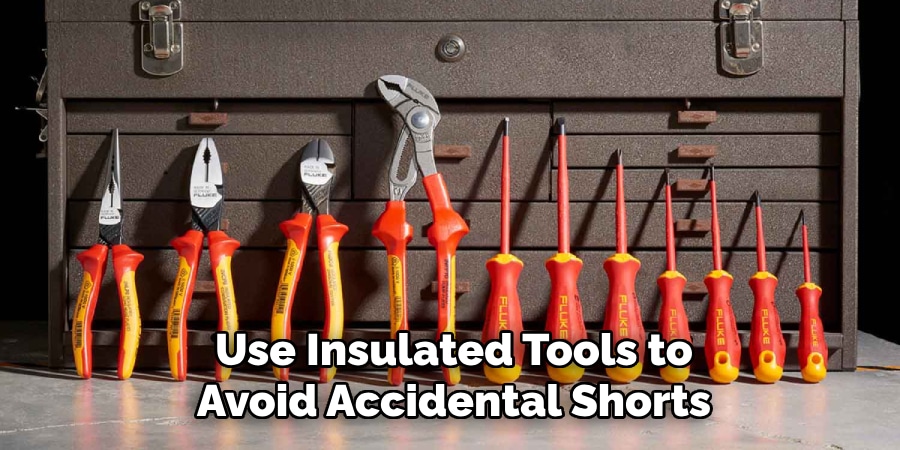
- Use insulated tools to avoid accidental shorts.
- Wear gloves and eye protection when stripping wires or using power tools.
- Make sure the work area is dry to reduce the risk of electrical shock.
- If the trailer was recently in water, let it dry fully before working on the lights.
10 Easy Steps on How to Replace Boat Trailer Lights
If you’re upgrading to more durable LED lights or replacing damaged ones, the following process will help you do the job efficiently and safely.
Step 1: Inspect Your Current Light Setup
Before starting the replacement, it’s important to understand what you’re working with. Begin by examining your current trailer lights. Determine whether your setup uses a two-wire or three-wire system. A two-wire system typically combines brake and turn signals, while a three-wire system separates them.
Also, note the type of lights you’re using. Are they submersible, made to be safely submerged during boat launching? Or are they basic incandescent lights more prone to failure in wet environments? LED lights are now the standard because they last longer and are better sealed against water intrusion.
Check all wiring for visible signs of wear, corrosion, or cracks in the insulation. Identifying problems at this stage will help you avoid issues later in the process.
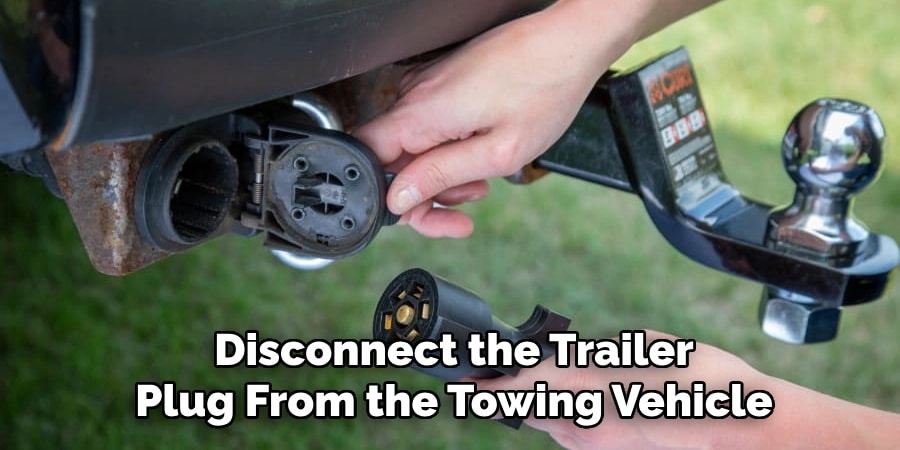
Step 2: Disconnect the Trailer from the Vehicle
Safety should always come first. Before handling any wires or removing old lights, disconnect the trailer plug from the towing vehicle to eliminate the risk of electrical shorts or shocks.
If your trailer is equipped with a battery pack or auxiliary power source, disconnect it as well. Working with a live circuit not only increases the risk of damaging components but could also result in injury.
Step 3: Remove the Old Lights
With power safely disconnected, proceed to remove the existing lights. Use a screwdriver or ratchet set, depending on how your lights are mounted. Gently loosen the mounting hardware and pull the light housing away from the trailer frame.
As you do this, take note of how the wires are connected. This can help ensure correct reinstallation. A good practice is to label the wires using masking tape or take a photo before cutting them.
Then, use wire cutters to detach the old lights. Cut as close to the light housing as possible, but leave enough wire length for reconnecting new lights. Discard the old light unit responsibly.
Step 4: Clean and Inspect Wiring
Once the lights are removed, you’ll be left with exposed wire ends. Use sandpaper or a wire brush to clean off any corrosion or dirt. This helps ensure a strong, clean electrical connection when attaching the new lights.
Inspect the wires themselves. If they feel brittle, frayed, or damaged, you may need to replace the wiring harness entirely. Faulty wiring can cause intermittent failures and make your trailer lights unreliable.
Pay close attention to the grounding area, typically a bare metal spot on the trailer frame. Clean this area thoroughly—it’s critical for the lights to function correctly.
Step 5: Test New Lights Before Installation
Before installing the new lights permanently, it’s smart to test them first. Temporarily connect the new lights using alligator clips or twist-on wire connectors. Reconnect the trailer plug to your tow vehicle and activate each lighting function.
Check that the brake lights, left and right turn signals, and tail/running lights work as expected. This simple test can save a lot of time and frustration later, ensuring everything is wired correctly before mounting and sealing.
Step 6: Connect the New Lights
Once you’re confident the wiring is correct, it’s time to make permanent connections. Start by stripping about half an inch of insulation from the trailer wires and the wires on your new light units.
Use waterproof butt connectors or heat shrink connectors to join the wires securely. Match the wires as follows:
- Brown: Tail/Running Lights
- Yellow: Left Turn/Brake Light
- Green: Right Turn/Brake Light
- White: Ground
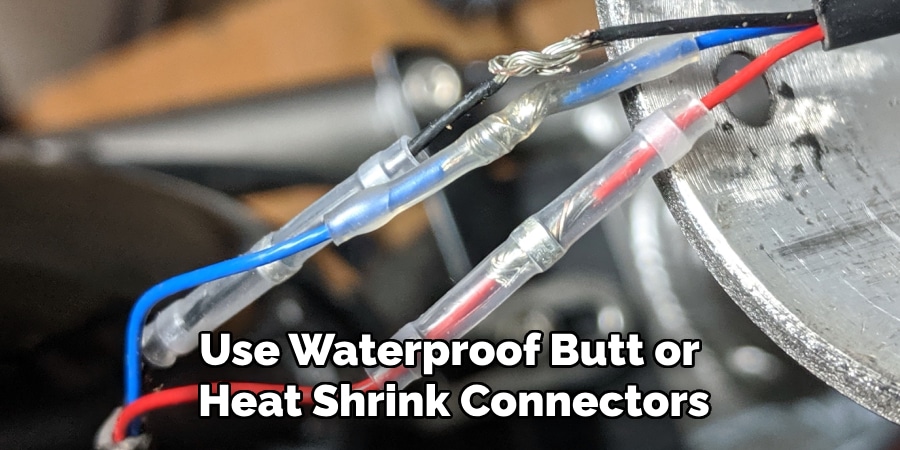
Use a crimping tool to fasten the connectors tightly. After crimping, apply heat to shrink the tubing (if using heat shrink connectors), ensuring a watertight seal. If you’re using standard connectors, reinforce them with electrical tape or liquid electrical tape to prevent moisture intrusion.
Step 7: Ground the Lights Properly
A secure ground is essential for your trailer lights to function. Connect the white ground wire to a clean, rust-free part of the trailer frame. Use a self-tapping screw or existing bolt and ensure the connection is tight.
It’s a good idea to apply a dab of dielectric grease or anti-corrosion spray over the ground connection to protect it from the elements. Poor grounding is one of the most common causes of malfunctioning trailer lights, so don’t overlook this step.
Step 8: Mount the New Lights
Now it’s time to physically install the new light housings onto your trailer. Align the lights properly based on the manufacturer’s instructions—typically, red lights go on the rear, and amber lights go on the sides if applicable.
Use the provided mounting hardware or reuse your existing screws if they’re still in good condition. Make sure everything is snug but not overtightened, which can crack plastic housings or strip screw holes.
Step 9: Organize and Protect Wires
Loose or hanging wires can get damaged quickly. Use zip ties, adhesive-backed clips, or plastic conduit to route the wires neatly along the trailer frame. Secure the wiring away from sharp metal edges, moving parts, and wheel wells where abrasion or impact could occur.
For added protection, apply silicone sealant at any points where wires pass through holes or joints. This step isn’t required but can significantly increase the lifespan of your installation by keeping moisture out.
Step 10: Final Testing
Reconnect the trailer to your tow vehicle and perform a final test. Activate each light function and walk around the trailer to ensure:
- Brake lights activate when the vehicle’s brake pedal is pressed.
- Left and right turn signals blink appropriately.
- Tail/running lights illuminate when your headlights are on.
If something doesn’t work, go back and double-check all your wire connections and especially the ground. Don’t rush this part—thorough testing ensures safety on the road.
Common Mistakes to Avoid
Many DIYers run into preventable issues when replacing trailer lights. Here are a few mistakes to steer clear of:

- Skipping ground checks: A bad ground is the most common source of light failure. Always clean the contact area.
- Mixing LED and incandescent lights: This can cause uneven current flow and lighting issues.
- Failing to waterproof connections: Submersion can quickly destroy exposed or unsealed wiring.
- Routing wires near sharp edges: This can lead to wire insulation cuts and short circuits.
- Not testing before final install: Testing first can save you from reinstalling everything due to one wrong connection.
Frequently Asked Questions
Q: Why do my trailer lights keep failing after launching my boat?
Ans: Water infiltration is often the culprit. Make sure you’re using submersible LED trailer lights and sealing all connections with waterproof connectors or heat shrink tubing.
Q: Can I mix LED and incandescent lights on my trailer?
Ans: It’s not recommended. Mixing can cause uneven brightness and electrical issues. Stick to one type, preferably LED for longevity and efficiency.
Q: Do I need a special wiring harness for LED lights?
Ans: Most LED trailer lights work with standard 4-pin or 5-pin wiring systems. However, some towing vehicles might need a load resistor or LED-compatible wiring adapter to prevent flickering or signal errors.
Q: How do I test the trailer lights without a tow vehicle?
Ans: You can use a 12V battery or a dedicated trailer light tester to simulate the vehicle’s power source. This helps verify if the issue lies in the lights or the towing vehicle.
Q: What is the average lifespan of LED trailer lights?
Ans: LED lights can last 50,000 hours or more, significantly outlasting incandescent lights. With proper installation and waterproofing, they can serve you for many years.
Conclusion
Replacing boat trailer lights is a simple but vital task that ensures safety and compliance on the road. With just a few tools, some attention to detail, and a bit of patience, you can easily swap out old or faulty lights for new ones. Opting for submersible LED lights can also provide better durability and visibility during nighttime towing.
Following this step-by-step guide helps prevent common issues like grounding faults and wire corrosion, ensuring your trailer stays visible, functional, and safe. Whether you’re a weekend boater or a seasoned angler, well-maintained trailer lights give you peace of mind every time you hit the road.