Nothing captures the festive spirit of the holidays quite like a beautifully lit home. Christmas lights draped along rooflines add charm, warmth, and visual magic to your property, turning your house into a beacon of cheer.

Whether you’re aiming for a classic glow or a dazzling display, properly installed lights can dramatically enhance your home’s curb appeal during the holiday season. However, one common mistake homeowners make is skipping the planning phase—especially when it comes to measuring the roofline. Inaccurate or rushed measurements can lead to buying too few lights or ending up with unnecessary extras, disrupting both your budget and installation process.
That’s why precise measurement is the key to a clean, symmetrical, and professional-looking light display. This guide will walk you through everything you need to know about measuring your roofline for Christmas lights—step by step. Whether you’re decorating a single-story home or planning something more complex, this article will help you to get how to measure roofline for Christmas lights first time.
Why Measuring the Roofline Matters
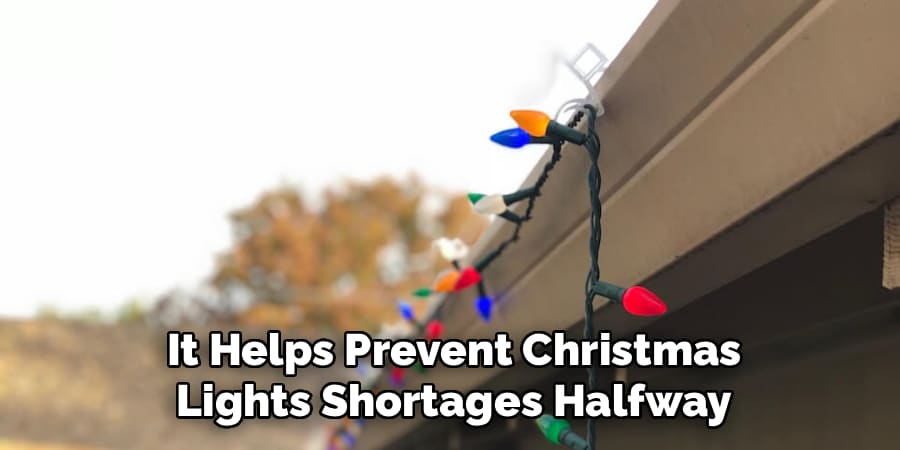
Measuring your roofline before hanging Christmas lights might not sound exciting, but it’s one of the most important parts of the decorating process. First, it helps prevent light shortages halfway through your setup, which is not only frustrating but also time-consuming if you have to make another store run or place a last-minute order.
Second, having the correct measurements helps you purchase exactly what you need—no more, no less—which saves you money and avoids unnecessary returns. It also allows you to calculate the number of accessories like mounting clips, hooks, or extension cords needed for a safe and secure installation.
Accurate measurement also contributes to the final look. You’ll be able to maintain a clean, balanced, and symmetrical appearance that elevates the entire lighting display. Lastly, if your home has a second story or steep gables, knowing your measurements in advance helps you plan installation more safely and efficiently.
Tools and Materials You’ll Need
Having the right tools can make the measuring process much smoother. Here’s a list of essential items you’ll need for safely measuring and planning your Christmas light layout:
- Tape measure (preferably 25 ft or more)
- Notepad or smartphone for recording measurements
- Ladder
- Google Earth or online measuring tools (optional, for large houses)
- Diagram or blueprint of the home
8 Easy Steps on How to Measure Roofline for Christmas Lights
Step 1: Identify All the Roofline Sections You Want to Light
Begin with a slow walkaround of your home, taking photos from several angles and sketching a rough plan. Mark every feature you might want to light: eaves, ridges, gables, dormers, porch edges, garage edges and any side extensions.
Decide whether you’ll only do the front elevation or the full perimeter — that choice alone changes the materials and time required. As you plan, note obvious obstacles (mature trees, power lines, awnings) so you can route strands around them or exclude those areas.
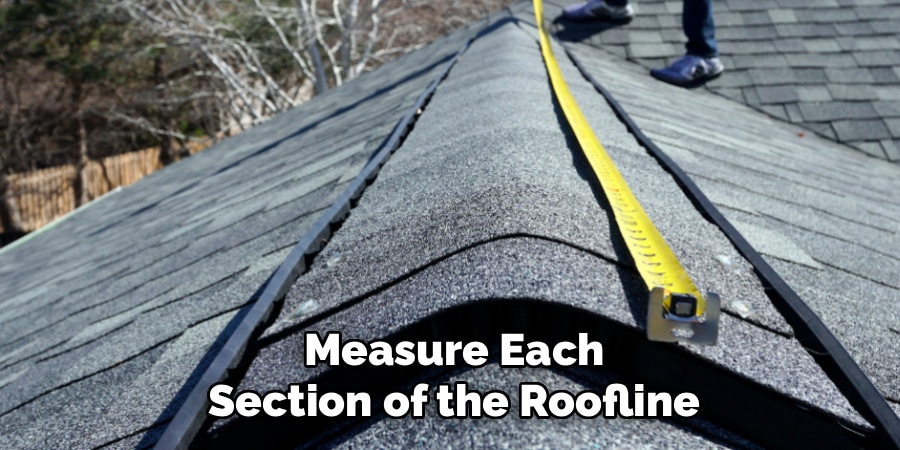
Step 2: Measure Each Section of the Roofline
Measure each segment individually rather than estimating the whole building at once. Run a tape measure along the fascia or bottom edge of the eaves from corner to corner, recording every figure on a notepad or phone. Use a ladder only when it’s safe; have a helper hold the base and step ladder safety rules.
For sections you can’t safely reach, measure conservatively from ground level and round up to the nearest foot to account for slack and fastening. Accurate, segment-by-segment measurements prevent surprises during installation.
Step 3: Include Vertical and Angled Areas Like Gables
Gables and other angled features require the sloped length, not the horizontal distance. Whenever possible measure from the peak down each slope to the eave; if that’s unsafe, calculate the run using the Pythagorean approach: sloped length = √(height² + half-base²) for a symmetrical gable, or use an online roof calculator if you know rise and run. Remember to total both sides if you’ll outline the full triangle. These angled lengths add up quickly, so include them in your master list.
Step 4: Measure Doorways, Windows, and Other Trim
Optional trims—door frames, porch columns, and window casings—add detail and polish. Measure each opening you plan to outline and maintain symmetry by matching measurements for equivalent features (e.g., all front windows). Small features require short strands or micro-LED ropes, so noting them ahead of time helps you choose the right product lengths and connectors.
Step 5: Calculate Total Linear Feet Needed
Add every measured segment to determine the total linear footage. To allow for connections, overlap, and unforeseen routing, add a 10–15% buffer to the sum.
This buffered total is what you’ll use to shop for strands and accessories, and it prevents mid-installation shortages. Keep the final number handy and compare it against the standard strand lengths available from suppliers.
Step 6: Account for Power Sources and Plug Positions
Map the locations of outdoor GFCI outlets and plan strand starts and ends near those points whenever possible. If outlets are distant, factor in outdoor-rated extension cords, splitters or timers and avoid daisy-chaining too many strands on one circuit. Planning power ahead reduces trip hazards and helps you decide whether to add smart plugs or weatherproof junction boxes for easier control.
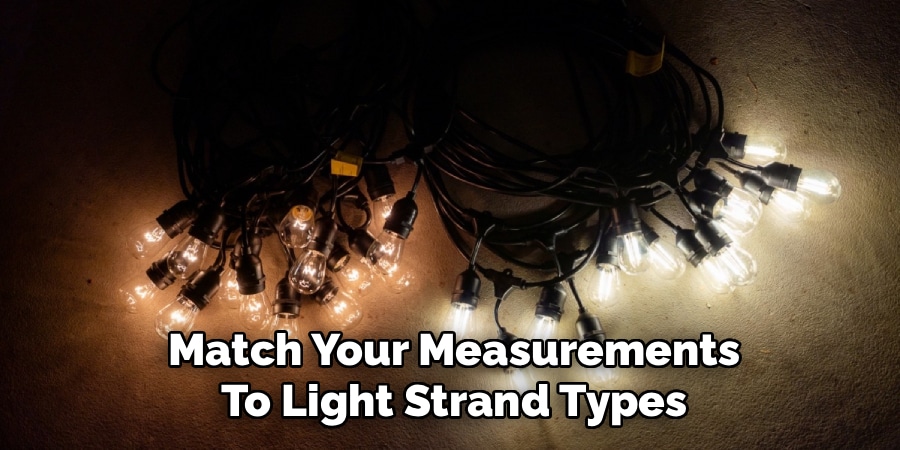
Step 7: Match Your Measurements to Light Strand Types
Match your total length to common strand sizes—25, 50 or 100 feet—choosing combinations that minimize visible joins. Consider bulb style and spacing: C7/C9 bulbs with wider spacing create bold outlines, while micro-LEDs or rope lights provide finer detail. If using custom cut-to-length systems, plan bulb placement and connector locations so gaps look intentional and safe.
Step 8: Plan for Clip Spacing and Mounting
Decide clip type and spacing before buying. As a guideline, plan 1–2 clips per foot depending on wind exposure and roof detail, and calculate: Total Linear Feet × Clips per Foot = Clips Needed. Select gutter hooks for gutters, shingle clips for shingles and eave clips where applicable to avoid damage. Buy a few extra clips and test a small section first to confirm attachment strength and visual spacing.
Following these steps in order—identify, measure, calculate, plan power, match materials, and plan mounting—turns a potentially chaotic job into a manageable project. Careful measurement and planning reduce waste, increase safety, and produce a clean, professional holiday display.
Tips for Measuring Complex Rooflines
If your house has multiple stories, odd angles, or architectural details like turrets or steep dormers, measuring can become tricky. In such cases, technology can be your friend. You can use drone photography or mapping tools like Google Earth to measure rooflines from above. Just draw lines along the sections you plan to decorate and the app will calculate lengths.
If the roof is too steep or unsafe, it’s better to hire a professional to take measurements or help with installation. Also, break complex areas into smaller parts and measure them separately. Use chalk or string to outline your plan before installation—it can give you a better idea of spacing and symmetry before lights go up.
Common Mistakes to Avoid
One of the biggest errors is forgetting to account for vertical or angled areas like gables. These often require more lights than you’d expect. Another issue is ignoring the location of power outlets. Without proper planning, you could end up with a strand that ends far from the nearest plug, requiring long extension cords.
People also often buy lights based on guesswork and forget to calculate extra slack, resulting in a shortage mid-way through setup. Don’t overlook accessories either—wreaths, garlands, and pathway lights all require their own planning and measurements. Lastly, make sure you account for the connectors and adapters you’ll need to link multiple strands safely.

Frequently Asked Questions
Q: How do I measure roofline height safely?
Ans: Use a tall ladder with stable footing and always have someone assist you. For hard-to-reach areas or steep roofs, consider using drone apps or hiring a professional.
Q: Can I use a laser distance measurer for rooflines?
Ans: Yes, laser distance measurers are effective for straight, flat surfaces but may not be reliable on angled gables or very high peaks.
Q: Should I measure from the ground or climb up?
Ans: While ground measurements provide rough estimates, accurate results come from safely measuring at roof level using a ladder or other support.
Q: What type of lights are best for rooflines?
Ans: C7 or C9 bulbs are ideal due to their bright, crisp appearance. LED versions are more energy-efficient and durable than incandescent options.
Q: How many clips do I need for roofline lights?
Ans: You’ll typically need 1–2 clips per foot. For 100 feet of lights, plan to purchase between 100 and 200 clips depending on your roof type and wind exposure.
Conclusion
Accurate measurements are key to a clean, well-balanced Christmas light display. They help you avoid overspending, reduce frustration, and ensure you have the right amount of lights and accessories.
A little planning upfront can turn installation from stressful to simple. For steep or multi-story homes, consider hiring a professional for safety and precision. Once everything is measured, let your creativity shine—decorate peaks, windows, porches, and more to create a stunning holiday display that brings joy to your home and neighborhood.