Introduction
LED strip lights are a fantastic way to add ambiance and functionality to any space. Their versatility, ease of use, and vibrant colors make them a popular choice for homeowners and businesses alike. However, over time, the adhesive backing on these strips can lose its stickiness, leading to sagging or completely detached strips.
This can be frustrating, but don’t worry—restoring their stickiness and ensuring a secure installation is simpler than you might think. In this guide, we’ll explore step-by-step instructions to how to install led strip lights around corners can help you make your LED strips sticky again and keep them firmly in place.
Necessary Tools
Before starting, gather the following tools and materials to ensure a smooth process:
- Isopropyl alcohol or a cleaning solution
- Microfiber cloth or lint-free cloth
- Double-sided adhesive tape or replacement adhesive strips
- Adhesive promoter (optional)
- Scissors or a utility knife
- Measuring tape
- LED corner connectors (if applicable)
- LED strip light channels (optional but recommended for corners)
Preparing Surfaces: Cleaning and Smooth Base
A clean and smooth surface is crucial for any adhesive to work effectively. Dust, grease, or debris can significantly reduce the stickiness of your LED strip lights. Here’s how to prepare the surface:
- Clean the Surface: Wipe down the area where the LED strips will be mounted with isopropyl alcohol or a cleaning solution. This removes dirt, grease, and other residues.
- Dry the Surface: Ensure the surface is completely dry before applying adhesive. Any moisture can weaken the bond.
- Smooth the Surface: If the mounting area is rough, sand it lightly to create a smooth base for better adhesion.
Understanding LED Strip Lights and Corners
The Basics of LED Strip Lighting
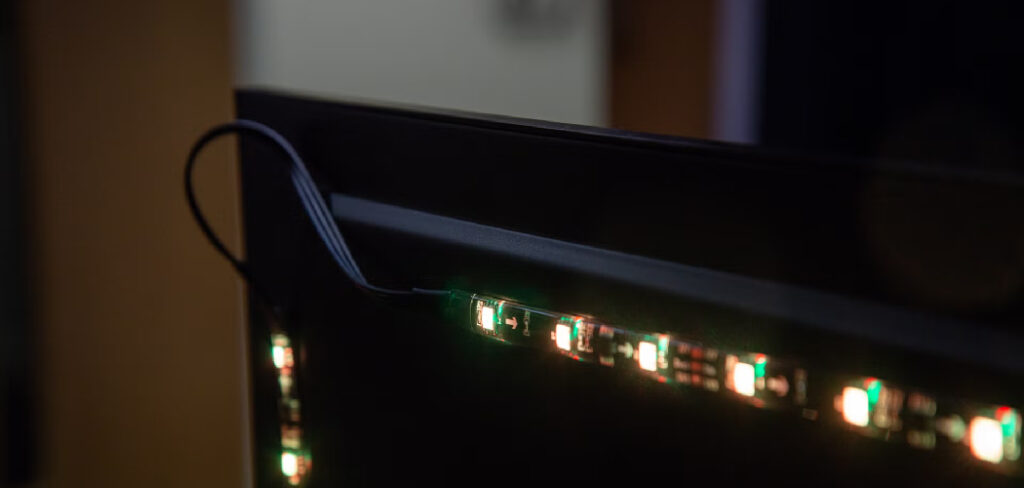
LED strip lights are highly versatile, flexible lighting solutions that come with adhesive backing for easy installation. Their slim and flexible design allows them to fit into tight spaces, making them an excellent choice for enhancing the aesthetic and functional aspects of both residential and commercial spaces. Available in a wide range of colors, brightness levels, and even programmable options, LED strip lights can serve various purposes such as:
- Ambient lighting: Creating a cozy atmosphere in living rooms, bedrooms, or patios.
- Decorative lighting: Highlighting architectural features like crown molding, staircases, or alcoves.
- Entertainment setups: Enhancing TV units, gaming rigs, or home theaters.
Most LED strips can be trimmed at marked points to fit specific lengths, ensuring a customized installation that meets your requirements. Additionally, many come with features like dimmable settings, RGB color-changing modes, and even smart home compatibility for added convenience and personalization.
Challenges of Installing Around Corners
While LED strip lights are flexible, corners can present significant challenges during installation. Attempting to bend the strip too sharply can cause the following issues:
- Damaged Circuits: Excessive bending can break the circuit paths, rendering parts of the strip non-functional.
- Loss of Adhesion: The adhesive backing may not stick well in sharp angles or uneven surfaces, leading to sections peeling away over time.
- Uneven Lighting: Improper handling or positioning may cause gaps in illumination, creating a disjointed appearance.
Solutions for Corner Installations
To address these challenges and ensure a professional finish:
- Use Corner Connectors: L-shaped or angled connectors are specifically designed to join two strips seamlessly at 90-degree angles. They not only make the installation easier but also maintain the electrical connections and alignment.
- Install Aluminum Channels: These channels provide a rigid and protective frame for the LED strips, making it easier to achieve clean, even bends. The diffusers included with the channels can also help distribute light more evenly.
- Plan the Layout: Before cutting or attaching the strips, map out the path, especially at corners. Measure and test fit the sections to minimize errors.
By using the right tools and techniques, you can overcome the challenges of corner installations, ensuring a durable and visually appealing LED lighting setup.
Beginner’s Guide: Preparing for Installation
Before applying or reapplying LED strip lights, evaluate your space:
- Identify where you want to place the LED strips.
- Measure the length required, accounting for corners and turns.
- Plan the layout to ensure proper placement and even lighting.
7 Easy Steps For Installing LED Strip Lights Around Corners
Step 1: Measuring and Planning Your Layout
- Use a Measuring Tape: Begin by measuring the total length of the area where the LED strips will be installed. Be precise to avoid wastage or shortage.
- Mark the Layout: With a pencil or marker, indicate the placement of the strips along the surface. Pay special attention to corners and ensure that the markings align with the direction of the lighting.
- Plan Corner Placement: For corners, decide whether you’ll use corner connectors, fold the strips carefully, or utilize corner channels. This step ensures you have the right tools and components ready.
Step 2: Clean and Dry the Surface
- Thorough Cleaning: Use a lint-free cloth soaked in isopropyl alcohol to thoroughly clean the surface. This removes oils, dust, and dirt that can interfere with adhesion.
- Inspect for Residue: Check the surface for any remaining residue or moisture. Repeat the cleaning process if needed to achieve a spotless finish.
- Ensure Dryness: Allow the surface to air dry completely or use a dry microfiber cloth to speed up the process. A dry surface is critical for a strong adhesive bond.
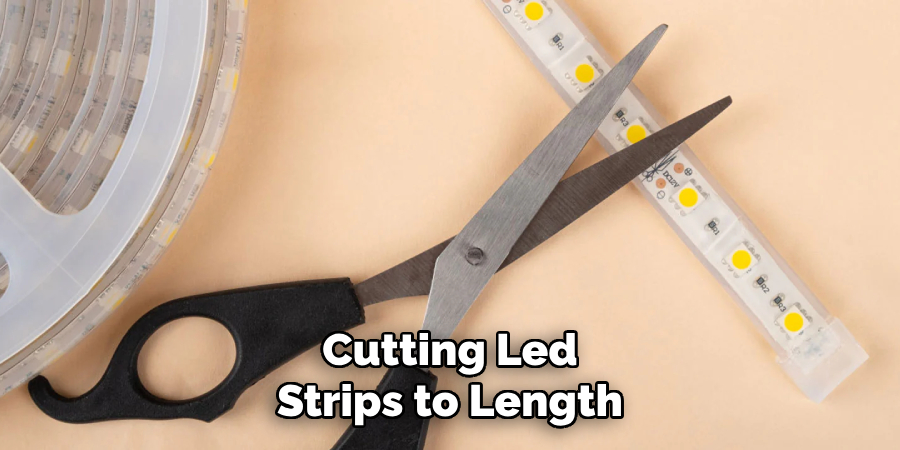
Step 3: Cutting LED Strips to Length
- Identify Cut Marks: Look for the designated cut marks on your LED strip. These are typically indicated by small scissor icons and ensure that the electrical circuit remains intact.
- Use Proper Tools: Use sharp scissors or a utility knife to make clean, precise cuts at the marked points. Avoid cutting outside these marks to prevent damage to the strip.
- Prepare for Connections: If the strip needs to connect to another section or a corner connector, expose the contacts carefully and ensure they are intact.
Step 4: Mount the Corner LED Channel
- Choose the Right Channels: Select corner channels that fit the width of your LED strip and match your installation style. These channels provide structural support and a polished look.
- Secure the Channels: Attach the channels to the surface using screws, adhesive, or mounting clips. Ensure they are aligned properly to guide the LED strips smoothly.
- Check for Stability: Once mounted, press the channels gently to confirm they are firmly secured and ready for the LED strips.
Step 5: Applying LED Strips with Corner Techniques
- Utilize Corner Connectors: For sharp 90-degree turns, use corner connectors designed for your LED strip type. These connectors bridge the electrical connection while allowing the strip to turn seamlessly.
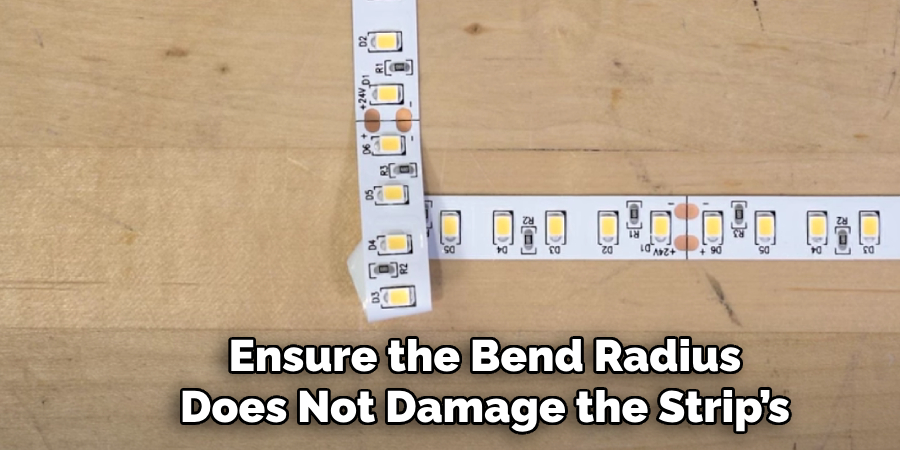
- Avoid Over-bending: If you’re folding the LED strip around a corner, ensure the bend radius does not damage the strip’s circuitry. A gentle curve is preferable over a sharp fold.
- Double-check Alignment: Align the strip carefully with the markings you made earlier, ensuring it follows the intended path through the corners.
Step 6: Attach the LED Strips Inside the Corner Channel
- Peel and Stick: Remove the adhesive backing from the LED strip and press it firmly into the channel. Start from one end and work your way through to avoid bubbles or misalignment.
- Press Firmly: Use consistent pressure along the length of the strip to ensure it adheres well inside the channel.
- Trim Excess Material: If the strip extends beyond the channel, trim it at the nearest cut mark.
Step 7: Connect to the Power Supply and Test
- Secure the Connection: Attach the power supply to the LED strip connector and ensure it is tightly secured.
- Test the Setup: Turn on the power supply to verify that all sections of the LED strip light up correctly, especially around the corners.
- Make Adjustments: If any sections appear dim or unlit, check the connections and reapply pressure where needed.
Frequently Asked Questions
Can I cut LED strip lights to fit specific corners?
Yes, LED strip lights can typically be cut to fit specific corners. Most LED strips have designated cut lines marked along the strip, usually indicated by a scissors icon or a dotted line. You should cut only at these points to avoid damaging the circuitry. Ensure the power is off before cutting the strip.
What are the best connectors for corners?
The best connectors for corners are L-shaped or right-angle connectors. These connectors allow you to join two sections of LED strips at a 90-degree angle without bending the strips too sharply. Other options include solderless connectors, which make installation easier and help maintain a clean look.
How do I avoid damaging LED strips when bending?
To avoid damaging LED strips when bending:
- Never bend the strip sharply; it can break the circuit.
- Avoid bending the strip at the LEDs or near solder joints.
- Use corner connectors for sharp angles instead of forcing a bend.
- If a gentle curve is needed, bend the strip over a round object with a suitable diameter.
Can LED strip lights be reattached once cut?
Yes, LED strip lights can be reattached after cutting. You can use soldering to reconnect the strips or opt for solderless connectors. Ensure the connectors or soldering align properly with the positive and negative terminals to restore functionality.
Tips for maintaining LED strip lights around corners
- Use proper connectors to ensure smooth transitions at corners.
- Avoid over-tightening or twisting the strips during installation.
- Ensure the adhesive backing sticks securely, or use additional support like mounting clips.
- Keep the strips away from sharp objects or excessive heat that might damage them.
- Test the strips and connections before finalizing the setup to ensure everything works correctly.
Conclusion
Restoring the stickiness of your LED strip lights and ensuring a professional installation, even around tricky corners, doesn’t have to be complicated. By following these steps and using the right tools, you can achieve a secure, long-lasting setup that enhances the ambiance of your space. Remember, preparation is key—from cleaning surfaces to planning your layout—and with a little effort, your LED lights will stay in place and illuminate your home beautifully for years to come.