Emergency lights aren’t just fixtures in American homes, offices, or hospitals—they’re lifelines during outages.
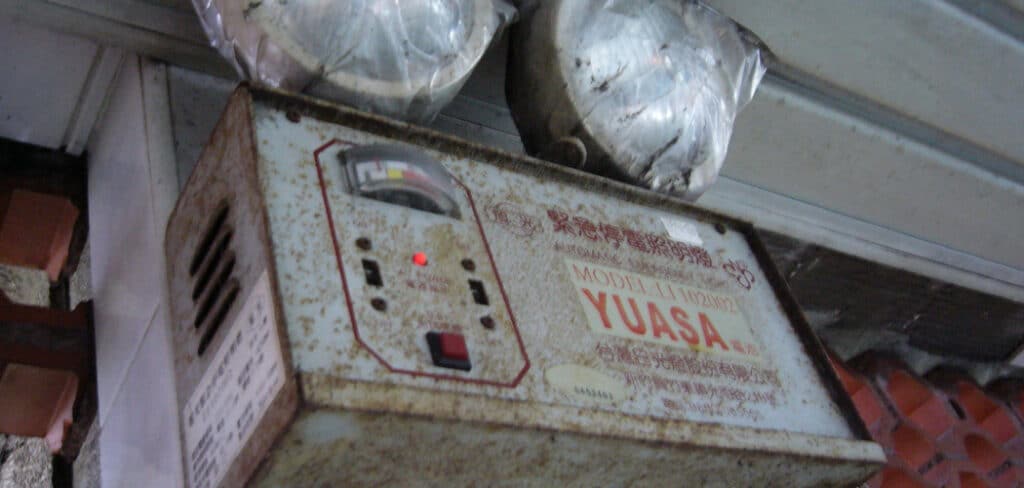
Flickering may seem minor, but it can signal imminent failure; in an emergency you need steady illumination, not uncertainty. This article explains common causes of flicker and walks you through practical troubleshooting and repairs, from testing batteries and inspecting wiring to replacing drivers and bulbs.
This article provides a comprehensive guide on how to fix flickering emergency light effectively. You’ll also get a short tools list, safety precautions, and advice on when to call a licensed electrician. Throughout, I include relatable tips so the instructions feel like guidance from a trusted neighbor, not a dry manual.
Understanding Flickering in Emergency Lights
Flickering in emergency lights shows up in different ways: irregular flashes, dimming when the power cuts, buzzing noises, or a delayed glow when the backup kicks in. At first glance, it may seem harmless. But in reality, flickering means the fixture isn’t delivering consistent illumination.
This is dangerous for a few reasons. First, reduced visibility in stairwells, hallways, and exits can slow down an evacuation. Second, flickering may cause your building to fail OSHA or NFPA compliance inspections, which is a major concern in the U.S. Finally, a flickering light is often a sign of deeper electrical or component failure—problems that will only get worse if ignored.
Think of it like a check-engine light in your car. You wouldn’t drive cross-country without checking it out, right? Same goes for emergency lights.
Common Causes of Flickering Emergency Lights
There isn’t just one culprit behind flickering. In many cases, the issue is small and easy to fix. In others, it could point to bigger electrical concerns. Here are some of the most common causes:
- Loose wiring or poor electrical connections that prevent stable current flow.
- Old, worn-out, or undercharged batteries struggling to hold a charge.
- Defective bulbs or LED drivers that are no longer functioning properly.
- Dust, dirt, or overheating inside the unit.
- Unstable power supply or overloaded circuits.
- Failing control boards or internal components.
- Environmental stress, like humidity in basements or extreme heat in attics.
Each of these problems requires a different approach, which is why understanding the root cause matters before you start repairs.
Safety Precautions Before Fixing
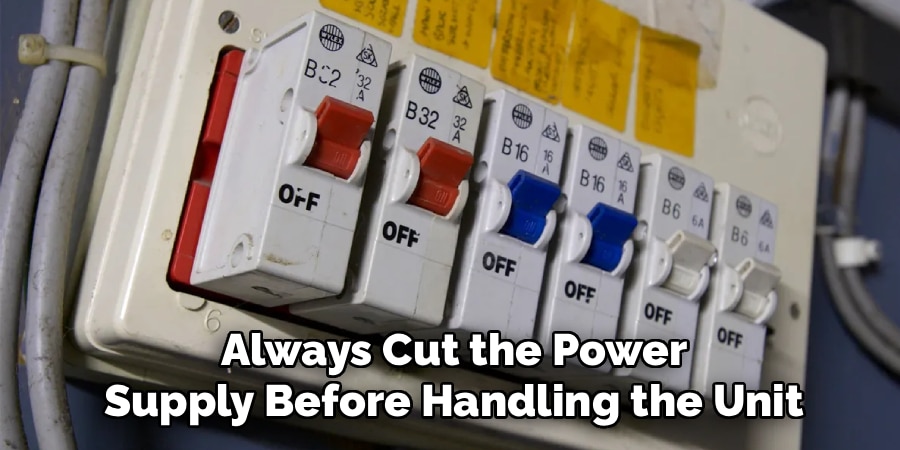
Before you grab your screwdriver, remember this: you’re working with electrical equipment. Even though emergency lights aren’t high-voltage monsters, safety still comes first. Always cut the power supply before handling the unit, and never attempt repairs if the light is wet or in a damp area.
Protective gloves and insulated tools are worth using, even for small fixes. Stick to the U.S. National Electrical Code (NEC) standards, and if anything looks confusing or dangerous, call a licensed electrician. It’s better to spend a little on professional help than risk injury or fire.
Necessary Tools and Materials
Having the right tools can make the fixing process much smoother. Here’s a list of essential items you’ll need for safely troubleshooting and repairing your emergency lights:
- Screwdrivers (flathead and Phillips)
- Voltage tester or multimeter
- Replacement bulbs or LED drivers (UL-listed)
- Compatible battery packs
- Electrical tape and wire connectors
- Insulated pliers
- Compressed air can or soft cleaning brush
- Safety gloves and goggles
With these on hand, you’ll save yourself repeated trips back and forth.
9 Easy Steps on How to Fix Flickering Emergency Light
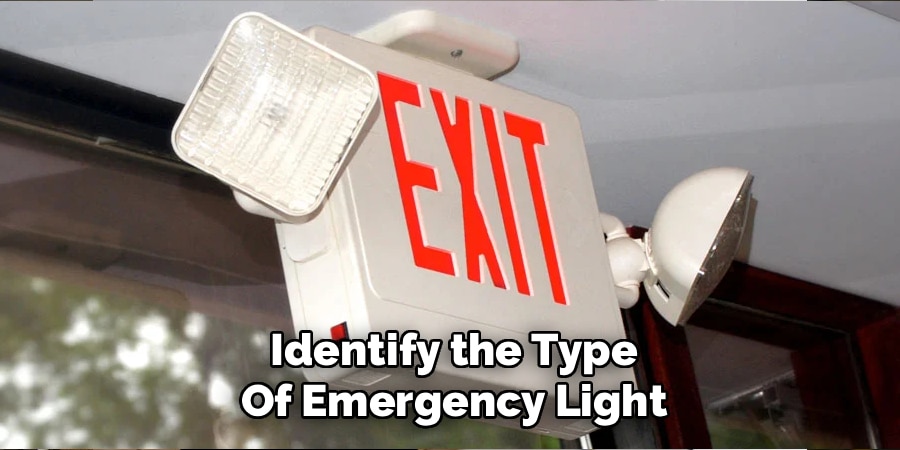
Step 1: Identify the Type of Emergency Light
The first step in fixing a flickering emergency light is knowing what type of unit you’re working with. Emergency lights in the U.S. come in several forms: wall-mounted units commonly seen in hallways, recessed ceiling fixtures in modern buildings, and combination units that pair exit signs with lighting.
Each has its own wiring layout, battery type, and repair process. Taking a moment to identify your exact model will help you understand where to look for potential issues and ensure you choose the correct replacement parts.
Step 2: Inspect the Power Source
Next, check whether the flickering is caused by inconsistent power. A loose plug-in connection, tripped breaker, or unstable voltage supply can cause the lights to flash irregularly. Start at the breaker panel and make sure the switch connected to the emergency light hasn’t tripped. If it has, reset it and observe the light.
If you’re dealing with a hardwired unit, use a voltage tester to confirm a steady electrical flow. Addressing the power source early prevents unnecessary disassembly and saves time.
Step 3: Test the Backup Battery
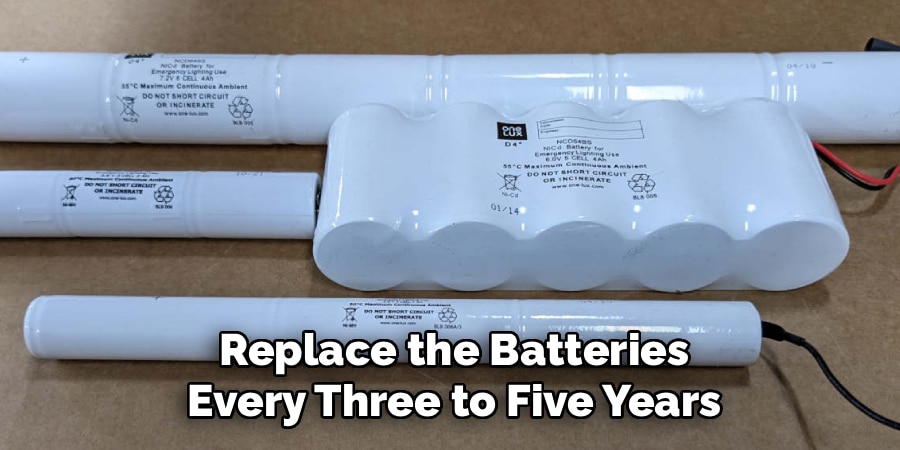
Emergency lights are designed with internal backup batteries that activate during outages. To test the battery, press the built-in “test” button. The light should stay on for at least a few minutes without flickering.
If it dims, flashes, or shuts off, the battery is failing. Most U.S. manufacturers recommend replacing these batteries every three to five years to maintain reliability. Always purchase UL-listed batteries to comply with safety standards and avoid compatibility issues.
Step 4: Examine the Bulbs or LEDs
After checking the battery, turn your attention to the bulbs or LED modules. Traditional bulbs may show dark spots, burns, or discoloration, which are clear signs of wear. For LED-based units, inspect the LED board and driver.
Flickering in LEDs is often linked to overheating drivers or faulty circuits rather than the diodes themselves. If you see any signs of damage, replace the component with one recommended by the manufacturer.
Step 5: Check Wiring Connections
Loose or damaged wiring is one of the most common reasons for flickering. With the power off, carefully remove the fixture cover and inspect all wires. Look for corrosion, frayed ends, or loose terminals. Use insulated pliers to gently tug connections and confirm they’re secure.
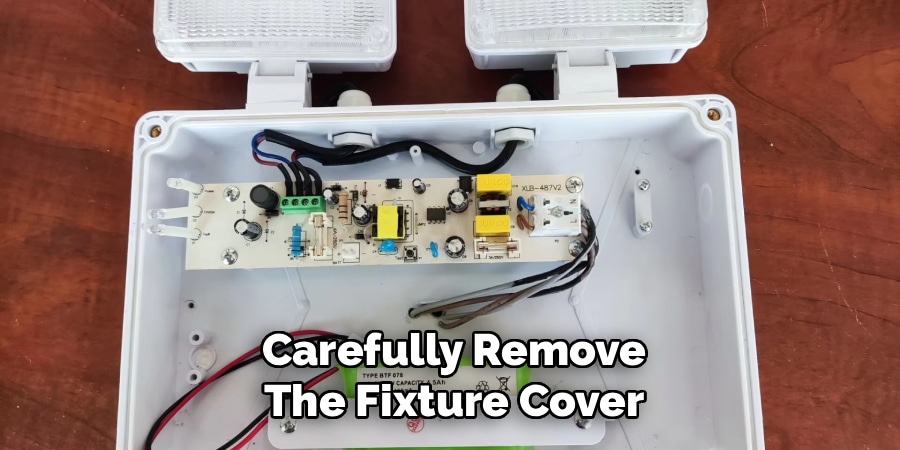
Pay attention to grounding as well—American wiring typically uses green or bare copper for ground, black for hot, and white for neutral. Correcting poor connections can often resolve flickering immediately.
Step 6: Clean the Fixture
Dirt and dust buildup can affect performance by trapping heat or blocking electrical contact points. Use compressed air or a soft brush to clean around the battery pack, driver, and bulb areas. Avoid using water or harsh cleaners, as these can damage the unit. Keeping the fixture clean helps improve efficiency and prevents future flickering.
Step 7: Reset the Emergency Light
Sometimes, flickering can be resolved by resetting the unit. Most models feature a reset or test button—hold it down for a few seconds to allow the system to recalibrate. If that doesn’t work, try cycling the breaker off and back on. A reset often clears minor electronic glitches and restores steady performance.
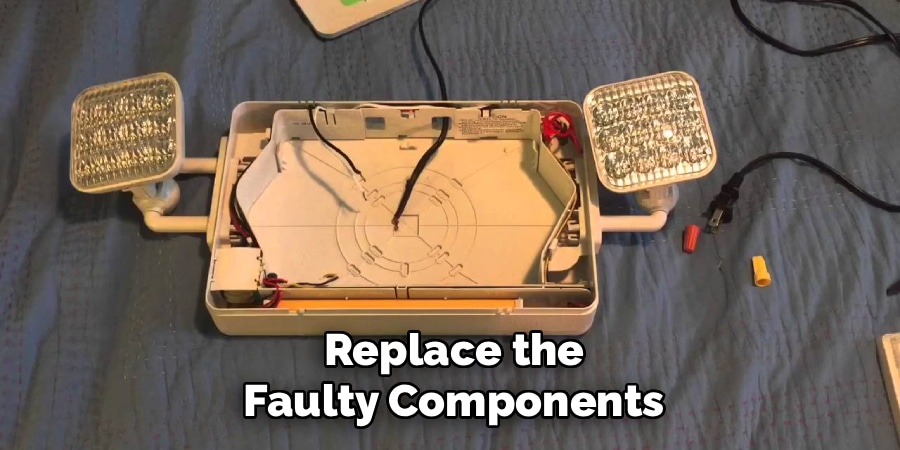
Step 8: Replace Faulty Components
If the flicker continues, you may be dealing with deeper issues like a faulty LED driver, control board, or severely degraded battery. At this point, replacement is usually more effective than repair. Be sure to use UL-approved components or original parts recommended by the manufacturer. This ensures safety compliance, especially in commercial or healthcare facilities where lighting is critical.
Step 9: Monitor After Repair
After completing the repair, let the light run for at least 30–90 minutes to confirm stability. In commercial settings, OSHA requires extended functional testing, so this step is especially important. Observe closely—if the light remains steady, your work is successful. If it flickers again, it may be time to call in a licensed electrician for further diagnosis.
Short Personal Tips
In college, our dorm stairwell lights flickered for weeks—no one cared until a fire alarm left us scrambling in the dark. That experience taught me how vital reliable emergency lighting is. Now I always keep a spare battery pack at home—it’s cheap insurance during blackouts.
If you live in storm-prone states like Florida or Texas, test your lights more often than the usual monthly check. When fixing lights, I use a headlamp to keep both hands free. And don’t panic over flickers—most of the time it’s just a loose wire or an aging battery.
When to Call a Professional
There are times when DIY just isn’t enough. If flickering continues after you’ve replaced the battery and bulbs, or if you notice burnt wiring, sparking, or melted insulation, stop immediately and call an electrician.
Also, if your lights are tied into a central system, such as those found in commercial buildings, it’s better to get a professional involved to avoid violating building codes. Many U.S. municipalities require professional certification for large-scale emergency systems anyway.
Preventive Maintenance Tips
Fixing a flickering light is one thing—keeping it from happening again is another. Make it a habit to test your lights once a month, as OSHA requires. Replace the batteries every three to five years, even if they still seem functional, and clean your units at least twice a year.
If you manage a workplace, keep a logbook to track all testing and maintenance. It’s not just a smart practice—it’s required by NFPA standards. Seasonal inspections, especially before storm seasons, can also help avoid surprise failures.
Frequently Asked Questions
Q: Why does my emergency light flicker only on battery?
Ans: This usually means the battery is weak or near the end of its life. Replacing it will often solve the problem.
Q: Can I replace emergency light batteries myself?
Ans: Yes, most designs allow user replacement. Just make sure you buy the correct UL-listed battery pack.
Q: How often should I test emergency lights in the U.S.?
Ans: OSHA and NFPA require a quick functional test every month and a full 90-minute annual test.
Q: Are LED emergency lights better than fluorescent ones?
Ans: Yes. LEDs are more durable and energy-efficient. They’re less prone to flicker, though issues can still occur if the driver or wiring is faulty.
Q: What if my emergency light flickers after battery and bulb replacement?
Ans: If the problem persists, it could be a wiring issue or a failed control board. At this stage, it’s best to call a licensed electrician.
Conclusion
Reliable emergency lighting isn’t just a convenience—it’s a safety requirement in American homes and workplaces. Flickering lights are an early warning sign that shouldn’t be ignored. By checking your power source, testing the battery, inspecting bulbs, tightening wiring, cleaning the fixture, and resetting the system, you can fix most problems yourself.
Preventive maintenance—like monthly tests, timely battery replacements, and regular cleaning—will ensure your lights stay dependable when you need them most. And if things get complicated or dangerous, don’t hesitate to bring in a professional.
Most flickering issues are simple, but the peace of mind you gain by fixing them right is priceless. Because when the lights go out, you’ll be glad your emergency lighting is ready to guide the way.