Introduction
Halloween is more than just costumes and candy—it’s a season of creativity, where homes and neighborhoods transform into eerie wonderlands of lights, shadows, and spooky designs.
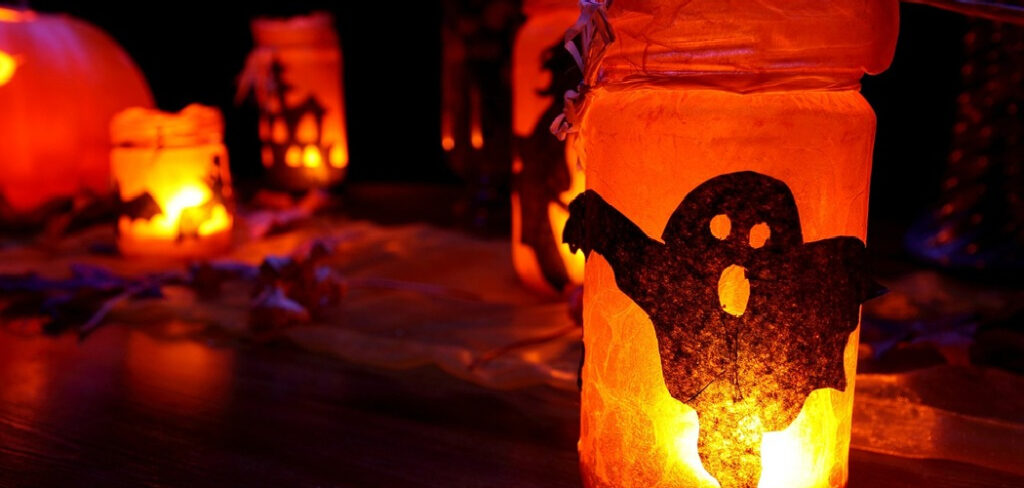
Among all the decorations, lighting plays a crucial role in setting the perfect Halloween vibe, and nothing captures the spirit of the season quite like handmade Halloween lanterns. These glowing creations not only add a mysterious and festive ambiance but also offer a fantastic opportunity to showcase your artistic flair.
In this guide, we’ll walk you through the entire process of how to make Halloween lanterns, from gathering essential materials to crafting and assembling your lanterns. Whether you’re a DIY novice or an experienced crafter, we’ve included tips, techniques, and even troubleshooting advice to make the process enjoyable and hassle-free. So, roll up your sleeves, gather your supplies, and let’s bring your Halloween lantern ideas to life.
Essential Tools and Materials You’ll Need
Before you get started, make sure you have the following tools and materials ready:
- Mason jars or old tin cans
- LED lights or tea candles
- Black craft paper
- Spray paint (black, orange, or white)
- Glue and adhesive tape
- Scissors or craft knife
- Paint pens or markers
- Halloween-themed stencils (bats, pumpkins, ghosts, etc.)
Understanding LED Strips and Power Requirements
The Basics of LED Strip Lighting
LED strips are a fantastic choice for crafting lanterns because they’re flexible, energy-efficient, and easy to customize. You can choose between warm white light for a cozy glow or color-changing strips for a more dramatic effect.
Calculating the Power Needs for Your LED Project
When using LED strips, it’s crucial to calculate their power requirements. Most LED strips require a 12V or 24V power supply. Be sure to check the wattage per meter and multiply it by the strip’s length to determine the power source you’ll need. This ensures your lanterns shine brightly without overloading the power supply.
Preparing to Create Your Halloween Lanterns
Essential Tools and Materials for Installation
- LED strip connectors for seamless connections
- Double-sided tape to secure LED strips inside lanterns
- A heat-resistant surface for crafting with hot glue or solder
Safety Precautions Before Starting
- Avoid using open flames near flammable materials.
- Handle sharp tools like scissors and knives with care.
- If soldering wires, wear heat-resistant gloves and work in a well-ventilated area.
10 Easy Sreps For How to Make Halloween Lanterns

Step 1: Select Your Base
The base is the heart of your lantern, and your choice will determine its overall look and functionality.
- Mason Jars: These are perfect for creating classic, cozy lanterns. Their transparent nature allows the light to shine beautifully through the designs.
- Tin Cans: Ideal for those who want a more industrial or metallic look. You can hammer small holes in specific patterns to create interesting light effects.
- Glass Bottles: Great for a sleek and mysterious look. Their tall and narrow structure is perfect for ghostly or eerie designs.
Tip: Before decorating, clean your base thoroughly to remove dirt, labels, and adhesive residue. This ensures the paint and designs adhere smoothly.
Step 2: Plan Your Design
Now it’s time to get creative. Decide on a theme or a combination of spooky elements to bring your lantern to life.
- Use stencils for clean, professional-looking designs. Bats, pumpkins, witches, and ghosts are popular choices.
- If you enjoy freehand drawing, sketch your designs on black craft paper or directly on the base with a pencil.
- For a 3D effect, consider cutting shapes out of cardboard or thick paper. These can be glued on the outside to add texture.
Tip: If you’re working with kids, let them pick their favorite Halloween themes to make the lantern-making process more interactive.
Step 3: Attach Your Design
Cut out your chosen designs from black craft paper or any material you’re using.
- Use glue or adhesive to stick the designs to the exterior of the base.
- For a neat finish, ensure there are no air bubbles by pressing gently with a flat tool, like a ruler or a credit card.
Alternative Method: Instead of gluing designs, you can use masking tape to create patterns. Once painted, peel off the tape to reveal sharp outlines.
Step 4: Add a Base Coat of Paint

This is where the transformation begins!
- Use spray paint for an even, smooth finish. Hold the spray can about 8-12 inches from the surface and move in a steady back-and-forth motion.
- Consider layering colors. For example, spray orange first, then lightly mist black for a smoky effect.
- Allow the paint to dry completely before proceeding to avoid smudges. Drying usually takes about 20-30 minutes, depending on the type of paint used.
Step 5: Cut and Prepare LED Strips
LED strips will bring your lantern to life with a magical glow.
- Measure the inner dimensions of your base to determine how much LED strip you’ll need.
- Cut the LED strip along the designated cut lines (usually marked by scissors icons).
- Ensure you choose the right type of LED strip for your power source. For battery-operated lanterns, opt for low-voltage strips.
Tip: If you want multi-colored lighting, select RGB LED strips with a remote control.
Step 6: Attach the LED Strips
Once the LED strips are ready, secure them inside your base.
- Use double-sided tape or adhesive backing (most LED strips come with this).
- For mason jars, wrap the strip around the inner walls or place it at the bottom for an upward glow.
- For tin cans, align the strip vertically inside to illuminate the cut-out patterns effectively.
Tip: Test the strip’s placement by turning it on before finalizing its position.
Step 7: Connect to a Power Source
Powering your LED strip is a crucial step.
- Use a battery pack for portable lanterns, ideal for outdoor decorations.
- For stationary lanterns, opt for a plug-in adapter. Ensure the voltage matches the requirements of the LED strip.
- Hide the power source by placing it discreetly behind or underneath the lantern.
Tip: If you’re using multiple lanterns, you can connect them to a single power source using splitters.
Step 8: Test Your Lantern
Once your LED strip is connected, switch it on to see the glow.
- Check the light’s distribution. Is it even? Are there any dark spots?
- Adjust the brightness or colors if your LEDs have customizable settings.
Troubleshooting: If the lights don’t turn on, check for loose connections or ensure the power source is functioning correctly.
Step 9: Add Final Details
Now that the base is complete, it’s time to add those little details that make your lantern unique.
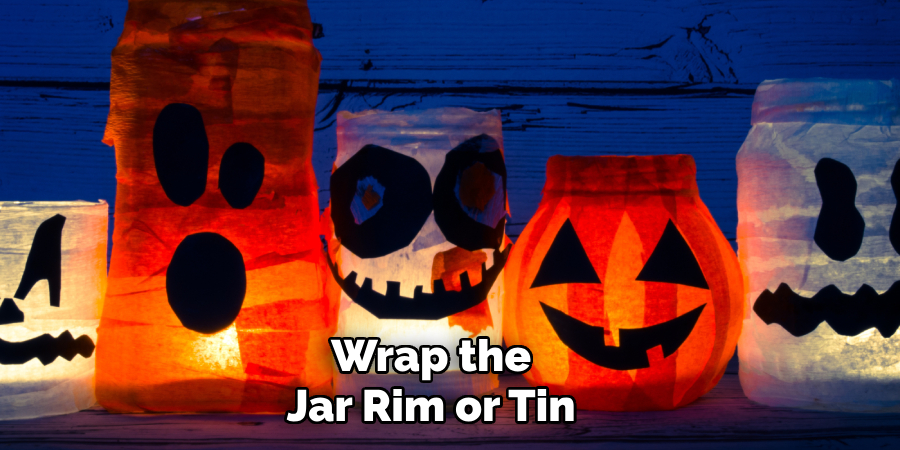
- Wrap the jar rim or tin can handle with twine, ribbons, or burlap for a rustic feel.
- Sprinkle a little glitter or add stick-on gems to make your lantern sparkle.
- Place artificial cobwebs, small plastic spiders, or other Halloween props around the lantern for an extra spooky effect.
Step 10: Display Your Lantern
Your Halloween lantern is ready to shine!
- Porch Display: Place them on your steps to guide trick-or-treaters.
- Hanging Lanterns: Use hooks or sturdy string to hang them from trees, fences, or ceilings.
- Table Centerpieces: Arrange them as the focal point of your Halloween table décor.
Tip: Group several lanterns together in varying sizes and colors for a dramatic, layered effect.
Advanced Techniques for Unique Lanterns
Customizing with Soldering Techniques
If you’re feeling adventurous, solder your LED strips for a clean and professional finish. This allows you to create intricate lighting patterns.
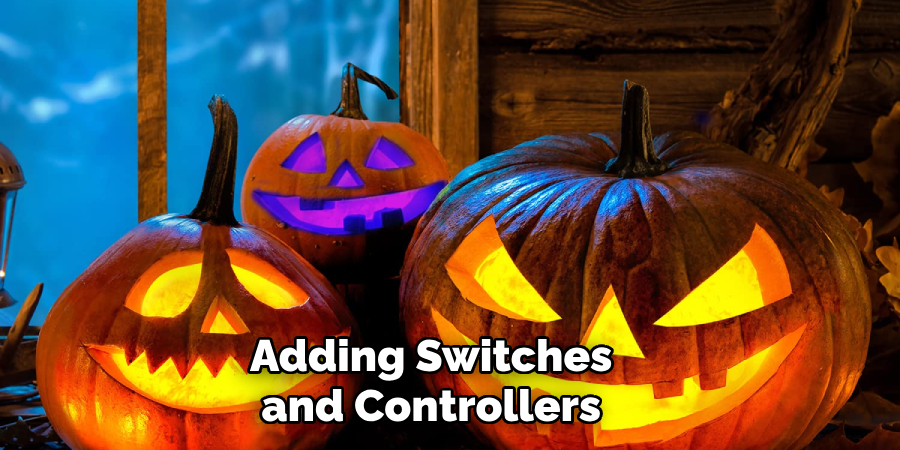
Adding Switches and Controllers
Incorporate remote-controlled switches to easily turn your lanterns on and off. You can even program color-changing effects for extra flair.
Troubleshooting Common Issues
Identifying and Fixing Loose Connections
If your LEDs flicker or don’t light up, check for loose connections at the connectors or solder joints.
Dealing with Inconsistent Light Output
Ensure your power source is sufficient for the number of LEDs used. Replace weak power supplies if necessary.
Frequently Asked Questions
Can I connect LED strips without soldering?
Yes, use LED strip connectors or splitters to connect strips without soldering—quick, easy, and beginner-friendly solutions.
How many LED strips can I connect to one power source?
It depends on the power capacity. Calculate the total wattage of your LED strips to ensure the power source can handle the load.
What is the maximum length for a single LED strip run?
The maximum length for a single LED strip run depends on the type, typically 5-10 meters, before voltage drop reduces brightness. Use amplifiers or additional power supplies for longer runs.
How do I know if my power source is sufficient for all my LED strips?
Calculate the total wattage of your LED strips and ensure your power source provides at least 20% more power to handle the load safely.
Is it safe to connect multiple LED strip lights?
Yes, it’s safe to connect multiple LED strips, as long as you match the total wattage to the power supply’s capacity and follow proper wiring and safety guidelines.
Conclusion
Making Halloween lanterns is a rewarding project that allows you to showcase your creativity while adding a spooky atmosphere to your space. With the right tools, materials, and techniques, you can create unique decorations that impress everyone who sees them. Whether you’re a beginner or a seasoned DIY enthusiast, this guide equips you with all the knowledge you need for an illuminating Halloween celebration. So grab your supplies and let your imagination shine!