Introduction
LED strip lights have become a go-to lighting solution for homeowners and interior decorators alike, thanks to their flexibility, energy efficiency, and sleek, modern design. These versatile lights are ideal for creating ambient lighting, highlighting architectural features, or adding creative flair to any room. However, over time, you might need to reattach your LED strip lights.
This could be due to factors such as wear and tear, improper placement, or the need for a layout update. With proper cleaning, fresh adhesive, and careful positioning, you can efficiently reattach your lights, ensuring they stay in place and continue to function effectively for years to come.
This article provides a comprehensive guide on How to reattach led strip lights effectively. If your LED strips have come loose or need to be repositioned, it’s essential to ensure a clean, dry surface for the adhesive to stick. Regular maintenance and proper handling can extend the lifespan of your lights, saving you both time and money. With our step-by-step guide, you’ll not only learn how to reattach your lights but also how to optimize their performance and enhance your home or workspace with vibrant, energy-efficient lighting.
Essential Tools and Materials You’ll Need
To successfully reattach LED strip lights, you will need the following tools and materials:
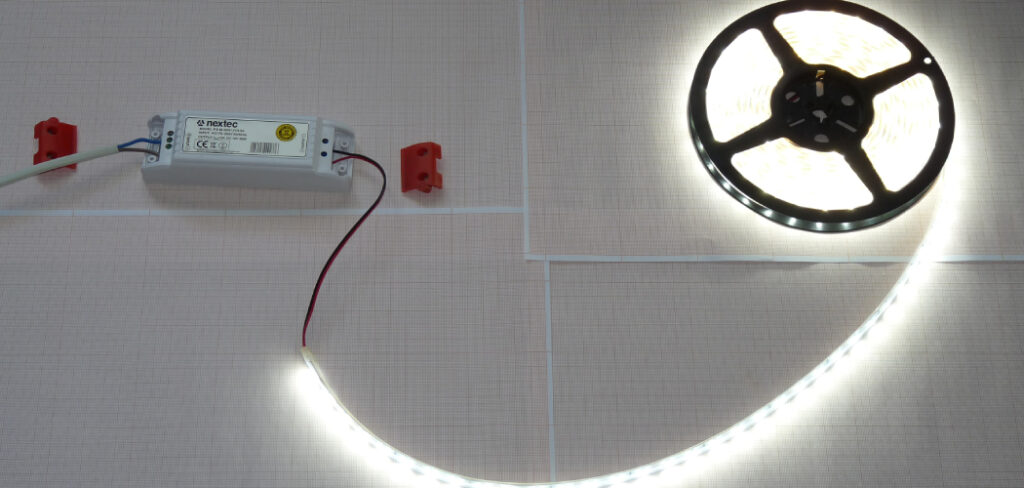
- LED strip lights: The strips you want to reattach or customize.
- Scissors or utility knife: For cutting the strips cleanly along the designated lines.
- Quick connectors: Convenient for reconnecting cut sections of LED strips.
- Soldering iron and solder: For a more durable and permanent connection.
- Electrical tape: To insulate and secure soldered connections.
- Double-sided tape or additional adhesive: To reinforce the adhesive backing if necessary.
- Cleaning supplies: Such as alcohol wipes to clean the surface where the strips will be attached.
- Power supply or adapter: To test and power the LED strips during the reattachment process.
Understanding LED Strip Lights and Their Flexibility
The Basics of LED Strip Lights
LED strip lights consist of small light-emitting diodes (LEDs) mounted on a flexible circuit board. These strips can be cut and reconnected, making them versatile for various applications, from accent lighting to functional illumination.
Flexibility and Customization Options
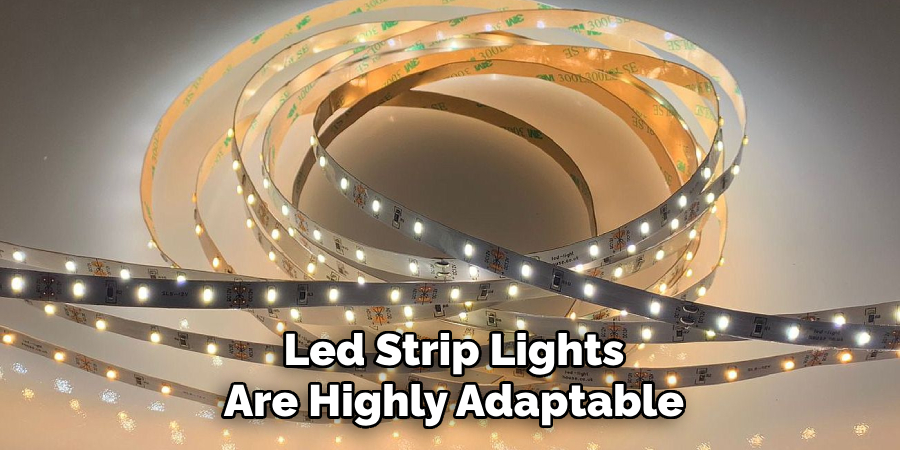
LED strip lights are highly adaptable. They come in different lengths, colors, and brightness levels, allowing you to customize them to fit your specific needs. Their flexibility means you can shape them around corners or cut them to fit a particular space.
Preparing Your Workspace for the Task
Ensure your workspace is clean, dry, and well-lit. Remove any dust or debris from the area where you’ll reattach the LED strip lights. Organize your tools and materials so they’re within easy reach.
7 Easy Steps Guide For Reattaching LED Strip Lights
Step 1: Measuring and Cutting the Strips Correctly
Begin by measuring the length of the area where you want to reattach the LED strip lights. Use a measuring tape to get precise measurements, ensuring that the strip fits perfectly without excess or gaps. Once you know the required length, locate the cutting lines marked on the strip—these are typically small scissor icons or dotted lines. Always cut along these lines using sharp scissors or a utility knife to avoid damaging the internal circuitry. A clean cut ensures the LED strip will remain functional and ready for reattachment.
Step 2: Peel off the Adhesive Backing
Next, carefully peel off the adhesive backing from the LED strip. Hold the strip steady and pull back the protective layer slowly to prevent tearing or wrinkling the adhesive. If the adhesive layer feels weak or compromised, apply double-sided tape, mounting clips, or an additional adhesive (like silicone glue) for stronger bonding. Ensure the surface you’re attaching the strip to is clean and dry, as dust or moisture can reduce the adhesion. A well-prepared surface ensures the strip stays securely in place for a long time.
Step 3: Connect Power Supply
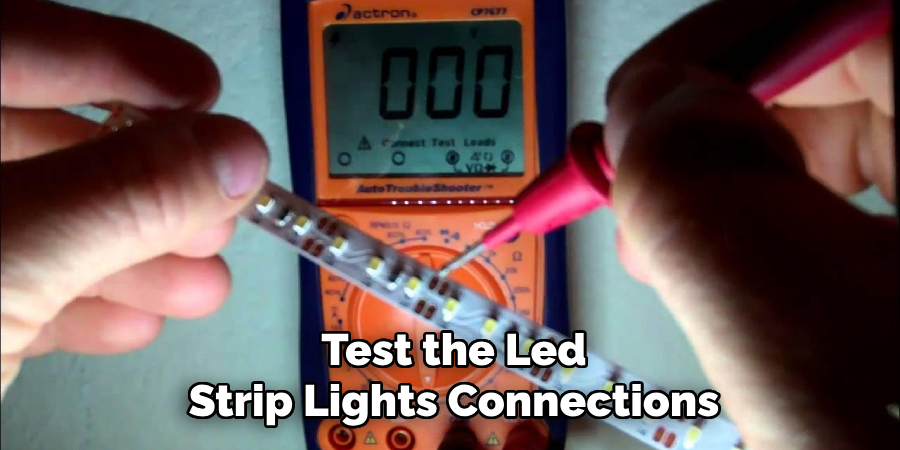
Before attaching the LED strip to a surface, connect it to the power supply to test its functionality. Plug the strip into the appropriate power source and check if it lights up properly. This step allows you to identify any issues, such as faulty connections or damaged sections, before installation. Testing at this stage saves time and effort, preventing the need to redo the installation later. If the lights do not turn on, inspect the power connections, connectors, and strip for problems.
Step 4: Cutting LED Light Strips
For larger areas or spaces with irregular shapes, you may need to cut the LED strip into smaller sections. Locate the pre-marked cutting lines on the strip, which indicate where you can safely cut without damaging the electrical components. Use sharp scissors or a utility knife to make a clean cut along these lines. Never cut outside the marked lines, as this could sever internal wiring, rendering the strip unusable. Take care to save the cut-off section, as it can be reused or reconnected later if needed.
Step 5: Reconnecting LED Light Strips

If you’ve cut the LED strip into sections, reconnecting them properly is crucial. Start by aligning the cut ends so that the positive (+) and negative (-) terminals match. Misaligned connections can cause the strip not to function. Use quick connectors for a simple and secure method—these connectors clamp onto the ends of the strip without the need for tools. Alternatively, you can solder wires between the sections for a more durable connection. Always test the connection after aligning and securing the ends to confirm the strip lights up correctly.
Step 6: Using a Quick Connector to Connect LED Strip Lights
Quick connectors are a fast and efficient way to reattach LED strip sections. Open the connector and insert the exposed terminals of the LED strip into the designated slots, ensuring the positive and negative terminals are in their correct positions. Inside the connector, metal pins will make contact with the terminals to establish a secure electrical connection. Once the strip is properly inserted and aligned, close the connector tightly to lock the strip in place. These connectors are especially useful for beginners as they require no soldering or advanced tools.
Step 7: Soldering Wires to the LED Strip Lights
For a more permanent solution, soldering is ideal. Start by stripping a small portion of the wire insulation to expose the copper strands. Heat a soldering iron and apply a small amount of solder to the exposed terminals of the LED strip and the stripped wires. Join the wires to the terminals, making sure the solder flows evenly to create a solid bond. Avoid using too much solder, as this can create a short circuit. Once the connection is complete, cover the soldered area with heat shrink tubing or electrical tape for insulation. This method ensures a durable and reliable connection, ideal for long-term installations.
Tips for Ensuring a Strong Connection
Soldering vs. Using Connectors for Reattachment
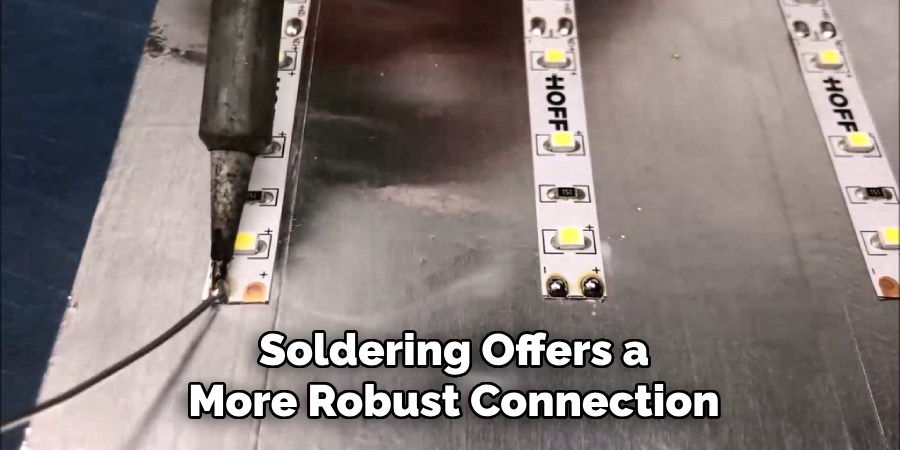
Soldering offers a more robust and permanent connection, making it ideal for long-term use. However, it requires more skill and the right tools. Quick connectors, on the other hand, are easier and quicker to use, making them a good choice for beginners or temporary setups.Soldering offers a more robust and permanent connection, making it ideal for long-term use. However, it requires more skill and the right tools. Quick connectors, on the other hand, are easier and quicker to use, making them a good choice for beginners or temporary setups.
Testing Your Connections for Safety and Functionality
After reattaching the strips, it’s important to test the connections. Turn the lights on and observe the illumination. Ensure the light is evenly distributed, and check that all connections are secure. Look out for any flickering or dead spots, which may indicate loose or faulty connections. This step ensures both safety and proper function.
Creative Ideas for Using Reattached LED Strip Lights
Innovative Lighting Projects for Your Home
- Under-cabinet lighting in the kitchen
- Backlighting for TVs or monitors
- Accent lighting for shelves or display cases
Customizing Spaces with LED Lights
- Highlight architectural features like crown molding
- Create a cozy ambiance in bedrooms or living rooms
- Add colorful lighting to outdoor spaces (if the strips are weatherproof)
Frequently Asked Questions
Can you reattach LED strip lights after cutting them?
Yes, you can reattach LED strip lights after cutting them by either soldering the cut ends for a secure connection or using connectors, which are easier but less durable. Always test afterward.
What are the best connectors for reattaching LED strips?
The best connectors for reattaching LED strips include 2-pin or 4-pin connectors for simple connections, L-shape for corners, T/X-shape for multiple strips, and clip-on connectors for tool-free, quick installations.
How do you ensure a secure connection when reattaching LED strips?
Ensure the connectors or soldered wires are firmly attached, and test the connection for functionality before finalizing the installation.
Can reattached LED strip lights be used outdoors?
Yes, reattached LED strip lights can be used outdoors if they are designed for outdoor use. Ensure the strips are weatherproof and have a proper IP rating to withstand moisture, dust, and temperature changes.
Conclusion
Reattaching LED strip lights is a simple yet effective way to restore and enhance your lighting system while unlocking endless customization possibilities. Whether fixing placement errors, updating a design, or repurposing strips for a new location, the process is straightforward when you have the right tools and follow a clear step-by-step guide. By taking the time to ensure secure connections and proper installation, you can achieve a polished, professional look that complements any space. Reattached LED strip lights are perfect for creating inviting atmospheres, drawing attention to specific features, or adding a touch of creativity to your decor. With minimal effort, you can bring a new level of brightness and sophistication to your environment.