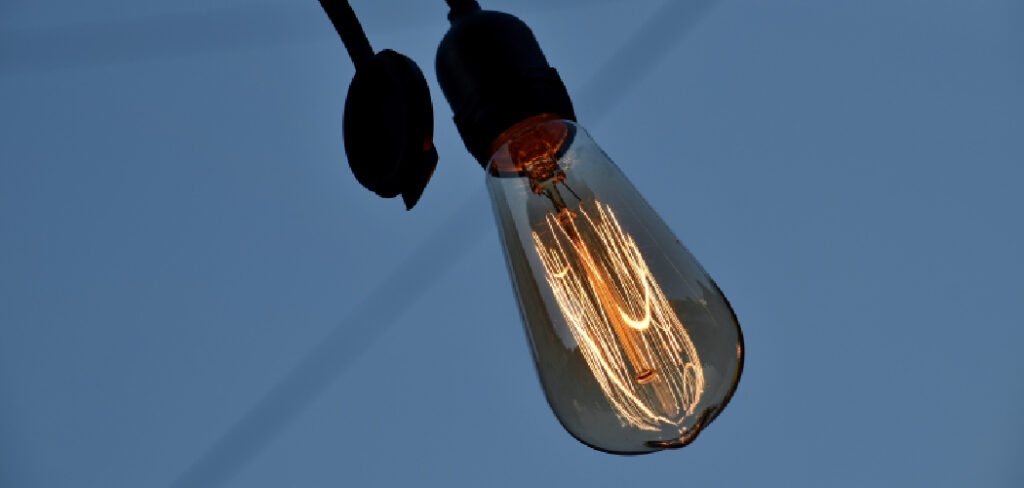
A broken light bulb stuck in its socket can be both frustrating and hazardous. Whether it shattered while being screwed in or broke due to age, removing it safely is essential to prevent injury and damage. Attempting to forcefully extract it without proper precautions can lead to cuts, electrical hazards, or damage to the socket.
Before starting, always turn off the power to eliminate the risk of electric shock. Using protective gear like gloves and safety goggles will help prevent injuries from sharp glass fragments. Several safe methods exist to remove a broken bulb, including using a potato, rubber gripper, or needle-nose pliers, depending on the severity of the breakage.
This guide will provide step-by-step instructions on how to remove broken light bulb in socket. Whether you’re dealing with a minor break or a stuck base, these techniques will help you handle the situation efficiently. By following the right precautions, you can safely extract the broken bulb without causing harm or further damage.
Gather All the Necessary Tools
Before attempting to remove the broken light bulb, having the right tools on hand will make the process smoother. Here are some items you might need:
- Safety gloves
- Safety goggles
- Needle-nose pliers
- A potato (yes, really!)
- Duct tape
- A broken bulb extractor
- A hot-glue gun
- A screwdriver
- A flashlight
Preparing for Removal
Ensuring Safety First
Safety should always be your top priority when dealing with broken glass and electricity. Follow these precautions:
- Turn off the power at the switch or breaker panel.
- Wear protective gloves to prevent cuts from broken glass.
- Use safety goggles to protect your eyes from small shards.
- Work in a well-lit area to see what you are doing clearly.
- Ensure a stable footing and avoid standing on wobbly surfaces.
Remove Base of Broken Light Bulb from Socket
If the glass part of the bulb has already broken off, leaving only the metal base inside the socket, you’ll need a method to unscrew it without causing further damage. Here are six easy ways to do this.
6 Easy Steps for How to Remove Broken Light Bulb in Socket
Dealing with a broken light bulb stuck in a socket can be frustrating and dangerous if not handled properly. Fortunately, with the right tools and techniques, you can safely remove the broken bulb base without damaging the socket. Here’s a step-by-step guide to help you do it safely and efficiently.
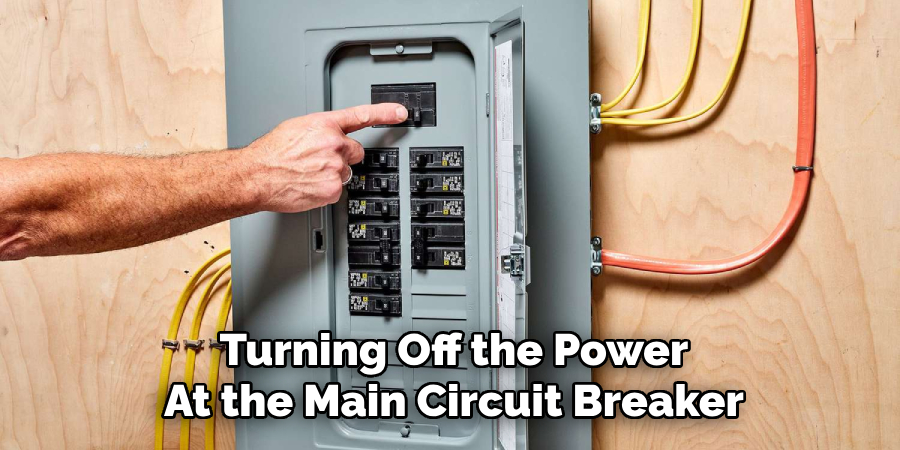
Step 1: Turn Off the Power
Before removing a broken bulb, always prioritize safety by turning off the power at the main circuit breaker or the light switch. This step helps prevent electrocution. Additionally, use a voltage tester to double-check that the socket is not live. Confirming that there’s no electrical current ensures a safe environment to proceed with removing the broken bulb without the risk of electrical shock.
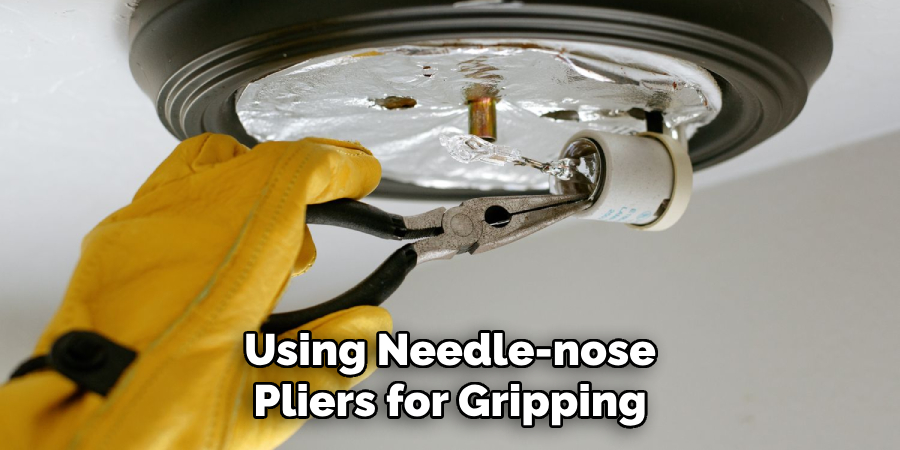
Step 2: Using Needle-Nose Pliers for Gripping
If the metal base of the bulb is still visible and accessible, you can use needle-nose pliers to remove it safely. Start by carefully gripping the edge of the bulb’s metal base with the pliers, ensuring a firm but gentle hold. Slowly twist the pliers counterclockwise to unscrew it from the socket. If the base is stuck, use small, controlled wiggling motions to loosen it, being cautious not to damage the socket threads. Always wear protective gloves to avoid injury from any broken glass while handling the bulb and its base.
Step 3: Employing the Potato Method
This household trick is surprisingly effective for safely removing a broken bulb base. Start by cutting a raw potato in half. Firmly press the soft, cut side against the exposed base of the broken bulb. Twist the potato counterclockwise, ensuring it grips the base securely. As you twist, the potato will help loosen the metal base without damaging the socket. Once it’s loosened, gently pull the base out. Be sure to dispose of the potato carefully, as small shards of glass could be embedded in it.
Step 4: Using a Broken Bulb Extractor
A broken bulb extractor is a specialized tool designed to safely remove broken bulbs from light sockets. To use it, insert the rubber or plastic end of the extractor into the socket, ensuring a snug fit. Apply gentle pressure to the tool, pressing it against the metal base of the bulb to establish a firm grip. Once secured, twist the extractor counterclockwise to loosen and remove the broken base. Once the base is free, carefully take it out of the socket and discard it, ensuring no remnants remain to cause damage or difficulty during bulb replacement.
Step 5: Using a Hot-Glue Gun
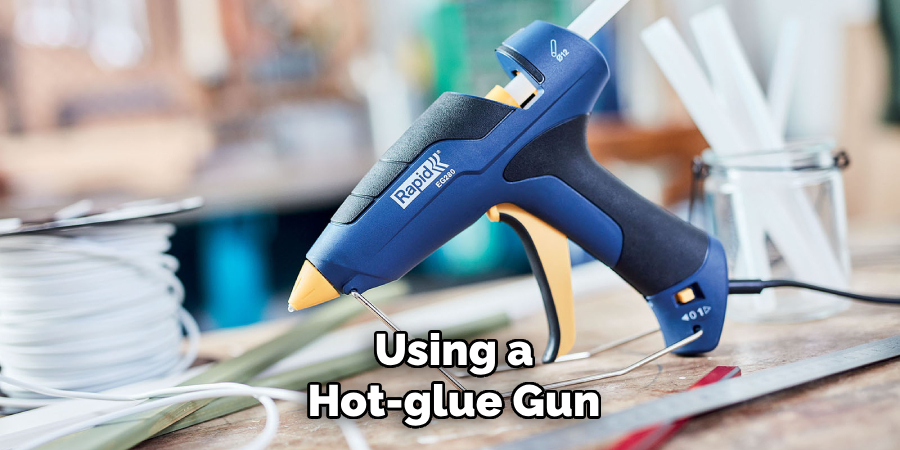
For stubborn broken bulb bases, a hot-glue gun can offer a simple yet effective solution. Begin by applying a generous amount of hot glue inside the broken bulb base. While the glue is still hot, insert a wooden stick, dowel, or a sturdy pen into the glue, pressing it firmly to ensure a strong bond. Allow the glue to cool and harden, creating a solid grip. Once the glue is set, slowly twist counterclockwise to gently extract the broken base from the socket. This method provides extra leverage and stability for removing difficult bulb remnants.
Step 6: The Duct Tape Method
If specialized tools are unavailable, duct tape can provide a practical alternative for gripping and removing a broken bulb base. Start by cutting a long strip of duct tape and folding it into a loop with the sticky side facing out. Firmly press the tape inside the broken bulb base, ensuring it adheres securely to the remaining glass. Once the tape is in place, use it as a handle, applying gentle pressure while twisting counterclockwise. The tape’s strong adhesive will help loosen the base, allowing you to remove it safely and easily from the socket.
By following these simple and safe techniques, you can successfully remove a broken light bulb from its socket without causing any damage. With a little patience and the right approach, you’ll have your light fixture ready for a new bulb in no time!
Tips for Removing Broken Light Bulbs
Wear protective gear – Use gloves and safety glasses to prevent injuries from broken glass.
Turn off power – Always cut the power supply before attempting to remove a broken bulb.
Enhance grip – Wrap electrical tape around plier handles for better control while removing the bulb.
Check the socket – Ensure no glass fragments or debris are left inside after removal.
Avoid over-tightening – Tightening a new bulb too much can increase the risk of future breakage.
Use bulb lubricant – Apply a small amount to the base threads for easier removal in the future.
Try alternative removal methods – If needed, use a rubber bottle or a potato to safely extract a stubborn broken bulb.
Dispose of broken glass carefully – Wrap shards in newspaper or place them in a sealed container to prevent injuries.
Keep spare bulbs handy – Having replacements on hand ensures quick installation without delays.
Check the wattage – Ensure the new bulb matches the recommended wattage to avoid electrical issues.
Frequently Asked Questions
Can I Remove a Bulb Without Turning Off the Power?
It’s unsafe to remove a bulb without turning off the power. The socket may still carry electricity, posing a risk of electric shock or injury. Always switch off the power at the light switch or circuit breaker before removing a bulb to ensure your safety.
Is It Safe to Use the Potato Method?
Using the potato method to remove a broken bulb can be dangerous. While it may offer a temporary grip, it’s risky because the potato can conduct electricity and may lead to injury. It’s safer to use specialized tools like a broken bulb extractor or hot glue to avoid electrical hazards.
Is There a Way to Unscrew a Light Bulb That Has Broken?
Yes, you can unscrew a broken light bulb using a broken bulb extractor, hot glue, or duct tape. The extractor provides a secure grip, while hot glue and duct tape offer alternative methods to remove the base by creating leverage. Always ensure the power is turned off before attempting any of these methods.
Why Do My LED Bulbs Burn Out?
LED bulbs may burn out due to power surges, poor wiring, or excessive heat buildup in enclosed fixtures. Ensure your fixtures are compatible with LED bulbs and have proper ventilation.
Conclusion
Removing a broken light bulb from a socket doesn’t have to be a stressful or risky task. With the right tools and a little patience, you can safely and effectively extract the broken bulb base without causing harm. The key is to prioritize safety—always turn off the power at the light switch or circuit breaker before starting the removal process. This eliminates the risk of electrical shock or other injuries.
There are several methods you can use, depending on what tools you have on hand. A specialized broken bulb extractor is the safest and most reliable option, providing a firm grip to easily twist the base out. If you don’t have an extractor, alternatives like a hot glue gun, duct tape, or even a potato can work. The hot glue method creates a strong bond for leverage, while duct tape provides a quick and effective grip. The potato method, though less recommended, can still provide a temporary solution if handled carefully.
No matter which method you choose, take your time and proceed with caution. Protective gloves and eye protection are always a good idea. Once the broken bulb is removed, you can safely replace it and restore your lighting. Happy fixing!