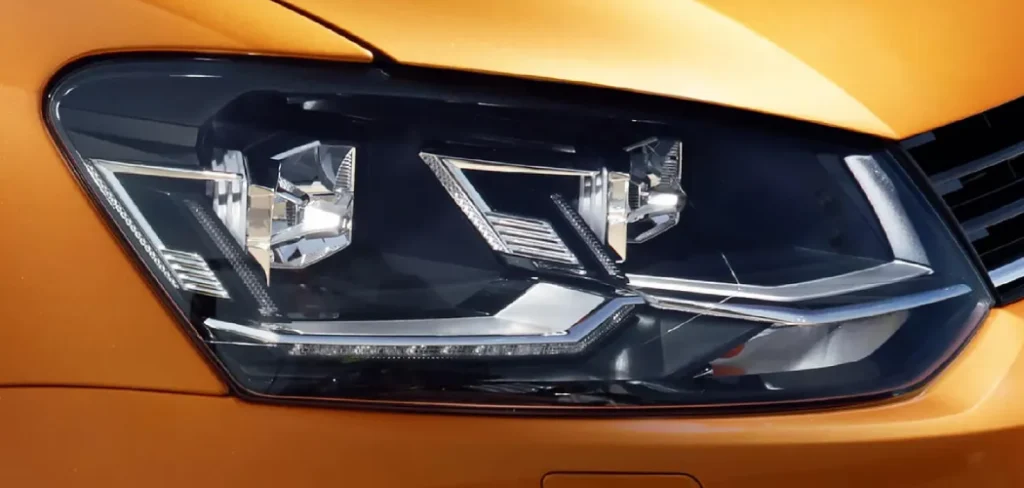
LED headlights have become the go-to choice for vehicle owners due to their superior brightness, energy efficiency, and long lifespan. Unlike traditional halogen bulbs, LED headlights provide a more focused beam with better illumination, making night driving safer and clearer. However, their effectiveness depends largely on correct positioning.
Misaligned LED headlights can lead to glare, poor road illumination, and even legal penalties. Improperly adjusted lights may blind oncoming drivers, making night driving dangerous for everyone on the road. On the other hand, headlights that are too low may fail to illuminate the road ahead properly, reducing visibility and reaction time.
This article provides a comprehensive guide on how to position led headlights effectively. Whether you’re installing new LED bulbs or adjusting factory settings, following these steps will enhance your driving experience while keeping you compliant with road safety laws.
Understanding LED Headlight Alignment
How LED Headlights Work
LED headlights use light-emitting diodes to produce a bright, focused beam. Unlike halogen bulbs, which generate light by heating a filament, LEDs produce light instantly and more efficiently. This allows better control over the beam pattern, reducing unnecessary light scatter and improving visibility.
Differences Between Halogen, HID, and LED Headlights
- Halogen Headlights: Produce a wider, softer glow but lack efficiency and longevity.
- HID (High-Intensity Discharge) Headlights: Provide brighter light but take time to reach full brightness.
- LED Headlights: Offer instant brightness, longer life, and better beam control, making them the best choice for modern vehicles.
Why Factory Settings May Not Be Optimal
Even though new cars come with pre-set headlight alignment, these settings aren’t always accurate due to:
- Variations in vehicle weight (cargo, passengers).
- Suspension changes affecting headlight height.
- Differences in LED headlight designs and bulb replacement.
Legal Regulations on Headlight Positioning
The Department of Transportation (DOT) and National Highway Traffic Safety Administration (NHTSA) enforce strict headlight alignment rules to prevent excessive glare. Generally, the top edge of the headlight beam should be positioned about 2 inches lower than the headlight height at 25 feet from a wall. Always check your local regulations to ensure compliance.

Signs That Your LED Headlights Are Misaligned
Misaligned LED headlights compromise safety and may lead to dangerous driving conditions. Here are some common indicators that your headlights need adjustment:
1. Uneven Road Illumination
If one side of the road appears brighter than the other, or if your headlights don’t evenly illuminate the ground, they may be misaligned.
2. Blinding Oncoming Drivers
One of the biggest signs of misalignment is when other drivers frequently flash their high beams at you. This means your headlights are too high, creating glare that affects their visibility.
3. Insufficient Road Visibility
Headlights that point too low fail to light up the road adequately, making it difficult to see obstacles, road signs, or pedestrians at night.
How to Check for Misalignment
You can easily test headlight alignment by:
- Observing the light pattern on a wall or garage door.
- Driving on an empty road and checking for uneven brightness.
- Noticing if street signs are over-illuminated while the road remains dark.
If any of these issues occur, your LED headlights need adjustment.
Tools and Materials Needed
Before you start adjusting your LED headlights, gather these basic tools:
- Screwdriver or wrench (for adjusting headlight screws).
- Measuring tape (to ensure proper alignment distance).
- Masking tape (for marking the alignment reference points).
- A level surface (garage or driveway for accurate results).
- Wall or flat vertical surface (to project the headlight beams).
Safety Precautions
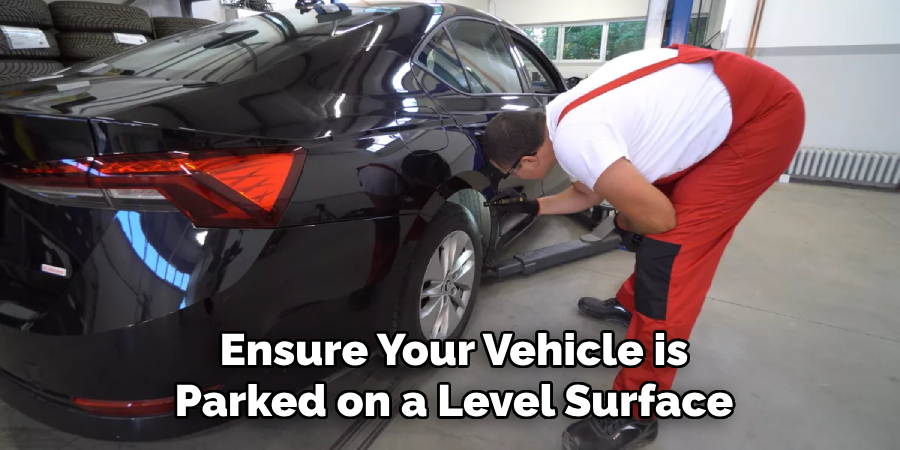
- Ensure your vehicle is parked on a level surface.
- Inflate the tires to the recommended pressure.
- Keep your gas tank half or full at your usual driving level.
- Avoid extra weight in the trunk or backseat, as this may affect alignment.
5 Easy Steps on How to Position Led Headlights
Properly positioning your LED headlights is crucial for optimal road illumination, safety, and compliance with traffic laws. Follow these detailed step-by-step instructions to align your headlights correctly.
Step 1: Prepare the Vehicle for Alignment
- Find a suitable location – Choose a flat, level surface such as a garage, driveway, or parking lot that has a wall or garage door to project the headlight beam.
- Measure the distance – Park the vehicle exactly 25 feet away from the wall. This is the recommended distance for accurate headlight adjustments.
- Check tire pressure – Ensure that all four tires are properly inflated to their recommended pressure level, as uneven tire pressure can cause incorrect alignment.
- Balance vehicle weight – Remove unnecessary weight from the trunk and backseat. Carrying excess weight can alter the height of your vehicle and affect alignment.
- Simulate normal driving conditions – Keep your gas tank at least half full and ensure the car is sitting as it would under regular driving conditions.
Step 2: Identify the Headlight Cutoff Line
- Turn on your low-beam LED headlights – Ensure the headlights are in their standard low-beam mode, as high beams follow different alignment rules.
- Stand in front of the car and observe the light pattern – The beam will create a distinct cutoff line on the wall, where the bright area meets the darker section.
- Mark reference points with masking tape:
- Horizontal centerline – Place a strip of tape at the height of each headlight’s center. This will serve as a reference for vertical adjustments.
- Vertical centerline – Place another tape strip vertically through the center of each beam to help guide left/right adjustments.
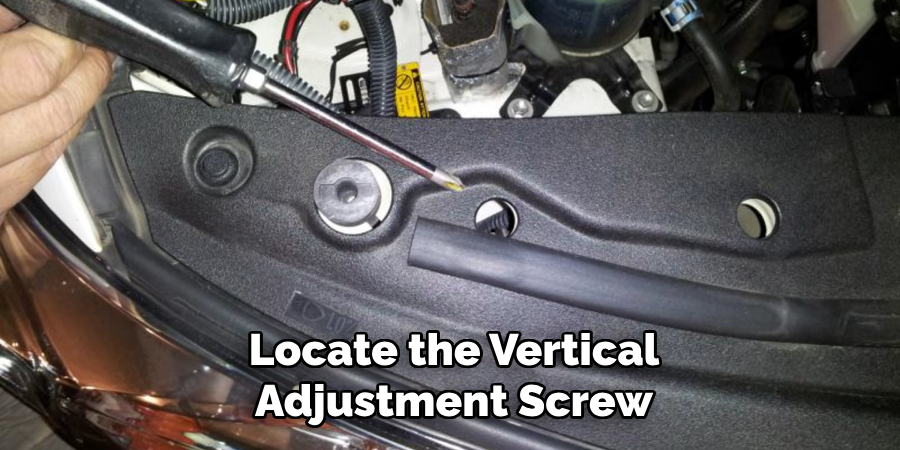
Step 3: Adjusting Vertical Alignment
- Locate the vertical adjustment screw – This is typically found on top or behind the headlight assembly. Look for an adjustment dial or screw near the housing.
- Turn the adjustment screw carefully:
- Clockwise – Raises the beam higher.
- Counterclockwise – Lowers the beam.
- Set the correct height – The top edge of the beam should be 2 inches below the horizontal tape line at 25 feet. This ensures proper road illumination without blinding oncoming drivers.
Step 4: Adjusting Horizontal Alignment
- Find the horizontal adjustment screw – Located on the side of the headlight housing. Not all vehicles have this option, but if available, it allows you to move the beam left or right.
- Adjust the beam’s direction:
- Ensure that the beams are centered and do not angle outward or inward excessively.
- The ideal beam placement is slightly angled toward the right (for right-hand traffic) to avoid blinding oncoming drivers.
- Test the alignment visually – Both headlights should be symmetrical, parallel, and aimed straight ahead with a minor rightward tilt.
Step 5: Final Testing and Road Check
- Take your vehicle for a test drive on a dark road to evaluate the alignment.
- Check for proper illumination – Your headlights should evenly light up the road ahead without creating dark spots or excessive glare.
- Observe oncoming driver reactions – If you frequently get flashed by other drivers, your lights may be too high.
- Make final minor adjustments if necessary.
By following these steps, you’ll ensure maximum visibility and safety while driving at night.
Common Mistakes to Avoid
- Over-adjusting the beam too high, creating glare for other drivers.
- Positioning too low, reducing visibility on dark roads.
- Skipping the alignment process after installing new LED bulbs.
- Not considering different headlight designs (some vehicles have unique adjustment mechanisms).
- Ignoring vehicle weight distribution (uneven weight affects beam angles).
Frequently Asked Questions
1. How often should I check my LED headlight alignment?
Ans: It’s recommended to check your LED headlight alignment at least once every six months or whenever you notice reduced visibility at night. You should also inspect alignment after installing new bulbs, replacing the headlight assembly, or making suspension changes that might affect the vehicle’s height.
2. Do LED headlights require different positioning than halogen?
Ans: Yes, LED headlights often have a sharper beam pattern compared to halogen bulbs. While the alignment process is similar, LED headlights require precise adjustment to prevent Ans: excessive glare. Unlike halogens, LED headlights can create a more concentrated beam, making it crucial to aim them correctly to avoid blinding other drivers.
3. Can I adjust LED headlights without special tools?
Ans: Yes, you only need basic tools such as a screwdriver or wrench to adjust the headlight screws. Some modern vehicles even have manual adjustment dials that don’t require tools. However, for precise alignment, using a measuring tape, masking tape, and a level surface is highly recommended.
4. Why do my headlights look uneven even after adjusting?
Ans: Uneven headlights can be caused by several factors, including uneven tire pressure, improper vehicle balance, or a damaged headlight housing. Ensure your car is parked on a flat surface and check for any suspension issues. If the problem persists, your vehicle may need professional realignment.
5. What’s the ideal distance for checking headlight alignment?
Ans: The standard recommendation is to park your vehicle 25 feet away from a wall to check headlight alignment. This distance allows for accurate measurement and ensures the beams are positioned correctly without causing excessive glare.
Conclusion
Correctly positioning your LED headlights is essential for safe and efficient driving. Proper alignment ensures better road illumination, prevents glare, and complies with legal standards. By following this guide, you can easily adjust your LED headlights at home and improve your nighttime visibility.
If you found this guide helpful, explore more lighting tips on Lightorix.com and feel free to share your experiences or ask questions in the comments!