A well-lit closet is essential for organization, convenience, and aesthetics. Whether you have a small reach-in closet or a spacious walk-in wardrobe, proper lighting helps you quickly find what you need while enhancing the overall look of the space. Dim, shadowy closets can make it difficult to locate items, leading to frustration and inefficiency.
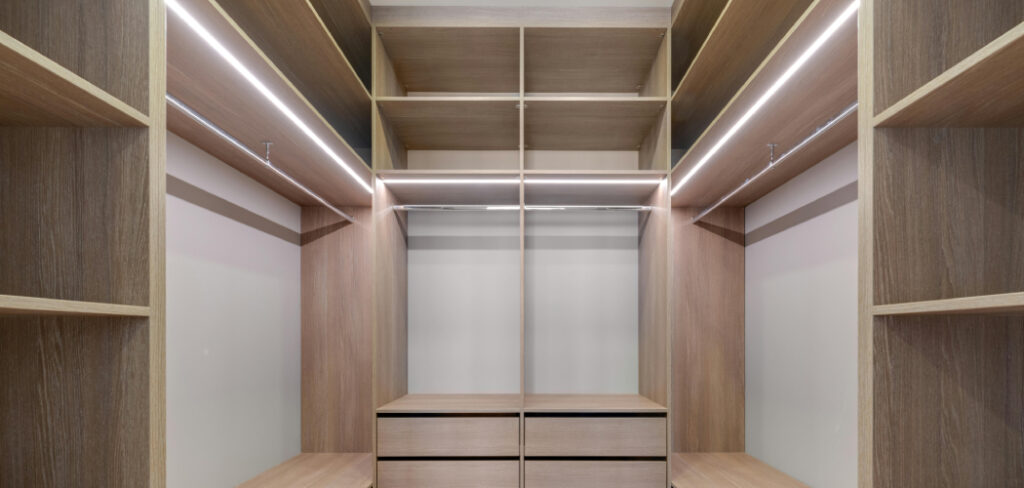
Installing a dedicated closet light offers several benefits, including better visibility, an enhanced appearance, and added convenience. With the right lighting, you can transform your closet into a more functional and inviting space. From hardwired fixtures to battery-powered and motion-sensor lights, there are plenty of options to suit different needs and budgets.
However, before installing a closet light, it’s crucial to consider safety regulations and electrical codes. The National Fire Protection Association (NFPA) and National Electrical Code (NEC) provide guidelines to ensure proper light placement and prevent fire hazards.
This article provides a comprehensive guide on how to install a light in a closet effectively, and step-by-step installation instructions. Whether you’re a DIY enthusiast or a beginner, this guide will help you achieve a well-lit, stylish, and efficient closet space.
Choosing the Right Closet Light
Types of Closet Lights
When selecting a closet light, consider the various lighting options available:
- Hardwired Lights – Connected directly to the home’s electrical system, offering permanent, high-quality lighting.
- Battery-Powered Lights – A wireless, easy-to-install option, ideal for renters or spaces without electrical access.
- Motion-Sensor Lights – Lights that automatically turn on when motion is detected, providing hands-free convenience.
- LED Strip Lights – Flexible, energy-efficient lights that provide a decorative and functional touch.
- Puck Lights – Small, compact lights that offer focused illumination for small spaces.
Factors to Consider When Choosing a Closet Light
- Closet Size and Layout – A large closet may require multiple light sources.
- Power Source Availability – If you lack an electrical outlet, battery-powered lights are a good alternative.
- Brightness Level – Choose a light with appropriate lumens (higher lumens for brighter illumination).
- Energy Efficiency – LED lights are more efficient than incandescent bulbs.
- Safety Regulations – Ensure compliance with NFPA and NEC codes to prevent fire hazards.
Preparing for Installation
Gathering Necessary Tools and Materials
Before installing your closet light, gather the following tools:
- Drill and drill bits
- Screwdrivers
- Wire strippersElectrical tape
- Wire nuts and connectors
- Measuring tape and pencil
- Leveler
- Batteries

Selecting the Ideal Location for the Light
Proper placement ensures optimal illumination and minimizes shadows.
- Position the light near the center or top of the closet for uniform lighting.
- Avoid placing lights near flammable materials such as clothes or wooden shelves.
- If installing a motion-sensor light, place it where it can easily detect movement.
Ensuring Electrical Safety
- Turn off power before working with electrical wiring.
- Check for existing wiring or outlets in the closet.
- Understand local building codes to ensure compliance with safety standards.
Step by Step Guides on How to Install a Light in a Closet
Proper lighting in a closet enhances visibility, organization, and aesthetics. Depending on your power source and preference, you can choose between hardwired lights, battery-powered lights, motion-sensor lights, or LED strip lights. Below is a detailed step-by-step guide for installing each type.
1. Installing a Hardwired Closet Light
Hardwired closet lights are a permanent and reliable lighting solution that connects directly to your home’s electrical system. Follow these steps:
- Turn Off Power – Before starting, switch off the circuit breaker to avoid electrical hazards. Use a voltage tester to confirm that no electricity is flowing to the installation area.
- Mark the Light Position – Measure and mark the spot where you want the fixture to be mounted. Ideally, install the light in the center of the closet ceiling for even illumination.
- Run Electrical Wiring – If an existing power source is nearby, connect the wiring from there. If not, you may need to run a new electrical wire, which may require a professional electrician.
- Mount the Light Fixture – Secure the fixture to the ceiling or wall using the appropriate screws and anchors.
- Connect the Wires – Match the wires correctly “Black to Black (hot wire), White to White (neutral wire), Green to Ground (or bare copper wire)”
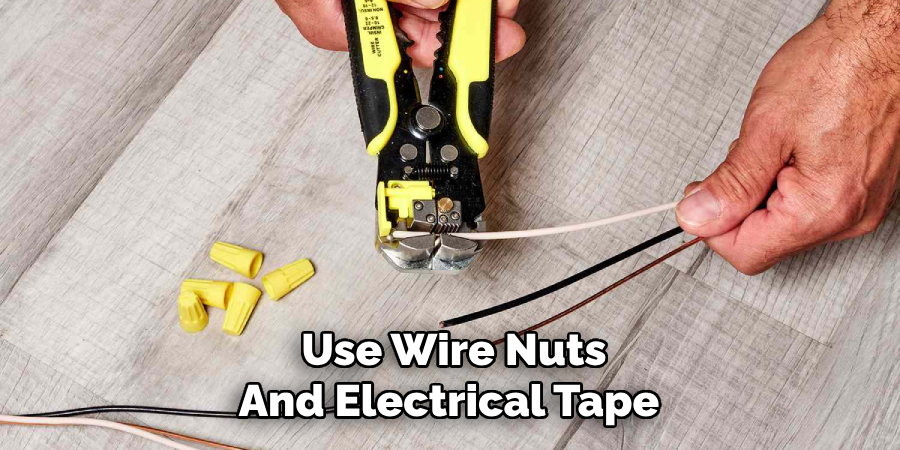
- Secure and Cover – Use wire nuts and electrical tape to secure the connections. Attach the fixture’s cover according to the manufacturer’s instructions.
- Turn On Power and Test – Restore power at the circuit breaker and test if the light turns on properly.
2. Installing a Battery-Powered Closet Light
Battery-powered lights are ideal for renters or closets without electrical wiring. They are wireless, easy to install, and portable. Here’s how to install them:
- Choose the Installation Spot – Identify the best location for brightness and accessibility, ensuring it evenly illuminates the closet space.
- Attach Mounting Hardware – Use adhesive strips, screws, or magnetic mounts to fix the light securely.
- Insert Batteries – Open the battery compartment and insert new batteries to ensure maximum performance.
- Test the Light – Turn on the light and check if it provides adequate illumination. Adjust positioning if necessary.
3. Installing a Motion-Sensor Closet Light
Motion-sensor lights automatically turn on when movement is detected, making them energy-efficient. Follow these steps:
- Select the Right Placement – Install the sensor light at an optimal height, ideally where it can easily detect movement when opening the closet door.
- Mount the Sensor Light – Use adhesive backing, screws, or brackets to attach the fixture securely.
- Adjust the Sensor Settings – Set motion sensitivity and timer duration based on your preference. Some models also allow brightness adjustment.
- Test the Motion Activation – Walk in and out of the closet to ensure the light turns on and off automatically. Adjust the settings if necessary.
4. Installing LED Strip Lights in a Closet
LED strip lights provide decorative and functional lighting, making them perfect for accent lighting in closets. Here’s how to install them:

- Measure the Closet Interior – Determine the length of LED strips needed for the area you want to illuminate.
- Clean the Surface – Wipe down the installation area with a dry cloth or rubbing alcohol to remove dust and debris, ensuring better adhesive grip.
- Stick or Mount the LED Strip – Peel off the adhesive backing and firmly press the strip onto the surface. If needed, use mounting clips for extra support.
- Connect to Power Source – Plug the LED strip into a nearby electrical outlet or use a battery pack if it’s a wireless model.
- Adjust and Test – Turn on the lights, check brightness levels, and adjust positioning as needed.
Tips for Maximizing Closet Lighting Efficiency
- Use Reflective Surfaces – Light-colored closet interiors enhance brightness.
- Install Multiple Lights – Prevent dark corners by using more than one light source.
- Utilize Smart Lighting – Consider voice-activated or remote-controlled options. Replace
- Batteries Regularly – Ensure consistent performance in battery-powered lights.
- Keep Light Fixtures Clean – Dust and dirt can reduce light output over time.
Common Mistakes to Avoid
When installing closet lights, there are several common mistakes to avoid to ensure your setup is effective and safe.
First, choosing the wrong type of light is a frequent mistake. It’s important to consider your closet size and available power sources. For example, opting for a hardwired light when no electrical wiring exists can cause unnecessary complications. Always choose a light that suits your space and power capabilities, such as LED strips or battery-powered lights.
Placement is another critical factor. Installing a light in a poor location can result in shadows or uneven illumination. Ensure your light is positioned centrally or along the sides of the closet for optimal brightness. For motion-sensor lights, mount them at chest or eye level for best results.
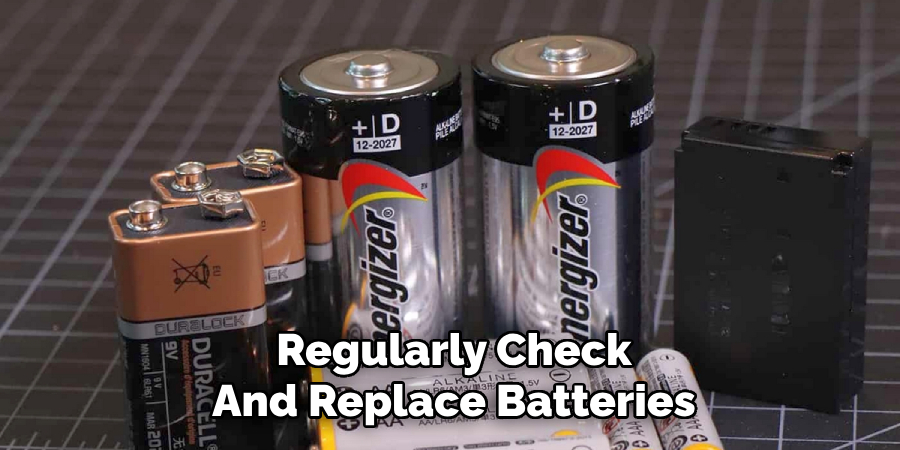
Skipping surface preparation is another mistake. Ensure the installation area is clean and smooth before placing adhesive lights. Lastly, never forget safety when working with hardwired lights—always turn off the power and follow electrical safety codes. Regularly check and replace batteries in battery-powered lights for consistent performance.
Frequently Asked Questions
1. What is the best type of light for a small closet?
LED puck lights or motion-sensor lights work well in small closets because they are compact and provide adequate illumination.
2. Do I need an electrician to install a hardwired closet light?
If you are comfortable with basic wiring, you can install it yourself. However, if new wiring is required, hiring an electrician is recommended.
3. How many lumens do I need for a closet light?
For a small closet, 300–500 lumens is sufficient. Larger walk-in closets may require 700–1000 lumens.
4. Can I install a closet light without wiring?
Yes! Battery-powered and motion-sensor lights are great options for closets without electrical wiring.
5. Are there specific safety codes for closet lighting?
Yes. According to NEC guidelines, lights must be at least 12 inches away from storage areas to prevent fire hazards.
Conclusion
Installing a closet light enhances visibility, organization, and aesthetics. Whether you choose a hardwired fixture, battery-powered light, motion sensor, or LED strips, the right lighting solution makes your closet more functional and stylish.
By following the step-by-step installation guide and adhering to safety regulations, you can enjoy a well-lit, clutter-free closet without any hassle.
For more lighting tips and installation guides, visit Lightorix.com and explore our expert recommendations!