Have you ever seen a regular-looking light bulb and thought, “Wait… is that thing recording me?” If so, you might’ve encountered a light bulb camera — a clever device that combines lighting with hidden surveillance.
Light bulb cameras are one of the fastest-growing trends in home security. They fit into ordinary light sockets, work as LED lights, and stream live video directly to your smartphone. They’re discreet, wireless, easy to install, and smart enough to send you real-time alerts.
But how exactly do these camera bulbs work? What technology do they use? And are they really worth the hype?
In this article, we’ll break it all down — from the inner components and how do light bulb cameras work, how to installation, storage, safety, and common everyday uses. Whether you’re securing your home, checking on pets, or keeping an eye on packages, knowing how these bulbs function can help you make a smarter buying decision.
What Is a Light Bulb Camera?
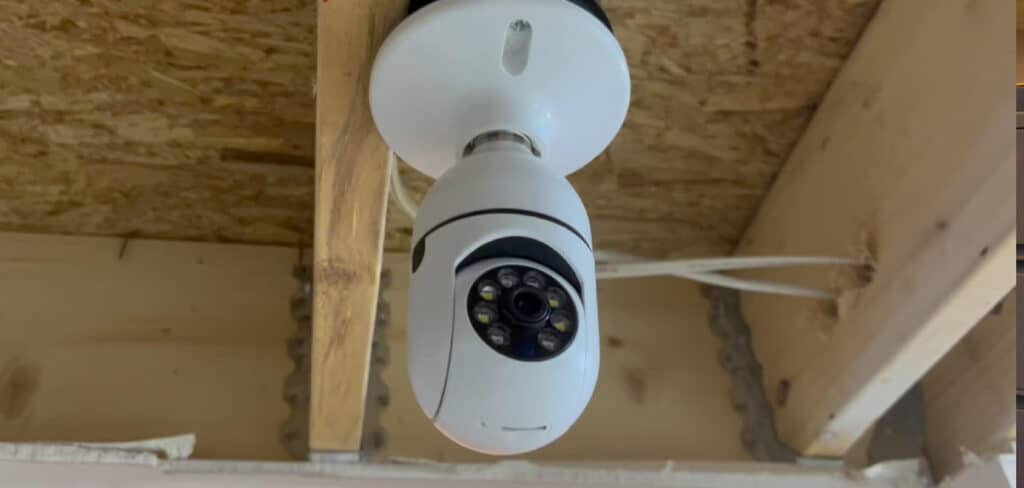
A light bulb camera is a security camera cleverly disguised as a standard LED bulb. It screws into a typical E26/E27 light socket and can perform double duty — lighting up a room and monitoring it through a built-in camera.
Unlike traditional security cameras that need wiring and mounts, light bulb cameras are plug-and-play. They use Wi-Fi to connect to your home network and pair with a mobile app, letting you view live footage or recorded video remotely.
They’re ideal for homeowners, renters, parents, or anyone looking for a hassle-free, discreet security solution.
How Do Light Bulb Cameras Work?
The magic of a light bulb camera lies in how it packs security tech into a small, screw-in bulb. Here’s how it works:
1. Power Source
Once screwed into a light socket, the camera is powered by the same electricity that powers regular bulbs. No additional wiring needed.
2. Camera Functionality
Inside the bulb is a miniature digital camera, usually with a wide-angle or fisheye lens that covers up to 360 degrees of view. An image sensor captures the video, while infrared LEDs provide night vision for low-light recording.
3. Wi-Fi Connectivity
After setup through the mobile app, the bulb connects to your home’s 2.4GHz Wi-Fi network. From there, it streams live footage and sends alerts when motion is detected.

4. Remote Monitoring
You can view real-time footage, record clips, talk through the device (if it has two-way audio), and even rotate the view if it supports digital pan/tilt.
5. Video Storage
Recordings are saved either to a microSD card in the bulb or uploaded to cloud storage depending on your chosen model.
6. Lighting Control
Most bulbs let you control brightness or turn the light on/off through the app, so you can use them as smart bulbs too.
In essence, it’s a smart security camera hidden in plain sight.
Core Components of a Light Bulb Camera
Light bulb cameras combine everyday lighting with advanced security features in a single, compact device. While they look like regular bulbs, they contain several integrated components that enable full surveillance functionality.
The lens captures video, often with a wide-angle or 360-degree view, while the image sensor converts the captured light into high-definition digital footage. Infrared LEDs provide night vision capabilities, allowing the camera to record clearly even in complete darkness.
A Wi-Fi module connects the camera to your home network, enabling live viewing and control through a mobile app. The built-in microphone and speaker allow two-way communication, making it possible to talk with visitors or deter intruders.
For data storage, a microSD card slot (usually supporting up to 128GB) saves video recordings. LED lighting ensures the bulb still functions as a light source, while a power driver manages electrical input to support both lighting and camera operations.
5 Easy Steps on How Light Bulb Cameras Work
Step 1: Choose a Location
Start by selecting a location that provides a clear and wide view of the area you want to monitor. Ideal spots include entryways, garages, hallways, or living rooms.
Make sure the location has a strong 2.4GHz Wi-Fi signal, as most light bulb cameras do not support 5GHz networks. Poor signal strength may result in laggy footage or frequent disconnections.
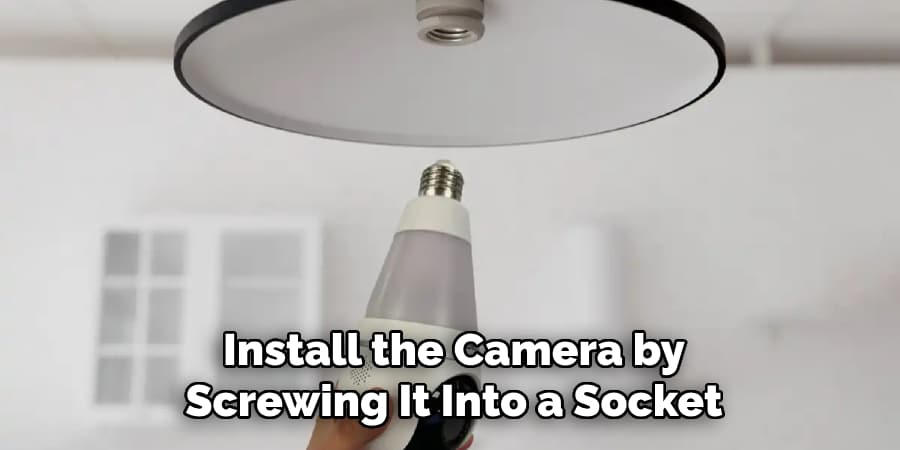
Step 2: Screw It In
Install the camera by screwing it into a standard E26 or E27 light socket. These sockets are commonly found in most homes and do not require any special tools or wiring. Ensure the power to the socket is turned on so that the camera receives electricity.
Once powered, the camera typically performs a brief startup sequence, and the LED light may blink to indicate it’s ready for setup.
Step 3: Download the App
Go to the Google Play Store or Apple App Store and download the corresponding app for your camera brand. Popular apps include Tuya Smart, V380, and iCSee. Once installed, open the app and create an account if prompted.
The app is essential for connecting the camera to your network, adjusting settings, and accessing live or recorded footage from your smartphone or tablet.
Step 4: Connect to Wi-Fi
Follow the step-by-step instructions in the app to connect the camera to your Wi-Fi. Most light bulb cameras support only 2.4GHz Wi-Fi networks, so make sure your phone is connected to the correct frequency.
You may be asked to scan a QR code displayed on your phone or listen for an audio cue from the camera during pairing. After a successful connection, the app will confirm the camera is online and ready to use.
Step 5: Set Preferences
Within the app, configure the camera settings to suit your needs. Enable motion detection to receive instant alerts when movement is detected. Adjust sensitivity levels to avoid false alarms caused by pets or background activity.
Choose your preferred storage method—either a microSD card (usually up to 128GB) for local storage or a cloud subscription for remote access to past footage. Set light controls to turn the bulb on or off automatically or on a schedule.
If your camera supports it, enable two-way audio for real-time communication. You can also rename the camera, group it with other devices, or share access with family members through the app.
Key Features and Capabilities
Light bulb cameras come with powerful features packed into a small space:
HD Video Quality: Most bulbs shoot in 1080p, while some premium models go up to 2K. This ensures clear footage for identifying faces or license plates.
Motion Detection: AI or PIR sensors detect movement and send push alerts to your phone. Some even differentiate between people, animals, and vehicles.

Night Vision: Infrared LEDs allow the camera to see up to 30 feet in total darkness. Some newer models offer color night vision too.
Two-Way Audio: Built-in microphones and speakers let you talk through the app — great for greeting visitors or scaring off intruders.
360° Panoramic View: Fisheye lenses or PTZ (pan/tilt/zoom) features allow wide coverage — perfect for monitoring entire rooms or large areas.
Smartphone Control: Apps let you control the light, view footage, rotate camera angles, and manage alerts.
Storage Options:
- MicroSD cards: For local, loop recording (some auto-delete old clips)
- Cloud Storage: Subscription-based, safer from tampering or damage
These features make light bulb cameras both practical and budget-friendly alternatives to complex security systems.
Common Uses of Light Bulb Cameras
Light bulb cameras are incredibly versatile. Here are popular ways people use them:
Home Security: Keep an eye on doors, garages, or hallways — perfect for apartments and rental homes.
Pet Monitoring: See what your furry friends are up to while you’re away.
Baby or Elder Care: Use it as a discreet baby monitor or to check in on elderly family members.
Package Protection: Monitor porches to track deliveries and prevent theft.
Office or Retail Surveillance: Track customer activity or monitor employee areas subtly.
Vacation Home Monitoring: Keep tabs on your second property remotely.
Their flexible design and easy setup make them a go-to solution for many everyday needs.

Frequently Asked Questions
Q: Do light bulb cameras need Wi-Fi to work?
Ans: Yes, they need 2.4GHz Wi-Fi for live streaming and app control. Without Wi-Fi, they can still record locally to a microSD card, but you won’t receive real-time alerts or view footage remotely.
Q: Can I use a light bulb camera outdoors?
Ans: Only if it’s weather-resistant. Some models are designed for outdoor use in covered areas like porches or garages. Always check the IP rating and manufacturer’s guidelines before installing a camera outside.
Q: Can I talk through a light bulb camera?
Ans: Yes, if your model includes a microphone and speaker. You can use the app to speak to visitors or intruders and hear them in real time, enabling two-way communication.
Q: Can multiple users access the same camera?
Ans: Yes, most apps let you share camera access with multiple users. You can grant viewing rights or full control to family members or trusted individuals through the app settings.
Q: What if I have a 5GHz Wi-Fi network?
Ans: Most light bulb cameras only support 2.4GHz Wi-Fi. Use your router’s dual-band setting to connect the camera to the 2.4GHz band during setup.
Conclusion
Light bulb cameras are a brilliant blend of convenience, discretion, and smart surveillance. They screw into standard sockets, provide full HD video, night vision, and remote control — all without complicated wiring or bulky equipment.
Whether you’re securing your home, checking on your pets, or monitoring deliveries, a light bulb camera offers a practical, affordable solution that anyone can install. With options for cloud or local storage, smart features, and even voice communication, these bulbs are much more than just lights — they’re watchful guardians in plain sight.
As more models become feature-rich and affordable, the light bulb camera is becoming a go-to solution for simple and effective security.