Chandeliers are more than just lighting fixtures; they serve as stunning centerpieces that elevate the aesthetic appeal of any space. Their elegant design, particularly when adorned with shimmering crystals, can transform a room into a sophisticated and luxurious setting.
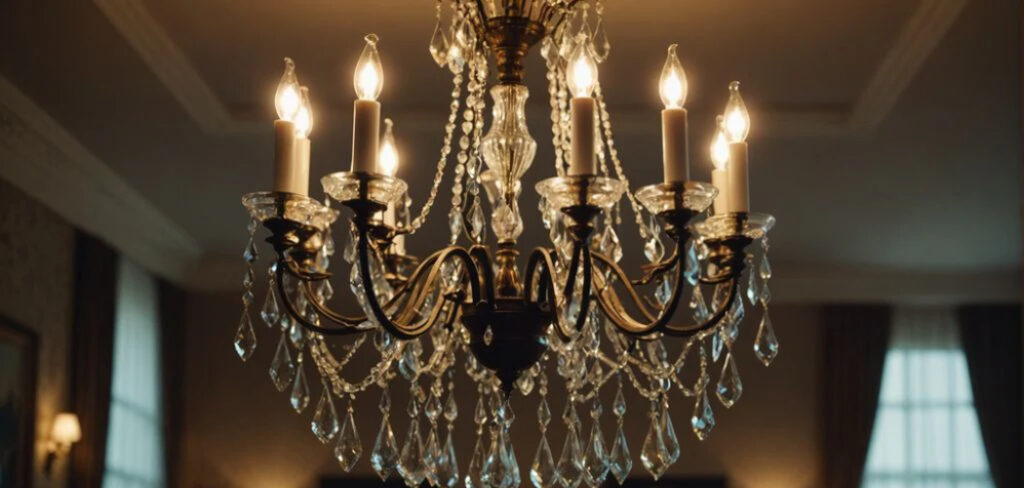
Attaching or replacing chandelier crystals plays a crucial role in maintaining and enhancing the fixture’s beauty. Whether restoring an antique chandelier, replacing missing crystals, or upgrading the design with new crystal styles, knowing how to secure them properly ensures both durability and visual appeal.
This article provides a comprehensive guide on how to attach crystals to a chandelier effectively. From understanding crystal types to ensuring proper installation and maintenance, this article covers everything you need to achieve a flawless and elegant chandelier display.
Understanding the Types of Chandelier Crystals
Different Crystal Types
Chandelier crystals come in various materials, each offering a unique level of brilliance:
- Leaded Glass Crystals: Contain lead oxide for added sparkle and clarity.
- Acrylic Crystals: Lightweight and shatter-resistant, but less reflective than glass.
- High-End Crystals: Brands like Swarovski and Asfour offer precision-cut crystals with maximum brilliance.
- Budget-Friendly Options: Generic cut glass or acrylic crystals are affordable alternatives for enhancing chandeliers.
Crystal Shapes and Cuts
Crystals come in various shapes, each adding a distinct look to the chandelier:
- Pendalogues: Large, faceted teardrop-shaped crystals.
- Octagons: Small, multi-faceted crystals commonly used in strands.
- Prisms: Angular cuts that reflect light beautifully.
- Beads: Small round or oval-shaped crystals often used in strands.
- Teardrops: Classic droplet shapes for an elegant touch.
Attachment Styles
Different chandeliers use varied attachment mechanisms, such as:
- Pin Attachments: Small metal or brass pins that secure crystals.
- Hook or Wire Attachments: Hooks or decorative wires that allow for easy hanging.
- Threaded Crystals with Rings or Clips: Securely fastened using metal rings or clips.
Tools and Materials Needed
Essential Tools
- Needle-nose pliers
- Soft gloves
- Microfiber cloth
- Ladder or step stool
Additional Materials
- Replacement crystal pins, rings, or wires
- Fishing line or decorative wire
- Cleaning solution

8 Easy Steps on How to Attach Crystals to a Chandelier
A chandelier adorned with sparkling crystals can transform any space into an elegant and luxurious setting. Whether you’re replacing old crystals, restoring a vintage piece, or customizing a new fixture, attaching crystals correctly ensures both beauty and durability. Follow these steps to securely and beautifully attach crystals to your chandelier.
Step 1: Turn Off the Power
Before beginning, safety should be your top priority. Make sure the chandelier is switched off at the main power source to eliminate any risk of electrical shock. If the fixture is plugged into an outlet, simply unplug it. For chandeliers that are hardwired to the ceiling, turn off the circuit breaker controlling the fixture. If you’re working in a dimly lit room, use a flashlight or a portable lamp to provide sufficient visibility.
Step 2: Clean the Chandelier Frame
A clean chandelier frame ensures that your crystals will sparkle without dust or grime dulling their shine. Use a microfiber cloth to gently wipe down the frame, removing any dirt, cobwebs, or grease buildup. If necessary, use a mild glass cleaner or a mixture of water and vinegar for stubborn spots. Cleaning before installation prevents dust from getting trapped behind the crystals, keeping your chandelier pristine.
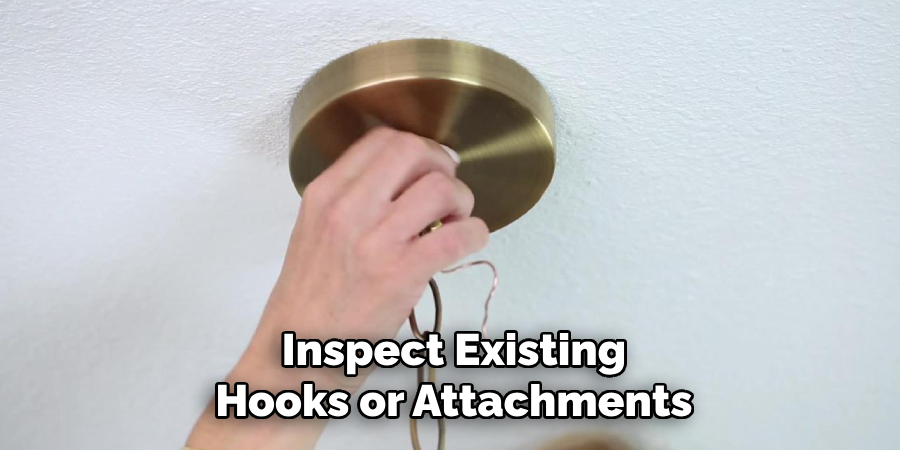
Step 3: Inspect Existing Hooks or Attachments
Most chandeliers come with small metal hooks, rings, or pins that hold the crystals in place. Over time, these attachments may rust, break, or become loose. Carefully examine each hook to ensure it is sturdy enough to support the weight of the crystals. If you notice any weak or damaged attachments, replace them with new metal hooks or split rings to ensure a secure fit.
Step 4: Organize Crystals by Type and Size
Before attaching anything, arrange your crystals in an organized manner. Different chandeliers feature varying designs, often with multiple crystal shapes and sizes. Lay out your crystals on a soft cloth or a flat surface, grouping them according to their placement. This step is essential for achieving symmetry and a well-balanced aesthetic.
Larger crystals are often positioned at the bottom or the center. Smaller, delicate pieces are usually attached around the frame’s arms. Strands or chains of crystals should be evenly spaced for a symmetrical effect. Having everything pre-sorted will make the installation smoother and prevent mistakes.
Step 5: Using Pre-Installed Hooks or Pins
If your chandelier comes with pre-installed hooks, pins, or loops, attaching the crystals is relatively straightforward. Locate the designated attachment points on the frame. If using a metal pin, slightly open it using needle-nose pliers. Hook the pin onto the frame, ensuring it sits securely in place.
Carefully close the pin using pliers to prevent the crystal from slipping off. Ensure that the crystals are attached firmly but without applying excessive force, as delicate crystals may chip or crack.
Step 6: Installing with Wire or Rings
For chandeliers that don’t have pre-installed hooks or pins, you can use decorative wire, jump rings, or metal clips to attach the crystals. Take a small loop of wire or a metal ring and thread it through the hole in the crystal. Securely fasten the wire to the chandelier frame by twisting or closing the ring.
Make sure the wire is tight enough to hold the crystal securely but not so tight that it restricts movement. Using decorative wire allows for greater customization, making it a great choice for DIY chandelier projects.
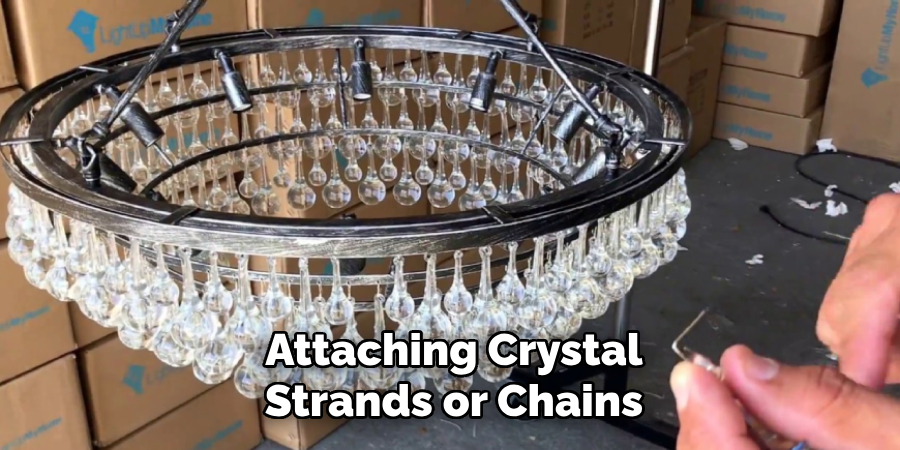
Step 7: Attaching Crystal Strands or Chains
If your chandelier design includes strands or chains of crystals, these need to be installed carefully for even spacing. Identify the designated hooks or points on the frame where the strands will be attached. Start by connecting one end of the crystal strand to a hook, ensuring it sits firmly in place.
Stretch the strand across the frame and attach the other end to the next hook. Adjust the spacing so that all strands are evenly distributed for a balanced, symmetrical look. Strands and chains give a waterfall effect, making chandeliers appear fuller and more luxurious.
Step 8: Ensuring Symmetry and Balance
Once all crystals are attached, step back and evaluate the chandelier’s appearance. Look for any misaligned or crooked crystals, sections where crystals may be missing or unevenly spaced, and loose attachments that need tightening or reinforcement.
Make necessary adjustments before completing the installation. A well-balanced chandelier will reflect light beautifully and enhance the ambiance of any space.
Final Adjustments and Maintenance Tips
Final Inspection
Before completing the installation, carefully examine each crystal to ensure it is securely fastened. Loose crystals can lead to instability, potential breakage, or an unbalanced appearance. Check that the weight is evenly distributed across the chandelier to prevent tilting or strain on its structure. A well-balanced chandelier enhances both safety and aesthetics.
Cleaning the Crystals
For a dazzling finish, use a microfiber cloth along with a mild crystal cleaner to gently wipe each crystal. This helps remove dust, fingerprints, and smudges, restoring their brilliance. Avoid abrasive materials or harsh chemicals, as they can scratch the surface or strip protective coatings. If necessary, lightly dampen the cloth but avoid excessive moisture.
Regular Maintenance
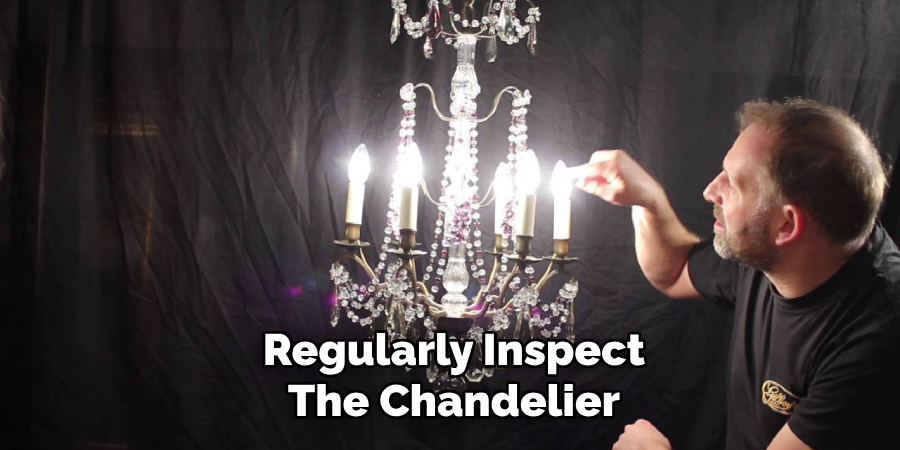
To keep the chandelier in top condition, perform periodic inspections for loose or missing crystals. Dust and clean the fixture every few months to maintain its luster. Proper care ensures long-lasting beauty and functionality.
Frequently Asked Questions
Q: What is the best way to attach crystals to a chandelier?
Ans: Crystals are usually attached using small metal hooks, pins, or clips. Some chandeliers have built-in loops or holes for easy attachment. Ensure the crystals are securely fastened to prevent them from falling.
Q: What type of crystals should I use for my chandelier?
Ans: Popular choices include Swarovski crystals, leaded glass, and acrylic. Swarovski crystals offer the highest sparkle and clarity, while acrylic is a budget-friendly alternative.
Q: How do I ensure the crystals hang evenly?
Ans: Measure the spacing before attaching the crystals to maintain a symmetrical appearance. Step back periodically to check the alignment and adjust as needed.
Q: Can I use glue to attach crystals to my chandelier?
Ans: It’s not recommended to use glue, as it may damage the fixture or make it difficult to remove or replace crystals later. Metal hooks or rings provide a more secure and removable attachment.
Q: What should I do if a crystal falls off?
Ans: If a crystal falls off, check the attachment method and reattach it using a new hook or clip. Regularly inspect the chandelier to ensure all crystals remain secure.
Conclusion
Attaching crystals to a chandelier is a simple yet impactful way to enhance its beauty. By selecting the right crystals, using the appropriate tools, and following a careful attachment process, you can restore or upgrade any chandelier with elegance and precision.
Regular maintenance ensures that your chandelier remains stunning for years to come. Feel free to experiment with different crystal styles and arrangements to create a customized look that suits your space.
For more chandelier maintenance tips and lighting DIY guides, visit Lightorix.com!
