Solar lights are an excellent way to illuminate outdoor spaces without the need for electrical wiring or high energy costs. Whether you want to enhance your garden, patio, or driveway, solar lights offer a sustainable and stylish solution. Attaching them to a brick wall provides a secure and elevated position, ensuring optimal light coverage and charging efficiency.
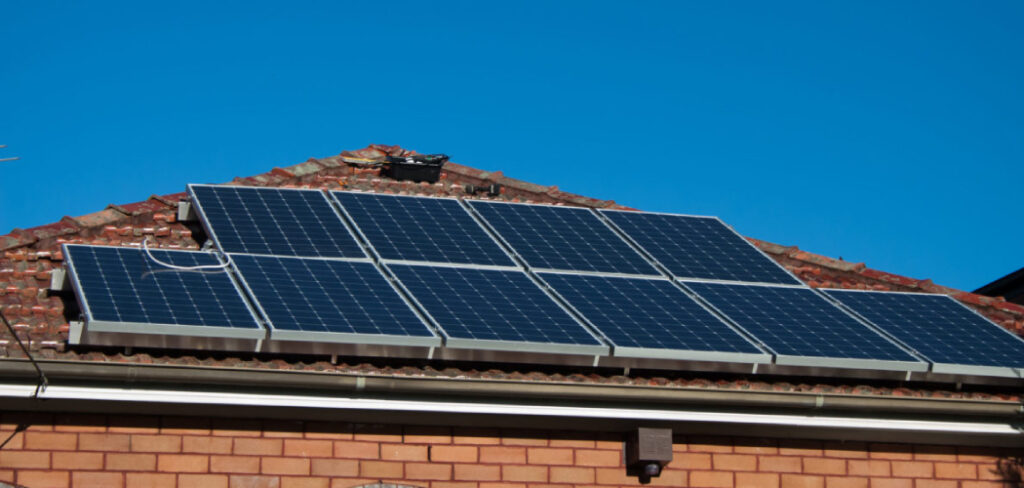
However, installing solar lights on brick walls presents some challenges. Traditional installation methods involve drilling, which requires precision and proper tools. For those who prefer to avoid drilling, alternative methods like adhesive mounting, brackets, or clamps are available.
This guide will walk you through the best techniques on how to attach solar lights to brick wall effectively. By the end, you’ll have a clear understanding of the best approach for your needs, ensuring your solar lights remain securely mounted while maximizing their efficiency.
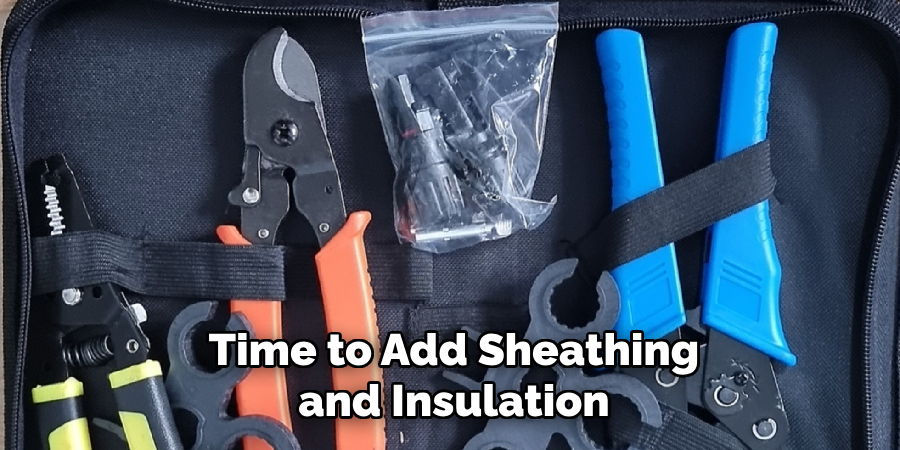
Tools and Materials Needed
Depending on whether you choose to drill or use a no-drill method, the tools and materials required will differ.
For Drilling Installation:
- Drill machine with masonry bits
- Wall anchors and screws
- Screwdriver
- Level and measuring tape
- Safety gear (gloves, goggles)
For No-Drill Installation:
- Strong outdoor adhesive (e.g., Gorilla Glue, Command Strips)
- Mounting brackets or clips
- Double-sided industrial tape
- Zip ties (for string or decorative lights)
Choosing the Right Solar Lights
Before you start the installation process, selecting the right type of solar light is crucial. Different styles serve different purposes, and certain models are better suited for brick wall mounting.
Types of Solar Lights Suitable for Brick Walls
- Wall-mounted solar lights – Designed to be fixed onto vertical surfaces, these lights provide general illumination for walkways and patios.
- Motion sensor solar lights – Ideal for security purposes, these lights automatically turn on when they detect movement.
- Decorative string or lantern-style lights – These lights add ambiance and are great for accent lighting.
Factors to Consider
- Brightness and Lumens: Choose a brightness level that suits your needs—higher lumens for security lighting, lower lumens for decorative purposes.
- Weather Resistance (IP Rating): Ensure the lights are waterproof and durable to withstand outdoor conditions.
- Battery Life and Charging Efficiency: Opt for models with long-lasting batteries and efficient solar panels.
- Design and Aesthetics: Pick a style that complements your outdoor décor.
Easy Step-by-Step Drill Guide for How to Attach Solar Lights to Brick Wall
Installing solar lights on a brick wall can enhance both the aesthetics and functionality of your outdoor space. If you want a secure and permanent installation, drilling is the best method. This guide will take you through a simple step-by-step process to ensure a stable and professional-looking setup.
Step 1: Mark the Installation Points
Before you begin drilling, careful planning is essential to ensure the lights are positioned correctly and evenly. Follow these steps:
- Use a measuring tape to determine where you want to place the lights. Ideally, position them at equal distances for a symmetrical appearance.
- Mark the exact drilling points on the brick using a pencil or chalk.
- Use a level to ensure the marks are in a straight line. This will help you maintain a neat and professional look.
Step 2: Drill Holes into the Brick
Drilling into brick requires special tools to prevent damage. Here’s how to do it correctly:
- Choose a masonry drill bit that is specifically designed for brick or concrete surfaces.
- Attach the drill bit to a power drill and ensure it is securely fastened.
- Start drilling at a slow speed to create a guide hole, then increase the speed gradually.
- Avoid applying excessive pressure to prevent cracking or damaging the brick surface.
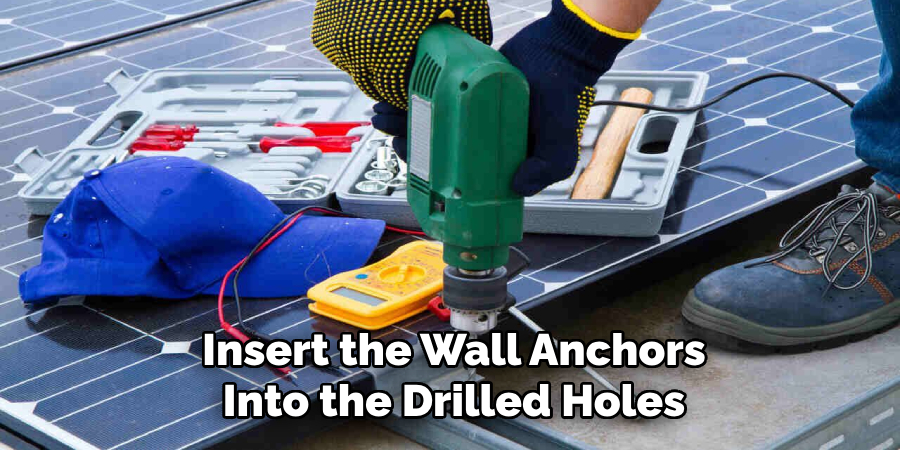
Step 3: Insert Wall Anchors
Wall anchors provide additional grip and stability for your screws, ensuring the lights remain securely in place.
- Select wall anchors that match the size of your drilled holes.
- Insert the wall anchors into the drilled holes. If needed, use a hammer to gently tap them in until they sit flush with the surface.
Step 4: Attach the Solar Lights
Now that the wall anchors are in place, you can proceed to install the solar lights:
- Position the light fixture over the pre-drilled holes.
- Secure the lights by inserting screws through the fixture into the wall anchors.
- Use a screwdriver or a power drill to tighten the screws, ensuring a firm attachment.
- Adjust the solar panel to receive maximum sunlight exposure for optimal performance.
Step 5: Test the Lights
After installation, it is important to test the lights to confirm they are working correctly.
- Wait until dusk or cover the solar panel with your hand to simulate darkness.
- Check if the lights turn on automatically.
- If the lights do not turn on, ensure the solar panel is receiving enough sunlight during the day and that the connections are secure.
Following these steps will ensure your solar lights are securely attached to the brick wall, providing long-lasting illumination for your outdoor space.
Easy Step-by-Step No-Drill Guide for How to Attach Solar Lights to Brick Wall
For those who prefer not to drill into their brick wall, there are alternative installation methods that are easy, damage-free, and just as effective. These options are ideal for renters or homeowners who want a non-permanent solution.
Step 1: Using Strong Outdoor Adhesive
Heavy-duty adhesives designed for outdoor use can provide a reliable mounting solution without the need for drilling.
- Clean the brick surface with a dry cloth to remove any dust or debris.
- Apply the adhesive to the mounting base of the solar light, ensuring full coverage.
- Press the light fixture firmly onto the brick wall and hold it in place for a few minutes to allow initial bonding.
- Allow the adhesive to cure for at least 24 hours before testing the lights.
- This method works best for lightweight solar lights.
Step 2: Using Double-Sided Industrial Tape
Industrial-grade double-sided tape can be a quick and effective way to attach solar lights to brick surfaces.
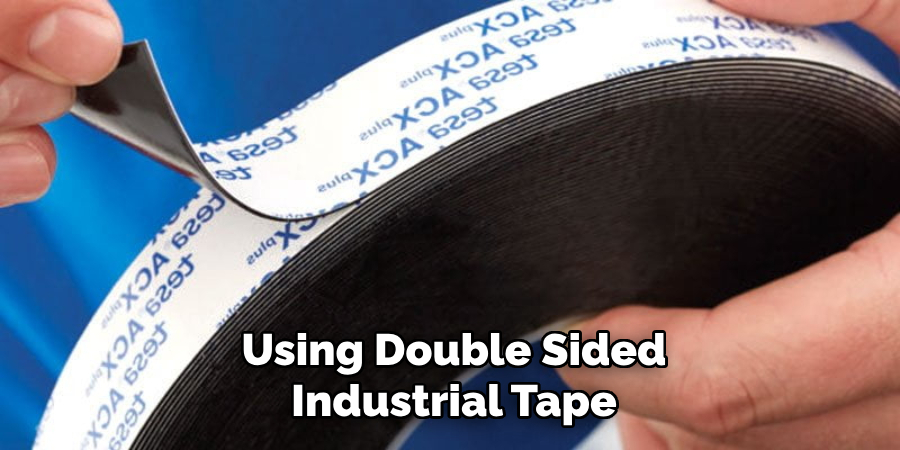
- Cut and attach strips of double-sided tape to the back of the solar light.
- Ensure the brick surface is clean and dry before application to maximize adhesion.
- Press the light fixture onto the brick firmly and hold for a few seconds.
- This method is best suited for lightweight and temporary solar light installations.
Step 3: Mounting Brackets and Clamps
For a sturdy and removable installation, mounting brackets and clamps are an excellent choice.
- Select brackets or clamps designed for brick surfaces.
- Attach the clamps to the brick wall by tightening them securely around the bricks.
- Mount the solar lights onto the brackets or clamps following the manufacturer’s instructions.
- This method is ideal for rented properties or situations where a temporary setup is needed.
Step 4: Hanging with Zip Ties or Hooks
If you are installing string lights or decorative hanging solar lights, you can use zip ties or hooks for a hassle-free setup.
- Use self-adhesive hooks designed for outdoor use to mount the lights.
- Alternatively, use brick clips that grip onto the brick without the need for adhesive or drilling.
- Secure the lights with zip ties, ensuring they are fastened tightly.
- This method allows for easy removal and repositioning whenever necessary.
Step 4: Testing and Adjustments
Regardless of the installation method you choose, it is crucial to test the lights before finalizing the setup.
- Make sure the solar panels receive adequate sunlight for efficient charging.
- Turn on the lights at night to check their brightness and positioning.
- If necessary, adjust the angle or location of the lights for better illumination.
By following these simple no-drill methods, you can enjoy the benefits of solar lighting without damaging your brick walls. Whether you choose adhesive, tape, clamps, or hooks, these options provide flexibility and ease of installation.
Positioning and Maintenance Tips
To maximize the effectiveness and lifespan of your solar lights, consider these best practices.
Best Placement for Maximum Sunlight
- Avoid shaded areas to ensure efficient charging.
- Face the solar panel toward the sun for optimal performance.
Routine Cleaning and Maintenance
- Clean solar panels regularly to remove dirt and debris.
- Check for loose fittings and reapply adhesive if needed.
Weatherproofing for Longevity
- Use silicone sealant around mounted lights to prevent water damage.
- Store removable lights indoors during extreme weather conditions.
Common Issues and Troubleshooting
Even with proper installation, solar lights may encounter issues. Here’s how to fix common problems:
Solar Lights Not Charging Properly
- Ensure they receive direct sunlight for most of the day.
- Clean the solar panel to remove dirt buildup.
Lights Not Turning On at Night
- Test with the manual switch if available.
- Inspect and replace faulty batteries if needed.
Adhesive or Tape Failing Over Time
- Reapply or switch to a stronger bonding method.
- Consider using a hybrid approach with brackets for extra support.
Frequently Asked Questions
How do I ensure my solar lights stay securely attached to the brick wall?
Ans: Make sure the surface is clean before mounting, use the appropriate mounting method for the light’s weight, and check for proper adhesion or secure anchoring to prevent detachment.
Can I install solar lights on painted or sealed brick walls?
Ans: Yes, but the adhesion may be weaker if the paint or sealant is glossy. Roughening the surface slightly or using brick clips can help improve attachment.
How do I prevent my solar lights from falling off during extreme weather?
Ans: Use strong mounting methods such as masonry screws or expansion anchors, and ensure the adhesive or clips are rated for outdoor use to withstand wind, rain, and temperature changes.
How do I prevent my solar lights from falling off during extreme weather?
Ans: Use strong mounting methods such as masonry screws or expansion anchors, and ensure the adhesive or clips are rated for outdoor use to withstand wind, rain, and temperature changes.
Is it possible to remove solar lights without damaging the brick wall?
Ans: Yes, brick clips and adhesive tapes allow for damage-free removal. If you’ve used screws or anchors, you may need to fill the holes with mortar or a brick repair compound.
Conclusion
Attaching solar lights to a brick wall is a great way to improve outdoor lighting while maintaining energy efficiency. Whether you choose to drill for a permanent installation or opt for a no-drill method, both approaches offer reliable solutions.
Drilling ensures a firm, long-term hold, while adhesives, brackets, and clips provide flexibility for renters or those looking for a temporary setup. Regular maintenance and proper placement will ensure that your solar lights perform optimally and last longer.
Now that you have a complete guide, choose the best method for your needs and brighten up your outdoor space with solar-powered lighting!