Closet lighting might seem like a minor aspect of home maintenance, but it plays a big role in daily convenience. Whether you’re choosing your outfit in the morning or searching for a lost item, a functional and bright closet light fixture is essential.
Unfortunately, like all electrical components, these fixtures can fail, become outdated, or simply underperform. That’s when replacing your closet light fixture becomes necessary. There are various reasons homeowners might consider changing a closet light. The most common one is a burnt-out or flickering light, which often signals a failing fixture.
This article provides a comprehensive guide on how to change a closet light fixture effectively. Upgrading your closet light fixture also adds modern convenience. Whether you want energy efficiency, motion detection, or a sleek design, a new fixture can bring both functional and aesthetic improvements to your space.
Understanding Your Existing Closet Light Fixture
Before you remove anything, it’s important to understand what kind of fixture you’re dealing with. Closet lights come in a few standard types: flush mount domes, compact fluorescent lights, LED puck lights, and even small chandeliers in walk-in closets. Each has its own wiring setup and mounting style.
Pay attention to how the light is controlled. Some closets have wall switches, while others use pull chains directly attached to the fixture. Knowing this helps when selecting a replacement that matches your existing wiring configuration.
Older homes may have outdated wiring that doesn’t meet modern electrical codes. You’ll want to evaluate the condition of the wires and confirm whether they include a ground wire. Additionally, check whether your ceiling has a junction box that can safely support a new light fixture. If there’s no secure box or if it’s damaged, you may need to install a new one before proceeding.
Choosing the Right Replacement Fixture
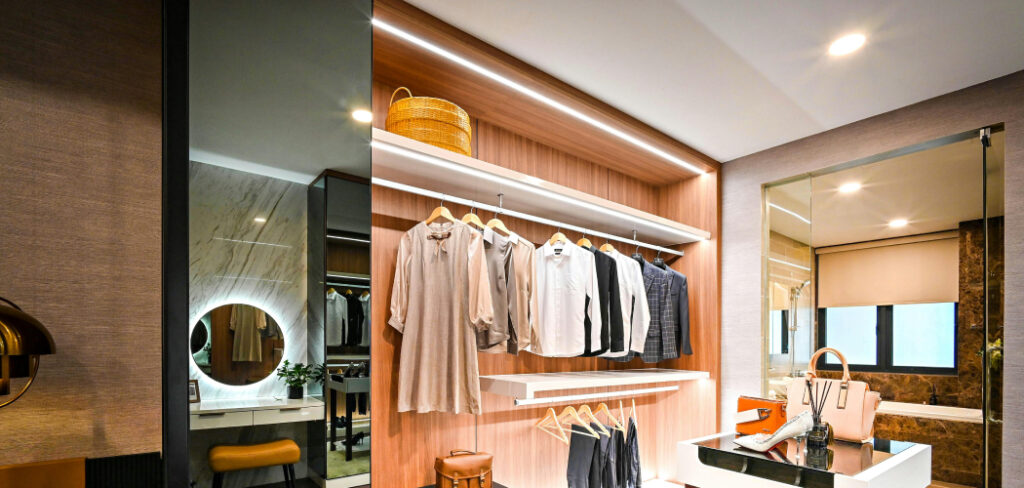
When choosing a new closet light, size and placement are crucial. Small or reach-in closets typically benefit from low-profile fixtures that don’t hang too low. Walk-in closets may allow for more stylish options like mini pendants or larger flush-mount lights.
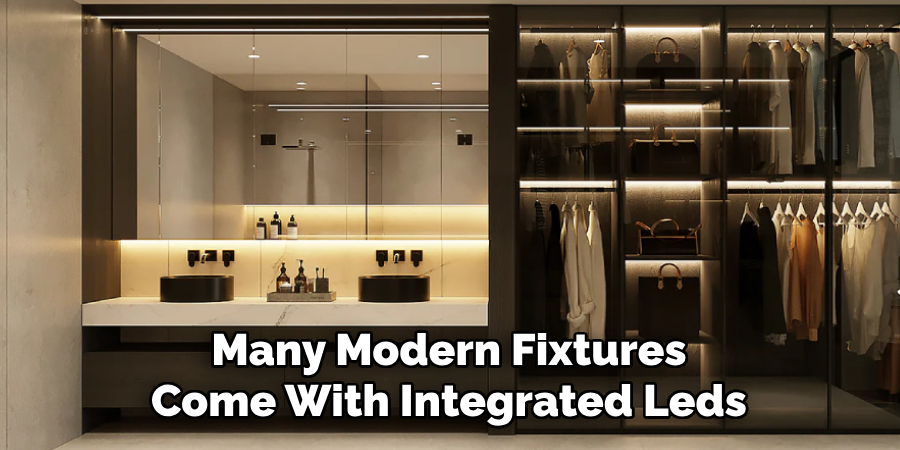
Energy efficiency is another key consideration. LED lights consume far less power and last significantly longer than incandescent or fluorescent alternatives. Many modern fixtures come with integrated LEDs, eliminating the need to replace bulbs altogether.
Brightness and color temperature affect usability. Look for lights in the 3000K–4000K range for a clean, natural white tone, and aim for around 800–1600 lumens depending on your closet size.
Ensure the new fixture is compatible with your existing electrical setup and box. Lastly, consider the design. A modern or minimalistic style can complement your room while upgrading the closet visually and functionally.
Tools and Materials You’ll Need
Before you begin, gather the necessary tools and materials. This includes:
- A voltage tester to ensure no live wires
- Screwdrivers
- Wire strippers and pliers
- Wire nuts and electrical tape
- A new light fixture
- A ladder or step stool for safe access
- Safety glasses and optional gloves for protection
You may also need a stud finder or a new mounting bracket, depending on your setup.
Safety First: Preparing for the Installation
Safety is non-negotiable when working with electricity. Start by locating your home’s electrical panel and turning off the circuit breaker that controls the closet light. If you’re unsure which one it is, flip the switch and test the fixture.
Always use a non-contact voltage tester to double-check that the power is off before touching any wires. Remove any bulbs from the existing fixture, and place a protective cloth or mat on the closet floor to prevent damage from falling screws or debris.
Since you’ll be without overhead light, consider bringing in a portable light source or working during daylight. If the closet is small and enclosed, ensure it has enough ventilation and space to maneuver.
3 Easy Steps on How to Change a Closet Light Fixture
Step 1: Removing the Old Fixture
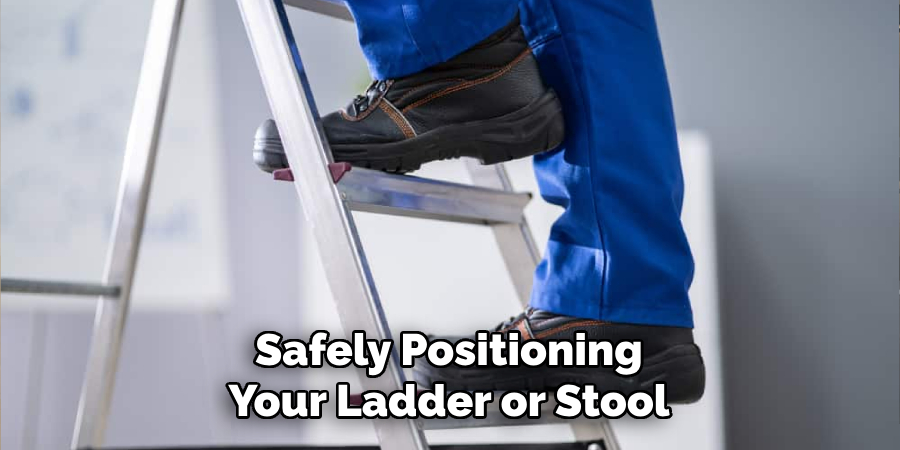
Start by safely positioning your ladder or stool beneath the fixture. Remove the light cover or dome by unscrewing or unclipping it. Once that’s out of the way, you’ll usually find screws holding the base to the ceiling bracket or directly into the junction box. Unscrew and lower the fixture carefully.
Now you’ll see three wires: black (hot), white (neutral), and a bare or green (ground) wire. Use the voltage tester again just to be safe. Then, twist off the wire nuts and separate the fixture wires from the house wires. Gently inspect the exposed wire ends for any fraying or burn marks, and check the junction box for signs of wear or overheating.
Step 2: Installing the New Light Fixture
Most fixtures come with a mounting bracket. If the one attached to the ceiling doesn’t align with the new fixture’s screw holes, replace it with the one included in your new light kit. Secure the bracket firmly into the junction box.
Next, connect the wires from the fixture to the house wires. Match black to black, white to white, and ground to ground. Twist the ends together and cap them with wire nuts. Wrap each connection with electrical tape for extra security.
Carefully tuck the wires into the junction box. Attach the base of the new light fixture to the bracket using the provided screws. Once mounted, insert the bulb if it’s a replaceable model, and secure the light cover or shade.
Step 3: Restoring Power and Testing the New Fixture
Head back to your electrical panel and flip the breaker back on. Return to the closet and test the light using the wall switch or pull chain. If the light doesn’t turn on, double-check the bulb installation and wire connections. If it flickers or stays off, there might be a loose connection or tripped breaker.
Assuming everything works, give the fixture a gentle push to ensure it’s securely fastened and doesn’t wobble or shift.
Tips for Working in a Small Space Like a Closet
Closet spaces are often tight, so use compact, flush-mounted lights to maximize headroom. Since you’ll be working in darkness once the breaker is off, have a flashlight or battery lantern handy. Always remove clothing and stored items from around the work area to avoid dust contamination or fire hazards.
If your closet hasn’t been opened in a while or you’re replacing a very old fixture, wear a dust mask and gloves for added protection.
Common Mistakes to Avoid
A few frequent errors can cause problems during or after installation. One of the most serious is failing to shut off power at the breaker, which can lead to electric shock. Others include mismatching wires (especially hot and neutral), not securing wire nuts tightly, or mounting a heavy fixture to a weak or damaged box.
Avoid over tightening screws, which could crack plastic or bend metal parts. And never leave exposed copper wire, as this can cause shorts or fire risks over time.
Upgrading to Motion Sensor or Smart Closet Lights
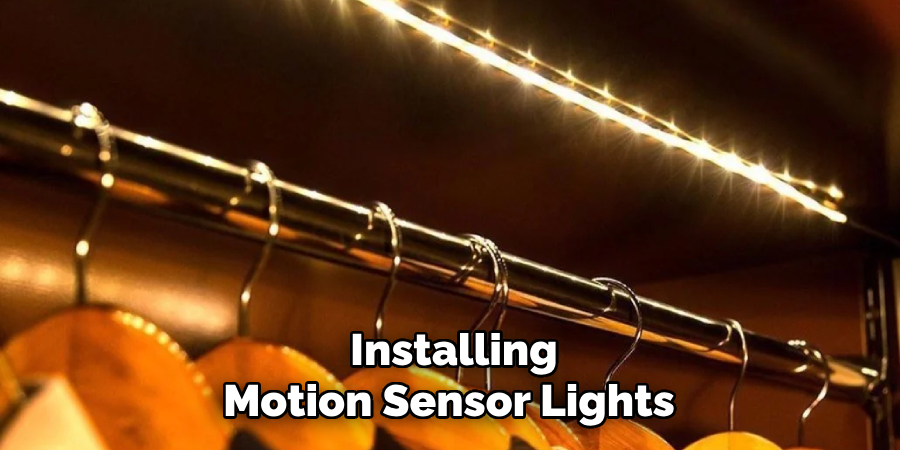
For a more advanced upgrade, consider installing motion sensor lights that turn on when you open the door or step inside. These are ideal for small closets where you often forget to flip the switch.
Smart lights controlled via Wi-Fi or Bluetooth can be turned on using voice commands or smartphone apps. These fixtures often come as plug-and-play kits, and some are battery-powered for renters or those without wiring knowledge.
If your new fixture involves rewiring, smart dimmers, or hub integration, it might be wise to consult or hire a professional electrician.
When to Call a Professional Electrician
There are times when it’s best to call in a professional. If you see frayed wires, sparks, or smell burning, stop immediately and seek help. Similarly, if your ceiling box lacks a ground wire or the breaker trips repeatedly after installation, these could indicate deeper electrical issues.
If you’re new to DIY electrical work and don’t feel confident after reviewing guides and safety steps, hiring an expert can give peace of mind and ensure everything is done up to code.
Maintenance Tips for Your New Closet Light Fixture
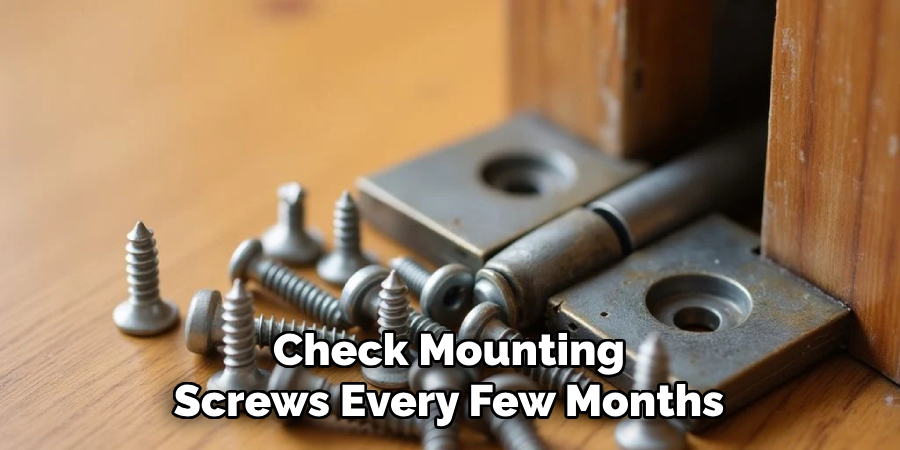
Once your new light is installed, keep it clean and functioning with occasional maintenance. Dust or wipe down the cover to prevent brightness reduction. Check mounting screws every few months to make sure nothing has loosened.
Use energy-efficient bulbs and replace them with the same wattage to avoid overheating. Avoid cramming clothes too close to the light source, which can create fire hazards. Keeping the area around the fixture clear also allows heat to dissipate safely.
Frequently Asked Questions
What type of light bulb is best for closet lighting?
Ans: LED bulbs in the 3000K to 4000K range provide bright, natural light without generating heat.
How do I know if my electrical box can support a new fixture?
Ans: If the box is metal or labeled for ceiling fixtures and mounted securely, it’s likely safe. Plastic boxes should be verified for load capacity.
Is it safe to install a light fixture in a small closet with little ventilation?
Ans: Yes, as long as the fixture is rated for enclosed use and uses low-heat bulbs like LEDs.
How long should a typical closet light fixture last?
Ans: Many modern LED-integrated fixtures last 10–15 years or more with regular use.
What does it mean if my new fixture flickers after installation?
Ans: This usually means a loose wire connection, incompatible dimmer switch, or defective bulb.
Conclusion
Changing a closet light fixture is a manageable DIY project that brings both functional and visual improvement to your home. Whether you’re solving a problem or simply updating the look, doing it yourself can be rewarding and cost-effective.
Always prioritize safety: turn off the power, double-check connections, and don’t rush the process. If anything feels uncertain or beyond your comfort level, don’t hesitate to bring in a qualified electrician.
Modern lighting solutions offer energy efficiency, better brightness, and even smart home compatibility. By following this guide, you’ll ensure your closet lighting is not only stylish but safe and dependable for years to come.