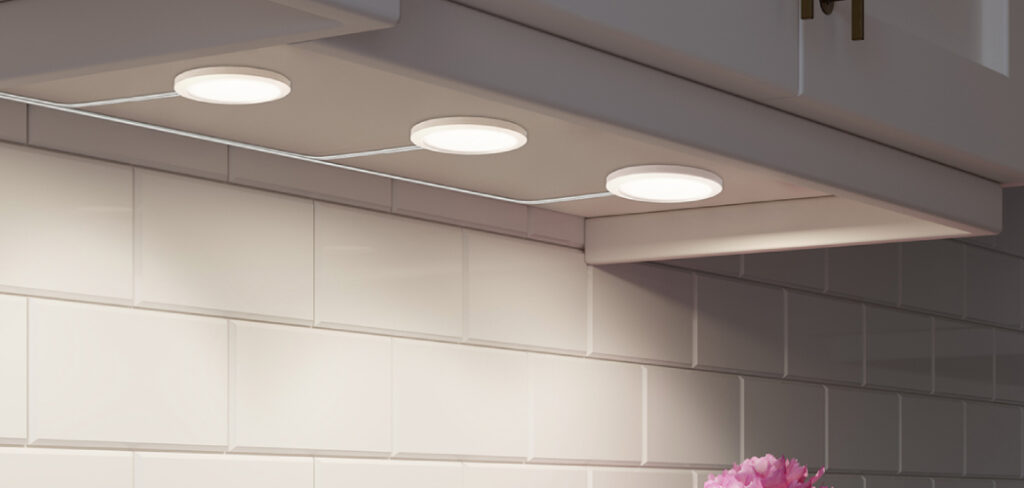
Puck lights are a versatile and stylish lighting solution commonly used in kitchens, closets, display cases, and other spaces requiring focused illumination. Their compact size and sleek design make them a popular choice for homeowners and decorators alike. However, like all light sources, the bulbs in puck lights have a limited lifespan and will eventually burn out, reducing their effectiveness.
Replacing a puck light bulb may seem straightforward, but doing it correctly is essential to ensure safety, maintain efficiency, and extend the life of the fixture.Whether your puck lights are battery-operated, hardwired, or plug-in models, following the right steps will prevent damage and keep them functioning optimally.
This guide will provide a step-by-step approach on how to change a puck light bulb efficiently, covering key considerations such as choosing the correct replacement bulb, handling electrical components, and reassembling the fixture properly. With the right technique, you can quickly restore your puck light’s brightness and enjoy uninterrupted lighting in your space.
Gather All the Necessary Tools
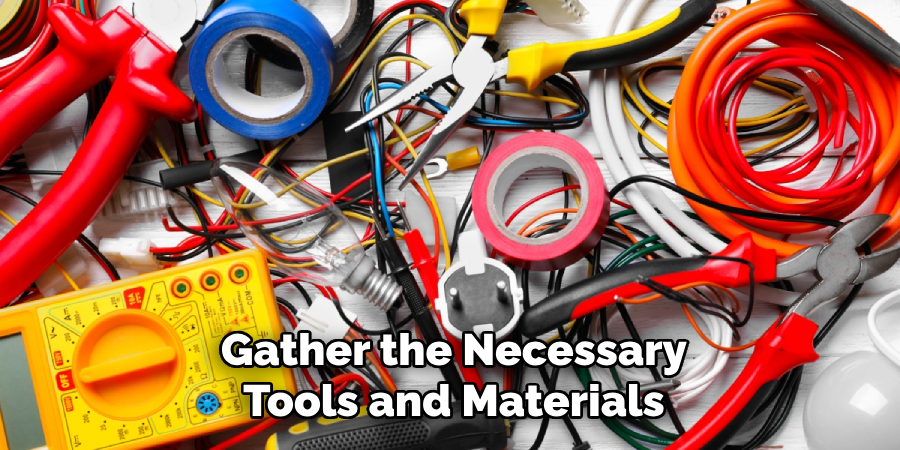
Before starting, it’s crucial to have all the necessary tools and materials ready. This helps prevent unnecessary delays and ensures a smooth workflow. Depending on the type of puck light you have, you may need:
- A replacement bulb
- A screwdriver
- A step ladder
- A cloth or gloves
- A trash bag for proper disposal of the old bulb
Understanding Puck Lights
The Basics of Puck Lighting
Puck lights are small, circular lighting fixtures often used for task lighting, accent lighting, or decorative purposes. They are available in battery-powered or wired versions and can be surface-mounted or recessed, depending on the design.
Types of Puck Light Bulbs
There are several types of bulbs used in puck lights, and understanding their differences is important for proper replacement:
- LED Bulbs: Long-lasting and energy-efficient, LED puck lights are popular for modern homes.
- Halogen Bulbs: These bulbs produce a bright, white light but can generate heat and have a shorter lifespan than LEDs.
- Incandescent Bulbs: Less common today, these bulbs provide a warm glow but consume more energy and burn out faster.
Preparing to Change Your Puck Light Bulb
Safety First: What You Need to Know
- Always turn off the power before starting to avoid the risk of electric shock.
- Let the bulb cool down if it was recently used, as halogen and incandescent bulbs can become extremely hot.
- Handle the bulbs carefully to prevent damage, especially halogen bulbs, which should not be touched with bare hands.
Tools and Materials Needed for the Job
Having the right tools ensures a smooth bulb replacement process. Gather:
- Screwdriver (if needed to remove the casing)
- Gloves or a clean cloth (for handling certain bulbs)
- New replacement bulb
- A stable ladder (if the puck light is installed at a high location)
9 Easy Steps Guides on How to Change a Puck Light Bulb
Puck lights are small, round, and compact light fixtures commonly used for under-cabinet lighting, closets, and accent lighting. Whether your puck light is hardwired, battery-operated, or plug-in, its bulb may eventually burn out and need replacing. Changing a puck light bulb is a simple task, but following the correct steps ensures safety and efficiency. This guide will walk you through the process in 9 easy steps, ensuring a smooth and hassle-free experience.
Step 1: Turn Off the Power
Safety should always be the first priority when dealing with electrical components. Before touching the puck light, switch off the power source. If your puck light is plug-in, simply unplug it from the power outlet. For battery-operated puck lights, remove the batteries. If the puck light is hardwired, you will need to turn off the circuit breaker or the wall switch that controls it.
Why is this important?
Handling a light fixture that is still connected to electricity poses a risk of electrical shock. Even for battery-operated lights, turning off the power prevents accidental activation while working.
Step 2: Allow the Bulb to Cool
If your puck light was recently turned on, the bulb might be too hot to touch. Some light bulbs, particularly halogen and incandescent bulbs, retain heat and can cause burns if handled immediately after being turned off.
To avoid burns, wait at least 5-10 minutes for the bulb to cool down completely before proceeding. If you are unsure whether the bulb is still hot, lightly hover your hand above it to check for heat.
Step 3: Use a Ladder (If Needed)
Puck lights are often installed in hard-to-reach places, such as ceilings, under cabinets, or high walls. If your puck light is in an elevated position, use a sturdy ladder or step stool to reach it safely.
Safety Tips:
- Make sure the ladder is placed on a flat, stable surface.
- Avoid standing on furniture, as it can be unstable.
- If necessary, have someone hold the ladder while you work.
By ensuring proper footing and balance, you can change the bulb without risking a fall.
Step 4: Remove the Light Cover
Most puck lights have a protective cover over the bulb. Depending on the design of your light fixture, you may need to:
- Twist the cover counterclockwise to unlock it.
- Unclip the cover by gently pulling it outward.
- Unscrew the cover if it is secured with small screws.
If you are unsure how to remove the cover, refer to the manufacturer’s instructions or examine the fixture for clues. Some puck lights have a snap-on cover that requires a little force to pop off.
Be gentle to avoid damaging the cover or the fixture.
Step 5: Replace the Bulb
Once the cover is removed, you can now access the old bulb. The method of removal depends on the socket type:
- Screw-type socket: Twist the bulb counterclockwise until it comes loose.
- Push-fit socket: Gently pull the bulb straight out of the socket.
Carefully remove the old bulb without applying too much pressure to avoid breakage.

Installing the new bulb:
- Match the wattage and type of the old bulb with the new one.
- Align the new bulb with the socket and insert it securely.
- For screw-type bulbs, turn clockwise until it is firmly in place.
Check that the bulb is properly fitted before moving on to the next step.
Step 6: Secure the Cover
After installing the new bulb, reattach the puck light cover. Secure it in the same way it was removed:
- Twist the cover back on (for twist-type covers).
- Snap it back into place (for clip-on covers).
- Screw the cover in (if screws were removed).
Ensure that the cover is firmly attached to protect the bulb from dust and damage.
Step 7: Switch on the Power to Check if It Works
Turn the power back on to test the new bulb:
- If your puck light is plug-in, reconnect it to the outlet.
- For battery-operated lights, insert the batteries and turn it on.
- If your puck light is hardwired, switch on the power from the circuit breaker or wall switch.
If the bulb does not turn on, check:
- Whether the bulb is properly installed in the socket.
- If the power source is working.
- Whether the bulb is functional (try testing it in another fixture).
If everything is in place but the bulb still does not work, the issue might be with the fixture itself rather than the bulb.
Step 8: Replace the Rim (If Applicable)
Some puck lights have an outer rim that adds a finished look to the fixture. If your puck light includes a rim, snap or screw it back into place securely.
This step is not necessary for all puck lights, but if your model includes a decorative rim, reinstalling it ensures a neat and complete appearance.
Step 9: Dispose of Your Old Bulb Properly
Different types of bulbs require different disposal methods:
- Incandescent and Halogen bulbs can be thrown in regular trash, but wrap them in paper or place them in a box to prevent breakage.
- LED bulbs should be recycled at an electronic waste facility or a designated recycling center.
- Fluorescent bulbs (CFLs) contain mercury and must be disposed of at a hazardous waste facility.
Proper disposal is important for environmental safety and reducing unnecessary waste.
Frequently Asked Questions
Q: How do I know what type of bulb to use for my puck light?
Ans: Check the wattage, voltage, and base type of the old bulb before replacing it. You can also refer to the manufacturer’s instructions or look for markings on the fixture indicating compatible bulb types.
Q: Why is my new puck light bulb not working?
Ans: Ensure the bulb is properly installed and that the power source is functioning. If the light still doesn’t work, check for loose wiring, a faulty socket, or a blown fuse in your electrical system.
Q: Can I replace a halogen puck light bulb with an LED bulb?
Ans: Yes, as long as the LED bulb matches the voltage and socket type of the original halogen bulb. LEDs are more energy-efficient and last longer than halogen bulbs.
Q: How often do puck light bulbs need to be replaced?
Ans: The lifespan of a puck light bulb depends on the type of bulb used. LEDs last up to 25,000+ hours, while incandescent and halogen bulbs may need replacement after 1,000–2,000 hours of use.
Q: Is it safe to change a puck light bulb without turning off the power?
Ans: No. Always turn off the power before replacing a bulb to avoid the risk of electric shock. For battery-operated puck lights, remove the batteries before handling the bulb.
Conclusion
Changing a puck light bulb is a straightforward process, but doing it correctly ensures safety and efficiency. By following these simple steps, you can replace your puck light bulb with ease and keep your lighting fixtures functioning optimally. Whether using LED, halogen, or incandescent bulbs, always prioritize safety and proper handling to extend the lifespan of your new bulb. Now that you know how to do it, enjoy your well-lit space once again!