Lighting plays a vital role in the mood, functionality, and aesthetic of any home, and chandeliers are at the heart of that elegance. From opulent crystal centerpieces to minimalist modern designs, chandeliers do more than brighten a room—they make a statement.
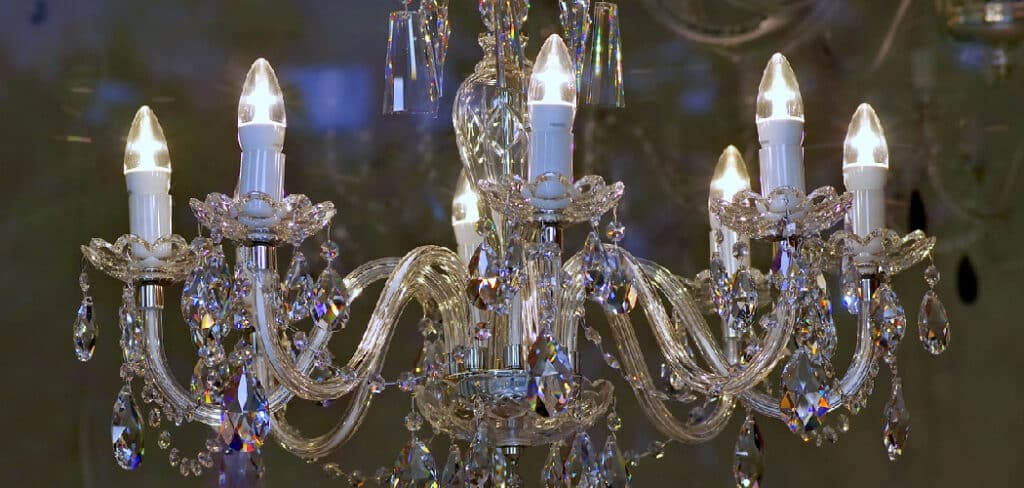
But what happens when one or more bulbs go out? A once-glorious fixture can quickly become dull or uneven in brightness. Knowing how to change a light bulb in a chandelier may seem straightforward, but it’s more nuanced than it appears—especially if you’re dealing with high ceilings, delicate glass pieces, or multi-bulb setups.
It’s not just about screwing in a new bulb; it’s also about doing it safely, correctly, and efficiently to preserve the fixture and ensure long-term performance. This article provides a comprehensive guide on how to change light bulbs in chandelier effectively. Whether you’re a new homeowner, a renter doing your own fixes, or someone simply tired of calling in help for every minor repair, this article is your go-to resource. We’ll cover:
- Safety guidelines to prevent accidents
- The right tools and setup
- How to choose the correct bulb
- Step-by-step replacement instructions
- Maintenance and troubleshooting tips
- When to call in the pros
Let’s light things up—safely and beautifully.
Safety First
Before you even touch your chandelier, safety should be your number one priority. A fall from a ladder, a broken bulb, or an electrical shock is not worth the risk of rushing through the job.
Turn Off the Power
Start by flipping the light switch off. For added protection—especially when dealing with multi-fixture or older wiring—go to your electrical panel and turn off the circuit breaker that powers the chandelier. Never assume that just turning off the wall switch is enough.
Allow the Bulbs to Cool
If the lights were recently on, wait at least 15-20 minutes for the bulbs to cool. Hot bulbs can cause burns or even crack if exposed to sudden temperature changes.
Use Safety Gear
Wear gloves to protect your hands from glass shards or hot surfaces. If your chandelier is old or you suspect brittle bulbs, consider wearing safety goggles as well.
Stability is Key
Use a proper ladder or step stool—preferably one with a wide base and anti-slip feet. Avoid chairs, tables, or anything unstable. Make sure the floor is clean and free of obstacles to prevent tripping.
Identify Your Chandelier Type
Not all chandeliers are built the same. The type and design of your fixture will dictate how accessible the bulbs are and how you’ll go about replacing them.
Flush Mount vs. Hanging Chandeliers
Flush mount fixtures are close to the ceiling and can be tricky to maneuver around. Hanging chandeliers give more space but may swing or rotate.
Fixed vs. Adjustable Height
Some modern chandeliers have a pulley system or motorized lift—if yours does, follow the manufacturer’s instructions to lower it safely.
Style and Size Matter
Larger chandeliers may require more effort or even two people to manage. Smaller, minimalist styles are typically easier.
Glass or Crystal Accents
Be especially cautious with crystal or glass decor. These can be fragile and expensive to replace if dropped.
Gather the Necessary Tools and Materials
Being prepared not only makes the job easier but also safer and more efficient. Here’s what you’ll need:
Basic Tools Checklist
- A sturdy ladder or step stool
- Cotton or rubber gloves
- Replacement bulbs (always match wattage and base type)
- Screwdriver (if the fixture has covers or panels)
- Flashlight or headlamp for visibility
Optional, But Helpful
- Microfiber cloth or duster for cleaning
- Mild cleaner for fixture maintenance
- Vacuum with extension wand for post-task cleanup
- Soft blanket or drop cloth under the area to cushion accidental drops
Choose the Right Replacement Bulbs
Not all bulbs are created equal. Picking the wrong one could damage your fixture or just look out of place.
Match the Type and Wattage
Check your old bulb or the chandelier’s label for specifications. Common types include:
- Incandescent: Classic but energy-hungry
- LED: Long-lasting and energy-efficient
- Halogen: Bright and crisp light, but run hot
- CFL: Efficient but may be slow to reach full brightness
Always stay within the maximum wattage the fixture allows to avoid overheating.
Shape and Size
Decorative bulbs like flame-tip, torpedo, or globe-shaped options are often used in chandeliers. Make sure to match the design so everything looks uniform.
Color Temperature
- Warm white (2700K–3000K) for cozy ambiance
- Daylight (5000K–6500K) for a brighter, cooler effect
Energy and Lifespan
LED bulbs are ideal for chandeliers—they last longer and reduce the frequency of bulb changes.
Cleaning and Preparation Before Replacement
Changing bulbs is a great excuse to give your chandelier a little TLC.
Remove Dust and Debris
Use a microfiber cloth, feather duster, or compressed air to gently remove dust from the fixture.
Check for Loose Screws
Ensure everything is secure—this helps avoid rattling or pieces falling off later.
Inspect for Damage
Look for cracked arms, chipped shades, or exposed wires.
Clear the Area
Keep kids and pets away during the task. Lay a soft cloth or towel under the fixture to protect both the floor and any fragile pieces that might drop.
A Detailed Guide How to Change Light Bulbs in Chandelier
Now that you’re prepped and ready, it’s time to get those new bulbs installed.
1. Position the Ladder Safely
Place your ladder or step stool directly beneath the chandelier. Make sure it’s on a flat, clean surface. Adjust its height so you’re not overreaching.
2. Remove Glass Shades or Covers
If your chandelier has glass covers or crystal shades over the bulbs, remove them first. Most twist off or unclip. Set them aside gently on a soft cloth to avoid scratches.
3. Remove the Old Bulbs
Put on your gloves and gently twist the bulb counterclockwise. If it’s a push-in type, wiggle it gently while pulling out. Be cautious—if it resists, don’t force it; you don’t want to break the bulb in the socket.
Dispose of old bulbs safely. For CFLs and other hazardous types, follow your local recycling guidelines.
4. Install the New Bulbs
Match the base of your new bulb with the socket. Insert and twist clockwise until it’s snug, not overly tight. For push-in types, line up the pins and push straight in.
5. Replace Shades or Covers
Reattach any glass or decorative elements carefully. Make sure everything is aligned and tightened—no wobbling or loose pieces.
Test the Fixture
Once everything is back in place, restore the power.
Turn the Switch On
Check that all the bulbs light up properly. If one doesn’t work:
- Remove and reinsert the bulb
- Try a different bulb to rule out a defective one
- Check the socket for debris or corrosion
If Problems Persist
You might be dealing with a faulty socket or wiring issue. Skip the guesswork—call a licensed electrician.
Maintenance Tips to Extend Bulb and Fixture Life
Chandeliers are an investment, and a bit of upkeep goes a long way.
- Clean monthly with a dry cloth to remove dust
- Use high-quality bulbs to reduce replacements
- Install dimmers or smart switches to avoid overuse
- Check screws and sockets annually for wear or corrosion
When to Call a Professional
Sometimes, DIY isn’t the smartest—or safest—option.
High Ceilings or Complex Fixtures
Fixtures more than 10 feet high may require special ladders or scaffolding. Don’t risk it.
Electrical Issues
If lights flicker or bulbs keep burning out, the issue might lie in the wiring or breaker—this is a job for a pro.

Heavy or Delicate Chandeliers
Crystal chandeliers or multi-arm metal fixtures can be dangerously heavy and difficult to manage alone.
Motorized Lift Systems
If your chandelier has a built-in lowering system, consult the manual or a technician. Mishandling can damage the mechanism.
Frequently Asked Questions
Q: Can I use LED bulbs in any chandelier?
Ans: Yes, as long as the base type and wattage match. For dimmable chandeliers, make sure the LED is compatible with the dimmer switch.
Q: What if I break a bulb during removal?
Ans: Turn off power immediately. Use gloves and pliers to gently remove the base. Clean the area thoroughly and dispose of fragments carefully.
Q: How often should I change bulbs in a chandelier?
Ans: Change them when they burn out. If you’re upgrading or switching to LED, it’s often smart to replace all at once for consistency.
Q: Is it okay to mix bulb types?
Ans: It’s best to use the same type across all sockets for uniform brightness and color temperature.
Conclusion
Changing a light bulb in a chandelier doesn’t have to be intimidating. With the right tools, a bit of caution, and this guide by your side, you can get the job done safely and efficiently.
Remember:
- Turn off the power
- Use a sturdy ladder and safety gear
- Pick the right bulb type and wattage
- Follow each step with care
Routine maintenance can extend the life of your bulbs and fixture, saving you both time and money in the long run. And if at any point you feel unsure, don’t hesitate to bring in a professional.
Light your space with confidence—one bulb at a time.