Emergency exit lights are vital safety features in any building, providing illumination and guidance during power failures, fires, or other emergencies. These lights ensure that occupants can quickly and safely navigate to the nearest exit, reducing the risk of panic and injury. Compliance with safety regulations requires that emergency exit lights remain functional at all times, making regular testing and maintenance essential.

Over time, factors such as battery degradation, electrical issues, or environmental conditions can affect the performance of these lights. Conducting routine inspections helps identify potential failures before an emergency occurs, ensuring reliable operation when it matters most. Proper maintenance not only enhances safety but also ensures adherence to legal and building code requirements, preventing potential penalties or liabilities.
This guide provides a systematic guide on how to check emergency exit lights and covering essential steps such as visual inspections, function tests, and troubleshooting common issues. Whether you are a building manager, safety officer, or business owner, following these steps will help maintain the integrity of your emergency lighting system. By understanding and implementing effective testing procedures, you can ensure that these critical safety devices operate optimally, offering protection and peace of mind to all building occupants.
Gather All the Necessary Tools
Before starting the inspection, gather the required tools to ensure a smooth and accurate assessment. Essential tools include:
- A flashlight
- A voltage tester
- A ladder (if lights are installed at a height)
- A logbook or digital device for recording test results
- Replacement batteries and bulbs
The Basics of Emergency Exit Light Testing
Why Timely Testing is Crucial for Safety
Emergency exit lights provide illumination during power outages, fires, and other emergencies. Routine testing ensures they function correctly, preventing hazards caused by faulty lighting. Regular checks also comply with legal and safety regulations.
Identifying Different Types of Emergency Exit Lights
Emergency exit lights come in various designs, including:
- Self-contained units: These have built-in batteries and function independently.
- Central battery systems: These are connected to a central power supply.
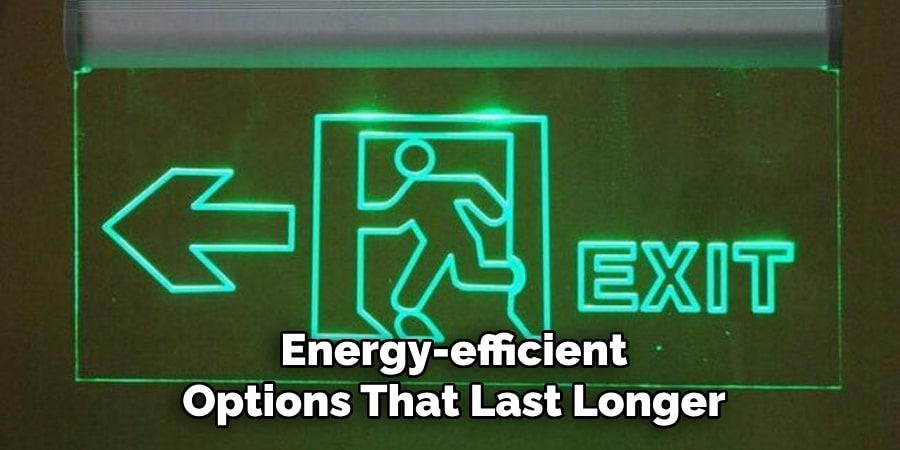
- LED exit signs: Energy-efficient options that last longer. Understanding the type of exit light in your building helps determine the appropriate testing methods.
10 Easy Steps on How to Check Emergency Exit Lightss
Emergency exit lights play a crucial role in guiding people safely out of buildings during power outages or emergencies. To ensure their reliability, regular testing and maintenance are essential. Below is a detailed step-by-step guide to effectively testing emergency exit lights.
Step 1: Power Down the Emergency Lighting Circuit
The first step in testing emergency exit lights is to turn off the main power supply. This simulates a real power outage and allows you to verify whether the emergency lights activate as expected. Locate the circuit breaker or switch that controls the emergency lighting system and turn it off. If the lights fail to turn on, it may indicate issues with the battery backup or the electrical wiring, requiring further inspection.
Step 2: Activate the Backup Battery
In the event that the emergency exit lights do not turn on automatically, manually trigger the backup battery system. Many emergency lighting units have a “test” button that allows you to check whether the battery is functioning. Press and hold the button to see if the lights illuminate. If they fail to do so, the battery may be dead or disconnected, and you should replace or reconnect it immediately.
Step 3: Observe Light Output
Once the emergency lights are activated, check their brightness and visibility. The lights should be sufficiently bright to illuminate escape routes and clearly guide people toward exits. Dim or flickering lights may indicate weak batteries, faulty bulbs, or wiring problems. If necessary, replace the bulbs or batteries to ensure the lights remain bright and functional.
Step 4: Check the Duration of Illumination
Emergency exit lights are required to remain illuminated for a minimum of 90 minutes during a power failure, as mandated by most safety codes. Use a timer to monitor the duration of illumination. If the lights turn off before the required time, it could indicate a weak or failing battery. In such cases, replace the battery to ensure compliance with safety standards.
Step 5: Inspect for Physical Damage
A thorough visual inspection is necessary to identify any physical damage to the emergency exit lights. Look for signs of broken casing, cracks, loose wiring, water damage, or burned-out bulbs. Any physical damage can compromise the functionality of the lights, making them unreliable in an emergency. If you find any defects, replace the damaged parts or the entire fixture if necessary.
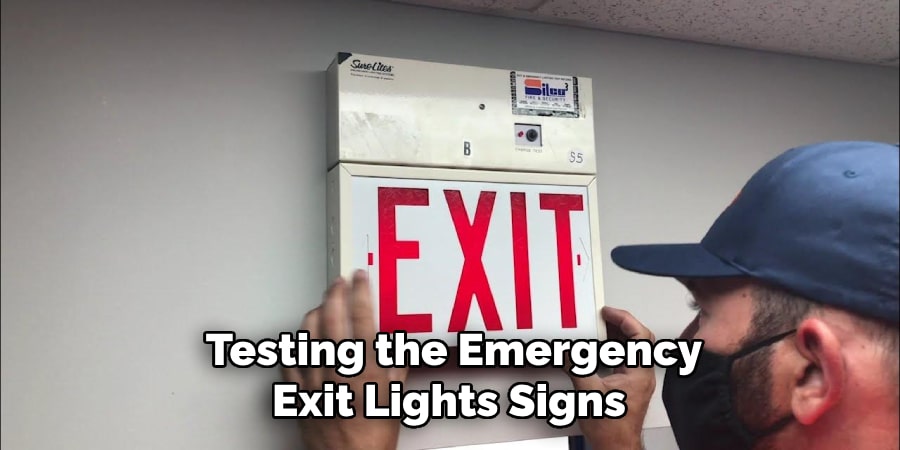
Step 6: Test the Exit Signs
Testing the exit signs involves ensuring they are visible and legible under various conditions. First, switch off the building’s normal lighting to simulate an emergency situation and verify that all exit signs are illuminating properly. If any sign fails to light up, check the connection and power supply. For battery-backed signs, ensure that battery terminals are clean and batteries are in good condition.
Additionally, ensure that all signage is clean, without any obstruction, and positioned correctly to guide occupants to the nearest exit effectively. Regularly testing the visibility and functionality of exit signs is crucial to a reliable emergency evacuation process.
Step 7: Restore Power and Test the Charging System
After completing the emergency lighting test, restore the main power supply. Once the power is back on, verify that the emergency lighting system’s battery is recharging properly. Many units have indicator lights that show whether the battery is charging. If the charging system is not functioning correctly, troubleshoot the issue by checking the wiring and battery connections. A faulty charging system may require professional servicing or replacement.
Step 8: Document the Test Results
Maintaining a record of each test is a crucial part of emergency lighting maintenance. Create a log that includes the test date, results, any malfunctions found, and the corrective actions taken. Proper documentation helps ensure compliance with safety regulations and provides a historical record of the system’s performance. This log can be useful during inspections by fire marshals or safety regulators.
Step 9: Schedule the Next Test
Regular testing of emergency exit lights is necessary to maintain safety and meet local building codes. Many safety regulations require monthly functional tests and an annual full-duration test. Establish a routine testing schedule based on your local compliance requirements. Consistently following this schedule ensures that emergency exit lights remain operational at all times.
Step 10: Address Any Issues Found
If any emergency exit lights fail the test, take immediate action to repair or replace them. Do not postpone addressing malfunctioning lights, as this could lead to safety risks in the event of an actual emergency. Whether it’s a simple battery replacement or a more complex wiring issue, prompt maintenance ensures that your emergency lighting system is always ready to provide reliable illumination during critical situations.
Following these steps on how to check emergency exit lights will not only help ensure the safety and compliance of your building but also provide peace of mind for both occupants and property owners. Regular maintenance of emergency exit lights is a crucial aspect of overall building safety and should not be overlooked.
Pre-Test Preparation and Safety Measures
Essential Tools and Equipment for Effective Testing
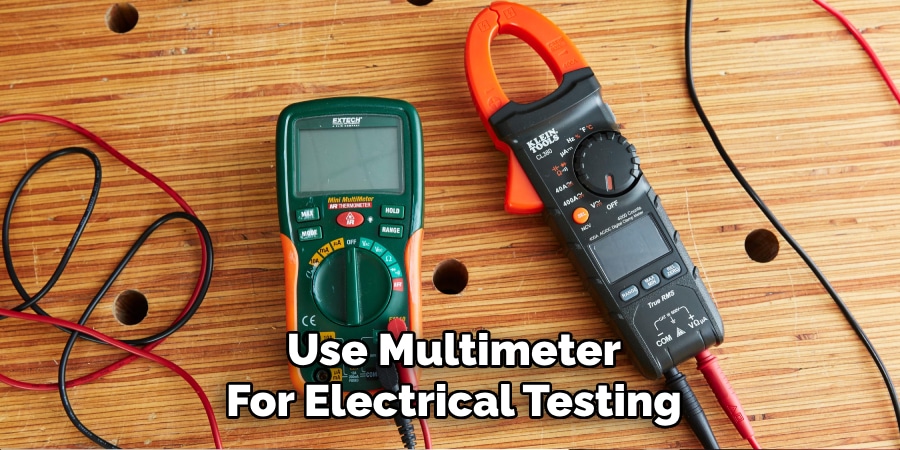
Having the right tools ensures accuracy and efficiency. These include:
- Multimeter for electrical testing
- Screwdrivers for disassembling fixtures
- Personal protective equipment (PPE) like gloves and safety glasses
Safety Protocols to Follow Before Testing Begins
- Inform occupants about the testing schedule.
- Ensure you have proper authorization if testing in a commercial building.
- Use a stable ladder and avoid testing alone for safety reasons.
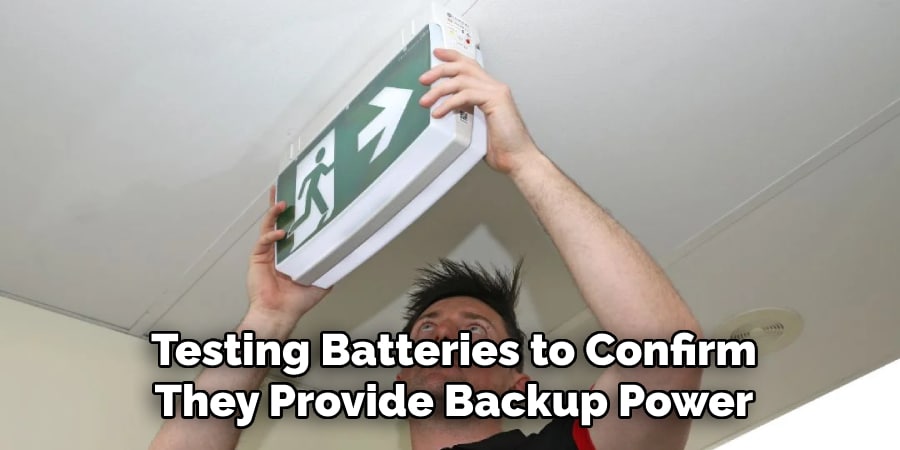
Conducting a Comprehensive Exit Light Inspection
A thorough exit light inspection ensures that all components function correctly in emergencies. This includes checking bulbs for brightness and functionality, testing batteries to confirm they provide at least 90 minutes of backup power, and inspecting electrical connections for loose wiring or corrosion. The enclosure should be examined for cracks, moisture damage, or other physical defects that could impact performance. Even minor issues, such as dim lights or weak battery connections, can lead to failures during critical situations. Regular inspections help maintain compliance with safety regulations and ensure that exit lights provide reliable guidance when needed most.
Frequently Asked Questions
How Often Should Emergency Exit Lights be Tested?
It is recommended to test emergency exit lights at least once a month with a full-duration test conducted annually.
Can Emergency Exit Lights be Tested Without Professional Help?
Basic functionality checks can be performed by building managers, but hiring a professional for in-depth inspections ensures compliance with safety regulations.
What are the Signs of Malfunctioning Emergency Exit Lights?
Common signs include dim illumination, flickering lights, faulty batteries, and broken casings. Immediate maintenance is required in such cases.
Can I Test Emergency Lighting Myself?
Yes, you can perform a basic test by simulating a power failure and checking the light output. However, professionals should conduct thorough inspections periodically.
Conclusion
Regular testing of emergency exit lights is crucial for ensuring safety and regulatory compliance. By following the outlined inspection steps, you can identify and address potential issues before they become hazards. A well-maintained emergency lighting system provides reliable guidance during critical situations, preventing panic and ensuring smooth evacuations. Establishing a routine testing schedule enhances preparedness, keeps your building compliant, and ensures these vital safety devices function when needed most.