Dim, foggy headlights can be more than just an eyesore — they’re a safety hazard. When headlights lose their clarity, your nighttime visibility takes a hit, which increases the chances of accidents, especially in poor weather conditions. Most people assume a quick polish on the outside is enough, but what if the real issue lies within?
Internal fog, dust, and moisture are hidden culprits that cloud up the lens from the inside — something many vehicle owners overlook. Cleaning the inner surface of your headlights can bring back clarity, improve brightness, and enhance your car’s appearance.
This article walks you through how to clean headlights from the inside safely and effectively — without professional help or expensive tools. Whether you’re a car enthusiast, a hands-on DIYer, or someone trying to restore older headlights, this guide is for you.
Why Headlights Get Dirty Inside
Your headlight lens may look perfectly clean from the outside, but internal dirt can still affect the beam output. Here are some reasons why your headlights get dirty from the inside:
1. Condensation and Moisture
Moisture is the most common cause of foggy headlight interiors. As temperatures shift — like during cold mornings followed by sunny afternoons — condensation can form inside the sealed unit. If the seal is worn, cracked, or improperly fitted, water easily finds its way in.
2. Dust and Debris
Headlights aren’t entirely airtight. Over time, fine dust and road debris can sneak through small vents or cracks in the housing, leading to a foggy or hazy appearance inside.
3. Aging and Oxidation
As vehicles age, the factory seals degrade, allowing air and contaminants to enter. This not only causes clouding but can also lead to oxidation on internal surfaces, which reduces the lens clarity.
4. Bug or Insect Intrusion
Believe it or not, tiny insects sometimes find their way inside your headlight housing. Once trapped, they die and decay, leaving unsightly marks and stains on the inside of the lens.
Tools and Materials You’ll Need
Before getting started, gather everything you need to save time and avoid frustration. Here’s a list of essential tools and supplies:
Basic Tools
- Screwdrivers (Phillips and flathead) – For removing clips and screws.
- Socket wrench set – To unbolt the headlight housing.
- Microfiber cloths – To clean and dry delicate surfaces.
Cleaning Supplies
- Warm water with mild soap – For general cleaning.
- Isopropyl alcohol – Perfect for removing interior film and residue.
- Lens-safe polish (optional) – For stubborn internal fog.
- Cotton swabs – Great for hard-to-reach corners.
Optional Materials
- Heat gun or hairdryer – For softening adhesive to open the headlight.
- Silicone sealant or resealing tape – To reseal the headlight unit.
- Gloves and safety glasses – For personal protection.
Pro Tip: Lay out all your tools in advance to prevent delays or mid-process searching.
Safety Precautions Before You Start
Safety should always come first when working on your vehicle. Here’s how to prepare:
1. Disconnect the Battery
Always disconnect your car battery to avoid short circuits or electrical damage during headlight removal.
2. Wear Gloves and Eye Protection
This protects you from sharp plastic edges, dust, and cleaning chemicals.
3. Work in a Well-Lit Area
A garage with good lighting or a shaded outdoor space is ideal.
4. Allow Lights to Cool
Headlights can stay hot after driving. Let them cool to avoid burns.
7 Easy Steps on How to Clean Headlights From the Inside
Follow these detailed steps for a successful DIY headlight cleaning.
Step 1: Remove the Headlight Assembly
Open the hood and locate the headlight housing screws or bolts. Using a screwdriver or socket wrench, carefully unscrew and detach the housing. Don’t forget to unplug the electrical connectors and bulbs. Once free, place the headlight assembly on a soft towel or a clean surface.
Step 2: Check If the Headlight Can Be Opened
Sealed Beam vs. Composite Headlights
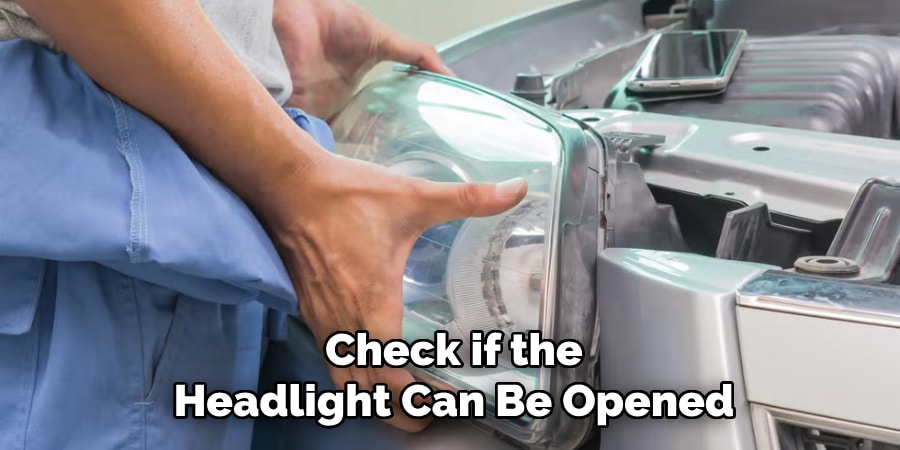
- Sealed Beam Units are factory-sealed and can’t be taken apart without damaging the unit — replacement may be your only option.
- Composite Headlights often have removable covers and can be opened for internal cleaning.
Look for signs of clips, fasteners, or glue seals around the edges. This will help you determine how to proceed.
Step 3: Open the Headlight Housing
If your headlight is glued shut, you’ll need a heat gun or hairdryer to soften the adhesive. Warm the edges evenly for a few minutes, then gently pry the lens open using a flathead screwdriver or plastic trim tool. Take your time — rushing can crack the plastic.
Step 4: Clean the Interior Surface
Start by removing any loose dust or debris with a soft microfiber cloth. Avoid using too much pressure.
Next, dab a clean cotton swab or cloth with isopropyl alcohol and gently wipe down the lens interior and reflector surface. This should eliminate most of the fog, haze, or film buildup.
For stubborn stains or yellowing, apply a small amount of lens-safe polish using circular motions. Avoid using toothpaste or abrasive cleaners, as they can scratch the lens or damage reflectors.
Step 5: Dry the Inside Completely
Make sure everything is completely dry before sealing the headlight back up. Let the parts air dry, or use a soft cloth. For trapped moisture, gently use a hairdryer on low heat to evaporate any remaining dampness.
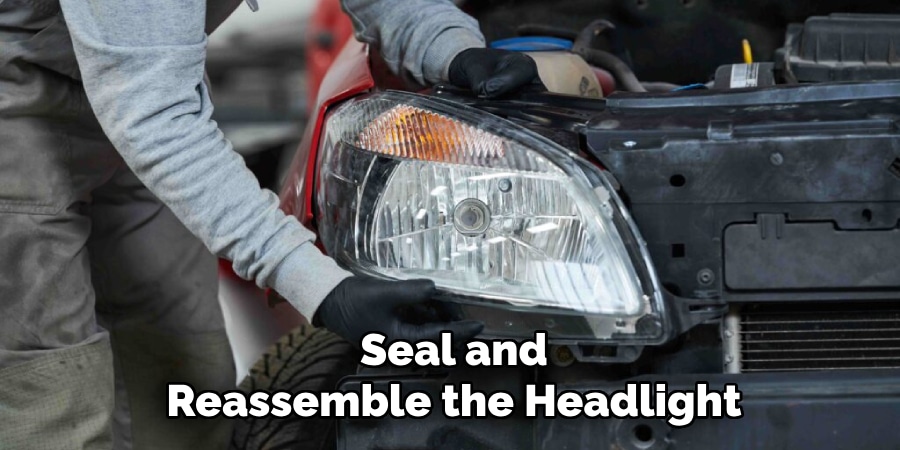
Step 6: Seal and Reassemble the Headlight
If the headlight was glued, reheat the old adhesive or apply new silicone sealant around the edges. Carefully press the lens back into place and clamp it, if needed. Let it cure as per the product’s instructions.
Step 7: Reinstall the Headlight
Reconnect the electrical plugs and reinsert the housing into the car frame. Tighten all screws and bolts securely. Finally, test your headlights to ensure everything is functioning correctly.
Special Cases and Tips
Here are a few helpful tips and exceptions to be aware of:
1. Moisture Trap Inside Headlight
Place a few silica gel packs inside the housing before sealing to absorb residual moisture.
2. Cracked or Damaged Headlight Lens
If the lens is cracked, cleaning won’t fix the problem. A replacement is your best option.
3. Yellowing That Won’t Go Away
Oxidation on both the inside and outside may require full polishing and restoration.
4. Retrofits or Custom Headlights
Aftermarket lights may open or seal differently. Always consult the manufacturer’s manual.
5. Fog Returns After Cleaning
This indicates a poor seal. Recheck the housing and reseal thoroughly.
How to Prevent Headlight Interior From Getting Dirty Again
Maintenance is key. Follow these tips to keep your headlights clear longer:
1. Seal Cracks Immediately
Use automotive-grade silicone sealant to seal small leaks or cracks early on.
2. Park in Covered Areas
Avoid leaving your car in the sun or rain for extended periods. Use a garage or carport when possible.
3. Regular Maintenance
Check your headlights every few months for signs of condensation or cloudiness.
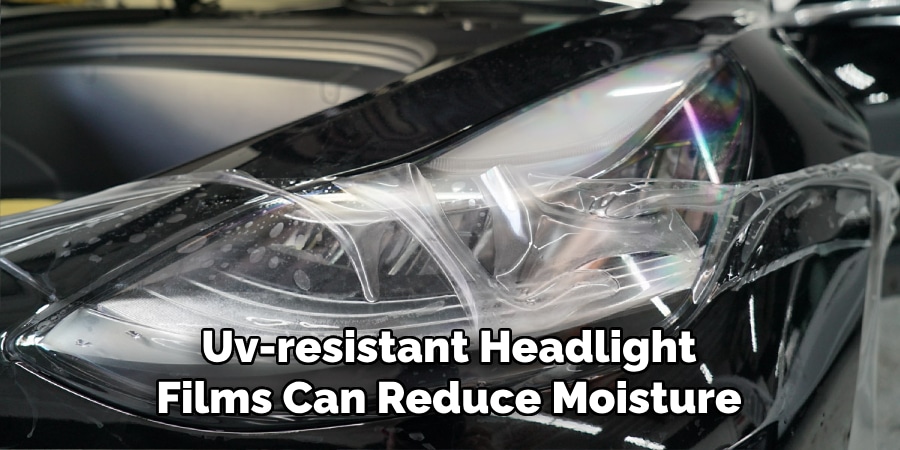
4. Use Protective Films or Covers
UV-resistant headlight films can reduce the chance of moisture and protect against oxidation.
When to Replace Instead of Clean
Cleaning isn’t always the best solution. Consider a replacement in these cases:
1. Severe Internal Damage
If you notice broken components like reflector bowls or mounting clips.
2. Permanently Foggy or Yellowed
Cleaning and polishing have no visible effect.
3. Sealed Units That Can’t Be Opened
Some headlights are not designed to be taken apart safely.
4. Water Intrusion from Major Cracks
Persistent water leakage is a sign it’s time for new headlights.
Frequently Asked Questions
Q: Can I clean the inside of all types of headlights?
Ans: No. Only composite headlights with removable lenses can be cleaned from the inside. Sealed beam headlights cannot be opened and usually need to be replaced if they get foggy inside.
Q: How do I know if my headlights are sealed or composite?
Ans: Check for visible clips, screws, or seams around the lens. Composite headlights typically have these and can be disassembled. Sealed beams are usually one-piece units and cannot be opened.
Q: What causes that cloudy or foggy look inside the headlight?
Ans: The cloudiness is often caused by moisture condensation, dust buildup, or oxidation on the interior lens or reflector surface.
Q: Can I just drill a hole in the headlight to let moisture escape?
Ans: This is not recommended. It may temporarily relieve moisture but will compromise the seal and invite more dirt, water, or insects in.
Q: Do I need to reseal the headlight after cleaning?
Ans: Absolutely. Failing to reseal it properly can allow moisture and dirt back in, undoing your hard work. Use silicone sealant or resealing tape for a tight, waterproof bond.
Conclusion
Cleaning your headlights from the inside can significantly improve visibility, safety, and the overall look of your car. This DIY project doesn’t require a mechanic — just patience, the right tools, and a careful hand.
Before spending money on replacements, try cleaning the inside. You might be surprised at how much clearer your headlights become.
Found this guide helpful? Be sure to check out more lighting repair tips and product guides on Lightorix.com — your trusted source for fixing all things light.