Lighting is a key element in shaping the mood and ambiance of any room. While many focus on selecting the right bulbs or fixtures, light covers often go unnoticed despite their potential to elevate a space’s aesthetics.
A well-designed light cover can diffuse light beautifully, soften harsh glares, and contribute to the overall decor. Customizing light covers with unique designs is an excellent way to introduce personality and creativity into your space. Whether you prefer a warm, inviting glow for a cozy atmosphere, an intricate artistic design to make a statement, or a themed cover to complement your interior style, there are endless possibilities.
From DIY solutions using decorative materials to custom-made covers tailored to your preferences, personalizing light covers allows for artistic expression and enhanced visual appeal. Additionally, customized light covers can serve as focal points, making an ordinary lighting fixture stand out.
This article provides a comprehensive guide on how to customize light covers with designs effectively. No matter your aesthetic preferences, customizing light covers is a simple yet effective way to refine your home’s decor while enhancing both functionality and beauty.
Why Customize Light Covers?
Custom light covers offer several advantages:
- Aesthetic Appeal – Light covers enhance your room’s aesthetic by adding character and uniqueness. With custom designs, patterns, and colors, they transform ordinary lighting into stylish decor elements, creating a visually appealing and personalized ambiance.
- Personalization – Custom light covers allow you to showcase your personality, style, or brand. Whether through unique designs, colors, or patterns, they create a personalized touch that enhances your space’s overall theme and identity.
- Thematic Matching – Thematic light covers seamlessly blend with your room’s decor, enhancing cohesion and style. Whether modern, vintage, or artistic, they complement furniture, color schemes, and ambiance, creating a visually harmonious and well-designed space.
- Light Control – Customized light covers help control brightness, color diffusion, and patterns, allowing you to create the perfect ambiance. They soften harsh lighting, enhance warmth, and add decorative effects to suit your mood and needs.
- Cost-Effective – Custom light covers offer a cost-effective way to update your space without replacing fixtures. They enhance aesthetics, improve lighting effects, and provide a fresh look, making them an affordable yet impactful decor upgrade.
Now that we understand the benefits, let’s explore various methods to customize light covers.
List of Necessary Tools

When customizing light covers, having the right tools ensures a smooth and efficient process. Here are some essential tools you may need:
- Measuring Tape – Accurately measure the dimensions of your light fixture for a perfect fit.
- Cutting Tools – Scissors, utility knives, or laser cutters for shaping materials like acrylic, fabric, or metal.
- Drill and Bits – Useful for creating holes or attaching mounting brackets.
- Sandpaper or File – Smooths rough edges for a polished finish.
- Paints and Brushes – Ideal for adding artistic designs and custom colors.
- Adhesives – Glue, double-sided tape, or epoxy for securing materials together.
- Heat Gun or Hair Dryer – Helps mold plastic or remove bubbles in adhesive applications.
- Stencils and Templates – Ensures precise designs and patterns for a professional look.
- Protective Gear – Safety goggles, gloves, and masks to ensure safe handling of materials.
- Lighting Test Kit – Allows you to check brightness, color diffusion, and final effects before installation.
Having these tools on hand will make the customization process easier and more effective, helping you create stunning and unique light covers.
Choosing the Right Type of Light Cover
Before starting your customization project, it’s essential to determine the type of light cover you have or want to use. The most common light covers include:
- Plastic Diffusers – Found in fluorescent lights, often used in offices and kitchens.
- Glass Covers – Common in chandeliers and decorative lamps.
- Metal Grilles – Used in industrial and modern settings.
- Fabric or Paper Covers – Frequently seen in lanterns and soft lighting setups.
Each type has different customization options, so select a material that best fits your design idea.
5 Easy Steps for How to Customize Light Covers with Designs
1. Painting the Light Cover
Painting a light cover is a simple yet effective way to add a personal touch and enhance the aesthetics of any room. To begin, ensure the surface of the light cover is clean by removing any dust or grease, which can affect the paint’s adhesion. If the cover is made of plastic or metal, lightly sand it to create a rough surface for better paint bonding.
Next, apply painter’s tape or stencils to the areas you want to protect or to create specific patterns and designs. This is an excellent way to ensure precision, especially if you’re aiming for intricate designs. When painting, apply light coats to avoid drips and ensure an even finish. It’s essential to let the paint dry completely between coats, giving the best possible result.
If you want to increase the durability and protection of the paint, consider applying a clear sealant once the paint has dried. This method works particularly well on plastic and glass light covers, allowing for bold color choices and intricate, eye-catching designs that complement your space’s decor.
2. Decoupage (Using Printed Designs or Fabric)
Decoupage is a great technique for adding an artistic, textured look to your light covers, perfect for those who want a unique, handcrafted design. To begin, choose printed designs or fabric that complements your room’s decor. Cut the design or fabric to fit the light cover, making sure it aligns with your desired pattern or image. Using a soft brush, apply a thin layer of Mod Podge or clear glue to the surface of the cover.
Carefully place the fabric or printed design on top, smoothing out any wrinkles to ensure it lies flat. Once the design is in place, apply another thin layer of Mod Podge or glue on top to seal the design and add durability. This extra layer also protects the design from damage. Allow the light cover to dry completely before reinstalling it. Decoupage allows you to create intricate, one-of-a-kind patterns that add texture and a personal touch to your space, elevating the ambiance with a handcrafted feel.
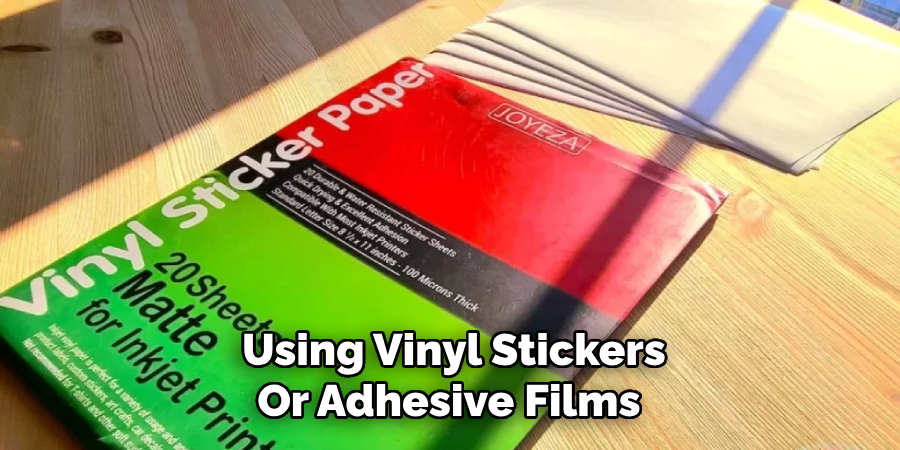
3. Vinyl Stickers or Film
Using vinyl stickers or adhesive films is a modern and mess-free way to personalize light covers. This method is particularly ideal for those who want a simple, clean finish without the need for complicated tools or techniques. Start by cleaning the light cover thoroughly, ensuring that it’s free from dust and grime, and allowing it to dry completely. Once dry, cut the vinyl sticker or adhesive film to the desired shape or size, either using scissors or a cutting machine for custom designs.
Carefully peel off the backing of the vinyl and apply it to the light cover, smoothing it out with a squeegee to eliminate any air bubbles and ensure a flawless finish. If the design has intricate details, take your time to apply each section with precision.
After application, allow the sticker or film to settle for a few hours before turning on the light, ensuring a firm bond. Vinyl stickers or films are perfect for renters or anyone who wants an easy way to refresh the look of their light covers since they can be easily removed or changed without damage.
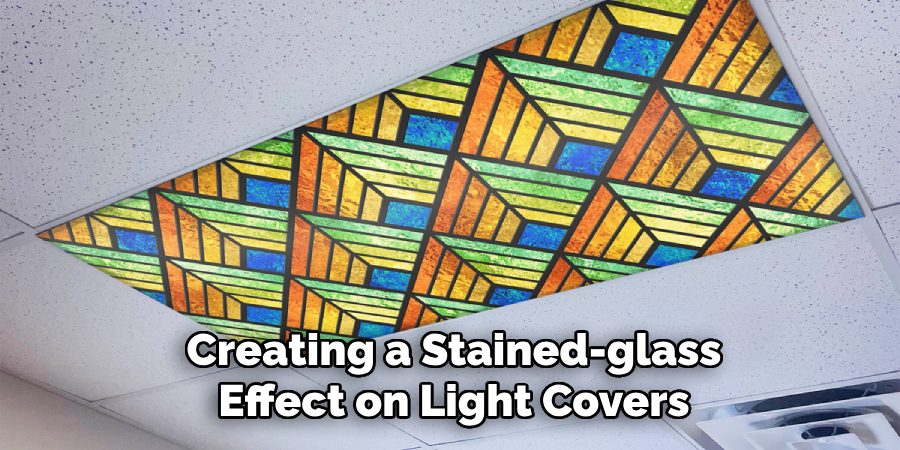
4. Stained Glass Effect
Creating a stained-glass effect on light covers adds a vibrant, elegant touch that enhances the atmosphere of any room. To achieve this look, start by cleaning the glass cover thoroughly, ensuring that it’s free from dust and debris. Once clean, use lead strip tape to outline your design. The tape acts as a barrier, mimicking the lead that holds stained glass pieces together, and helps define the various sections of your design. After outlining, use translucent glass paint to fill in the spaces within the design.
Glass paint allows light to pass through, creating a beautiful, colorful glow when the light is turned on. You can experiment with different colors and patterns to create a truly personalized and artistic piece. Once the paint is applied, let the light cover dry completely to ensure that the design is set and durable. This technique works best on glass light covers, offering a stunning, colorful effect that transforms your lighting into a work of art.
5. Laser-Cut or DIY Carved Designs
For those with access to a laser cutter or carving tools, creating intricate designs in light covers can be a rewarding way to personalize your space. Start by sketching your design or using a pre-made template, ensuring that the design fits the dimensions and shape of the light cover. If you’re using a laser cutter, carefully input the design into the machine, allowing it to cut the pattern into plastic, metal, or wood. For hand-carved designs, use carving tools to carefully etch the design onto the surface.
After the design is cut, smooth any rough edges with sandpaper to give the light cover a clean and polished finish. This is especially important for wood or metal covers, as uneven edges can detract from the overall effect. Once the design is complete and smoothed, you can paint or apply a finish to enhance the appearance, whether you want a natural wood look or a vibrant color. This method offers the highest level of creativity and customization but does require specialized tools and experience.
Safety Tips When Customizing Light Covers
- Use heat-resistant materials to prevent fire hazards.
- Avoid blocking ventilation holes on light covers.
- Ensure proper adhesion so decorations don’t fall off.
- Test before permanent installation to ensure the desired light diffusion.

Conclusion
Customizing light covers is a fun and creative way to enhance your space while reflecting your unique style. Whether you choose painting, decoupage, vinyl stickers, or more advanced techniques like laser cutting, each method offers a distinct aesthetic appeal. Experiment with different designs, and don’t be afraid to mix techniques for a truly personalized touch.