Govee LED light strips have become a favorite among DIY enthusiasts, home decorators, and renters alike. Their vivid colors, smart features, and ease of use make them a popular choice for ambient lighting, gaming setups, under-cabinet accents, and more.
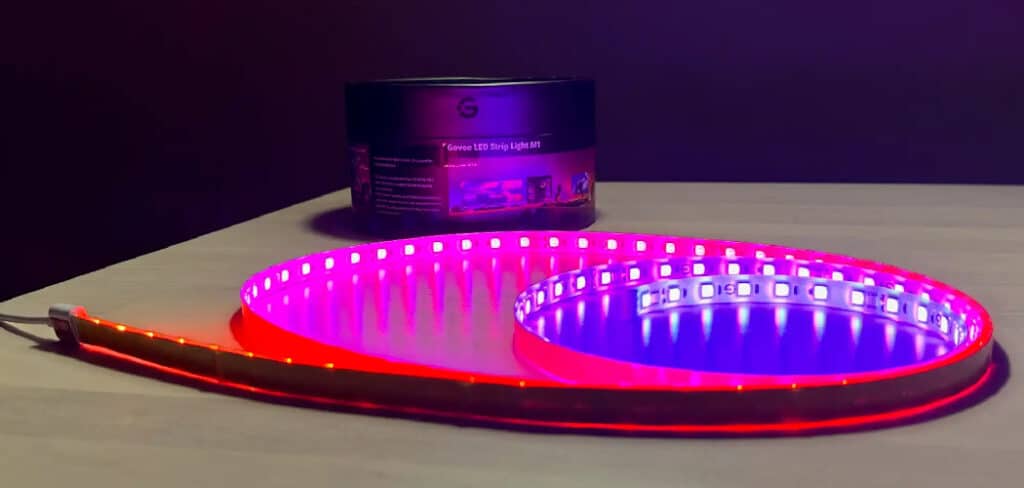
One of the greatest features of Govee LED strips is their flexibility. Not only can they be bent and routed around furniture or walls, but they can also be cut to fit your exact needs—whether you’re lighting up a shelf, a TV frame, or a desk.
This article will guide you step-by-step on how to cut govee led lights. Whether you’re a seasoned DIYer or a complete beginner, we’ll make sure you avoid mistakes and get the perfect custom fit without damaging your lights.
Can You Cut Govee LED Lights?
Yes — many Govee LED strips are designed to be cut. However, not all models are cuttable, so it’s crucial to check the user manual or product details before you begin.
Govee includes specific cut points in most of their strip designs. These are marked with small scissors icons and copper pads. Cutting outside of these points can damage the strip, rendering parts of it (or all of it) non-functional.
Always verify your model’s compatibility with cutting and locate the designated cut lines before making any modifications.
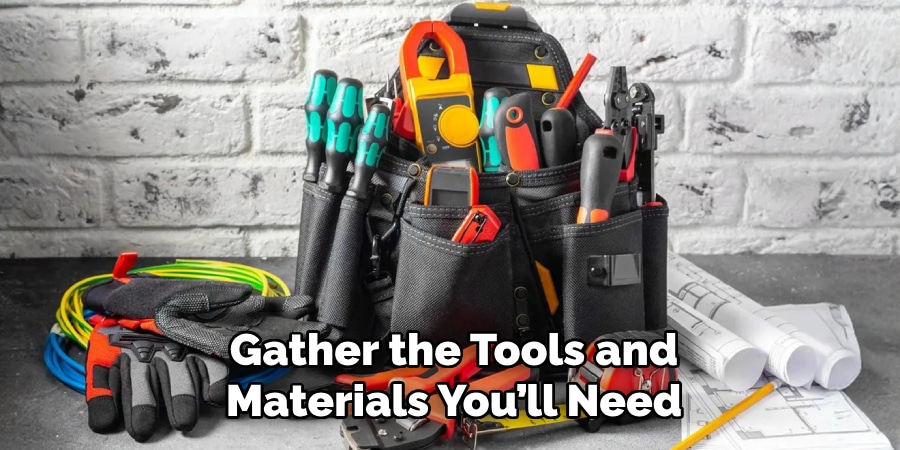
Tools and Materials You’ll Need
To cut your Govee LED lights properly, you’ll need a few basic tools:
- Sharp scissors or a precision craft knife
- Ruler or measuring tape
- LED strip connector clips (if reconnecting)
- Electrical tape or silicone end caps (optional but recommended for sealing)
- Govee instruction manual
- Optional for advanced users: Soldering iron and heat-shrink tubing
How to Identify Cut Points on Govee LED Strips
Govee LED strips include cut points every few inches—typically after every 3 or 6 LEDs. These points are marked with a dashed line and often a tiny scissor icon.
Next to these lines, you’ll see small copper pads—the areas you must align with connectors or solder wires to maintain power flow.
Never cut anywhere except these marked locations. Doing so can break the electrical circuit, and the rest of the strip might not light up at all.
4 Easy Steps on How to Cut Govee Led Lights
Cutting Govee LED light strips is a simple but delicate process. Doing it correctly ensures that your lights continue working as expected and that you don’t risk damaging the strip or exposing yourself to electrical hazards. Whether you’re resizing the strip for a TV backlight, under-cabinet lighting, or a custom project, follow these steps carefully.
Step 1: Power Off the Lights
Before you do anything, make sure to completely disconnect the LED strip from any power source. Unplug it from the power outlet and detach it from the controller if it’s already connected. This is an essential safety step that prevents the risk of electrical shock and also avoids any accidental short-circuiting of the strip.
Even if the lights are turned off via a remote or app, residual electricity could still be present in the circuit. Taking this precaution helps ensure both your safety and the longevity of the strip.
Step 2: Measure and Mark
Once you’re safe, plan exactly how much of the LED strip you need. Use a ruler or measuring tape to determine the correct length that fits your space. Always check the surface area where you intend to apply the lights—whether it’s the edge of a desk, inside a shelf, or behind a TV. Most Govee LED strips have clearly marked cutting points, usually indicated by a scissor icon and copper contact pads.
It is very important to only cut along these designated lines. Cutting anywhere else can ruin the circuit and render that section of the strip useless. After measuring, mark the appropriate cut point with a pen or small piece of tape.
Step 3: Make the Cut
Use a pair of sharp scissors or a precision craft knife to make the cut. Ensure the blade is clean and strong enough to provide a neat, straight cut. Carefully cut directly on the copper pad line without damaging the strip around it.
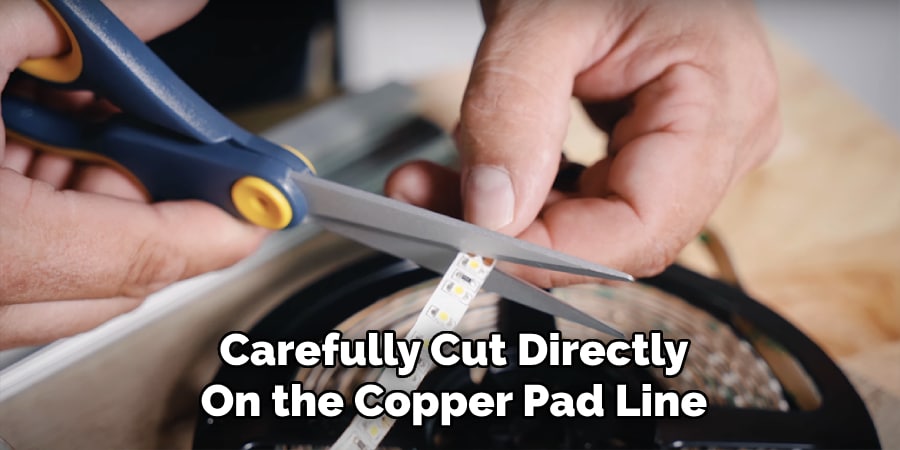
Be gentle—do not pull, twist, or bend the strip while cutting, as this can cause internal wiring to break or loosen, which may affect functionality. A clean, accurate cut ensures the LED strip can still function properly if you choose to reuse or reconnect the trimmed portion.
Step 4: Seal or Reconnect
After cutting, determine whether you’ll be using the trimmed-off section. If not, seal the cut end with electrical tape, silicone end caps, or hot glue to prevent dust, moisture, or accidental shorts. This is especially important in areas with humidity or where the strip is near metal.
If you do plan to reuse or reconnect the other portion, you can use compatible Govee connectors or solder wires directly onto the copper pads to extend the strip or create a new section. Make sure to match the positive and negative terminals correctly when reconnecting.
Following these steps ensures a safe and effective LED strip modification while preserving the functionality and aesthetic appeal of your Govee lights.
How to Reconnect Cut Govee LED Strips
Option 1: Using LED Strip Connectors
These snap-on connectors are the easiest way to join cut strips.
- Open the connector cap.
- Insert the cut ends into the connector, ensuring the copper pads align with the metal pins.
- Snap shut and test the strip with power.
No soldering or special tools needed—just match up the + and – markings.
Option 2: Soldering Wires
For a more permanent or flexible connection (such as corners):
- Solder a wire to each copper pad, ensuring polarity (+/-) matches.
- Cover with heat-shrink tubing or electrical tape to insulate.
- Connect the wires to the next strip section.
⚠️ Warning: Do not overheat the LED strip—apply soldering heat briefly to avoid damaging LEDs.
Pro Tips for Reconnecting
- Always double-check polarity.
- Test the lights before installing or mounting.
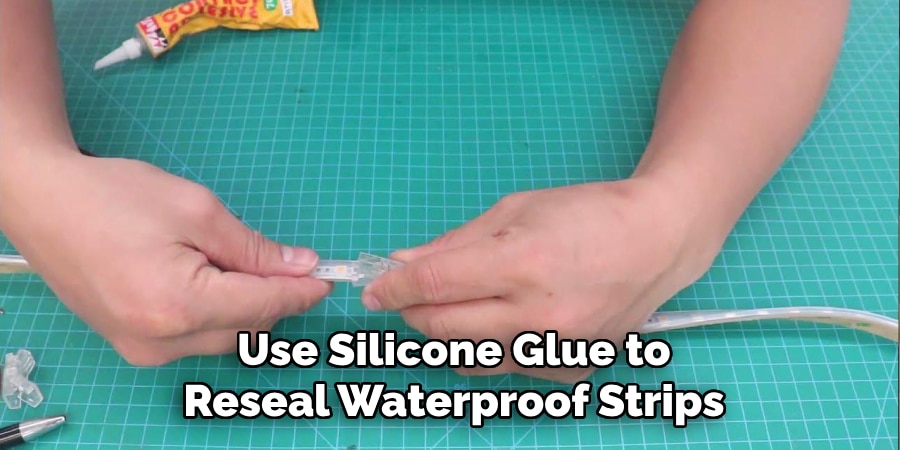
- Use silicone glue to reseal waterproof strips after soldering or connecting.
Mistakes to Avoid When Cutting Govee LED Lights
Cutting LED strips is simple, but small errors can be costly. Avoid these common mistakes:
- Cutting in the wrong place (outside copper pads) — will break the circuit.
- Not powering off the strip — risks electric shock or shorting the controller.
- Misaligned connectors — can prevent power flow or cause flickering.
- Skipping sealing — open ends attract moisture and dust.
- Mismatched voltage — using the wrong power supply can fry your strip.
Can You Reuse the Leftover Strip?
Yes — leftover segments can be reused if they include a set of copper pads and circuitry.
To reuse:
- Connect the leftover strip to a power supply using a connector or solder.
- You may need a new controller or adapter depending on the model.
- Ensure compatibility with the Govee app or remote if it’s a smart model.
Waterproof Govee LED Lights: Special Considerations
Waterproof Govee LED strips are coated with a clear silicone or epoxy layer to protect them from moisture.
To cut them:
- Carefully slice through the outer coating using a utility knife.
- Cut along the copper pads, as usual.
- Reseal the ends with silicone glue or end caps to maintain water resistance.
Skipping this step will leave the LED exposed, risking corrosion or short-circuits.
Safety Tips and Best Practices
- Work in a dry, well-lit space.
- Use insulated tools to prevent accidents.
- Label cut ends for easy polarity matching later.
- Avoid bending near cut points — weakens solder joints or connections.
- Test your strip before final mounting with adhesive or brackets.
When to Call a Professional
If you’re not confident about:
- Soldering wires
- Waterproof sealing
- Smart home system integration
Then it’s a good idea to consult a professional or contact Govee customer support.

Frequently Asked Questions
Q: Where exactly should I cut the Govee LED strip?
Ans: Always cut along the designated cut lines marked by copper pads or a scissor icon. Cutting anywhere else can damage the strip and stop it from working.
Q: Can I customize the length multiple times?
Ans: Yes, as long as you continue cutting along the correct copper pads and properly seal or reconnect the ends each time.
Q: How far apart are the cut points on Govee LED strips?
Ans: The spacing between cut points varies by model, typically every 3 to 6 LEDs. Check your strip’s manual or look for the scissor icons.
Q: Do I need special connectors for rejoining the strip?
Ans: Yes, use compatible Govee or third-party clip connectors designed for your LED type (4-pin for RGB, 3-pin for single-color, etc.).
Q: Can I cut RGB and RGBIC strips the same way?
Ans: No, RGBIC strips generally cannot be cut because each segment is individually controlled. Only non-IC models are safe to trim.
Conclusion
Cutting Govee LED strips is a simple and effective way to tailor your lighting setup to fit your specific needs, whether you’re decorating a room, enhancing a workspace, or adding ambiance to furniture. When done correctly, it’s a safe and rewarding DIY task that allows for maximum flexibility.
The most important rule is to cut only at the clearly marked copper pad sections on the strip. These designated points are the only safe spots where the electrical circuit can be divided without damaging the strip. Take your time and use the proper tools, such as a sharp pair of scissors or a precision craft knife, to ensure clean cuts.
If you plan to reconnect or repurpose any sections, clip-on connectors or soldering wires onto the copper pads can help restore functionality and extend the strip. Don’t forget to seal any exposed ends with electrical tape or silicone to protect against dust and moisture. With careful handling, you can easily customize your Govee lights while keeping them long-lasting and fully functional.