Light panels, whether they are fluorescent ceiling panels, LED panels, or acrylic diffusers, are crucial components in modern lighting systems. These panels provide diffused light that enhances the ambiance of various spaces, from offices to homes.
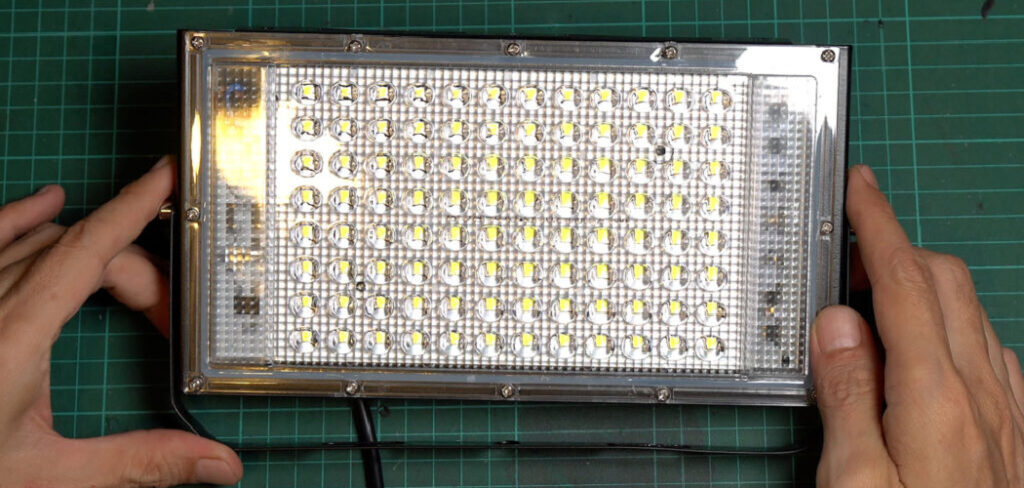
However, at times, these panels need to be cut to fit specific spaces, replace damaged sections, or even customize them for unique lighting projects. This article provides a comprehensive guide on how to cut light panels effectively. Whether you’re dealing with acrylic light diffusers, LED panels, or fluorescent ceiling panels, understanding the best practices and tools to use is essential for achieving clean cuts that fit perfectly in your desired location.
Gather All the Necessary Tools
Before cutting, ensure you have the right tools for the job:
- Measuring Tape and Ruler
- Pencil or Marker
- Utility Knife or Plastic Scoring Knife
- Circular Saw or Jigsaw
- Fine-Tooth Saw Blade
- Sandpaper or File
- Safety Gear
- Clamps or Stable Work Surface
Safety Tips for Cutting Light Panels
- Using Protective Gear: Always wear gloves, safety glasses, and a dust mask to protect yourself from sharp edges and flying debris.
- Working with Power Tools: When using saws or drills, ensure that you follow the manufacturer’s safety instructions and keep hands clear of the cutting blades.
- Proper Disposal of Scraps: Recycling options are available for acrylic and polycarbonate scraps. Handle these pieces with care to avoid cuts from sharp edges.
Understanding Different Types of Light Panels

It’s essential to understand the different types of light panels and how they affect the cutting process:
Fluorescent Light Diffuser Panels
- Material: Typically made of acrylic or polystyrene, which are somewhat brittle but easy to cut with the right tools.
- Cutting Method: These panels can be scored and snapped for clean breaks or cut using a saw.
LED Light Panels
- Material: Thinner and often require custom sizing for installation. These can be acrylic or polycarbonate with an LED strip attached.
- Cutting Method: Careful cutting is necessary to avoid damaging the LED components. Scoring and snapping is not ideal for these panels, so a saw is typically required.
6 Easy Steps on How to Cut Light Panels
Cutting light panels for DIY projects or repairs requires precision. The process varies by material and thickness. Here’s a step-by-step guide to help you cut panels effectively.
Step 1: Prepare the Work Area
Before you begin cutting, it’s essential to prepare your work environment to ensure both safety and efficiency. Find a stable, flat surface where you can lay the light panel without obstruction. Make sure the workspace is well-lit, as proper visibility is crucial when measuring and cutting.
If you’re using power tools, like a saw, ensure the area is well-ventilated. Sawing or cutting panels can generate dust, so it’s important to have an area with good airflow or use a dust extraction system if available. Lay down a drop cloth or protective covering on the floor to catch any debris and prevent damage to your workspace. This will keep the area clean and protect your tools and other items from debris.
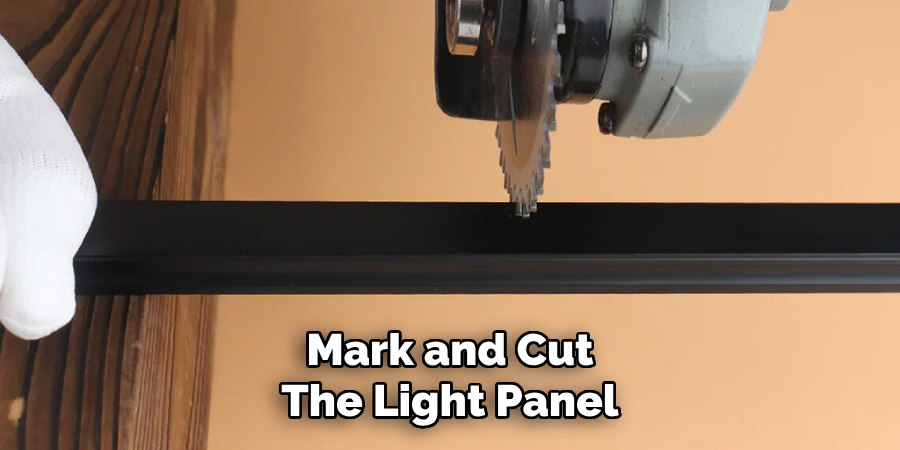
Step 2: Mark the Cutting Line
Accurate measurements are key to making precise cuts. Use a ruler or tape measure to carefully measure the size of the section you want to cut from the light panel. Once measured, mark the cutting lines clearly with a fine-tip marker or pencil. Double-check your measurements before proceeding to ensure accuracy.
It’s a good idea to use a square or a straightedge to help guide your marker and create perfectly straight lines. This will ensure the cut is clean and neat. If necessary, use a level to confirm that the lines are straight and perpendicular to avoid any misalignment during cutting.
Step 3: Scoring and Snapping Method
For thin acrylic or polycarbonate light panels, a simple scoring and snapping technique can be used. This method is quick and effective for thinner materials that are not too thick or dense.
Using a plastic scoring knife, score the panel along the marked line. Apply gentle, consistent pressure, and make multiple passes along the line to ensure a deep score. The goal is to create a groove in the surface of the panel without cutting all the way through it.
Once the score line is deep enough, carefully snap the panel along the scored line. To do this, you can apply gentle pressure on both sides of the score, allowing the panel to break cleanly along the line. Be sure the score is deep enough to prevent any jagged breaks.
Step 4: Using a Saw for Thicker Panels
For thicker light panels, such as those made from solid polycarbonate, you’ll need a more robust tool, such as a circular saw or jigsaw with a fine-tooth blade. Thicker panels require more power and precision to avoid chipping or cracking.

First, secure the panel to a stable surface using clamps or a vice. This will prevent the panel from shifting during the cut, which could cause an uneven or inaccurate result. Always ensure the panel is firmly held in place before starting.
Next, slowly guide the saw along the marked cutting line. Use a steady hand and ensure the saw is operating at a low to moderate speed to avoid overheating and damaging the material. Take your time and follow the line closely to achieve a smooth cut. For cleaner results, you can use masking tape along the cutting line to minimize fraying and cracking.
Step 5: Smoothing the Edges
Once you’ve made the cut, the edges of the panel may be rough or sharp, which can affect the final look or pose a safety hazard. Use sandpaper or a file to smooth any jagged edges or rough spots. Work gently along the edges, ensuring you don’t cause additional damage to the panel.
For a more polished finish, you can use a buffing wheel or polishing cloth to smooth the surface further. This step is especially important for panels that will be visible in your lighting setup, as it will give them a more professional and finished appearance.
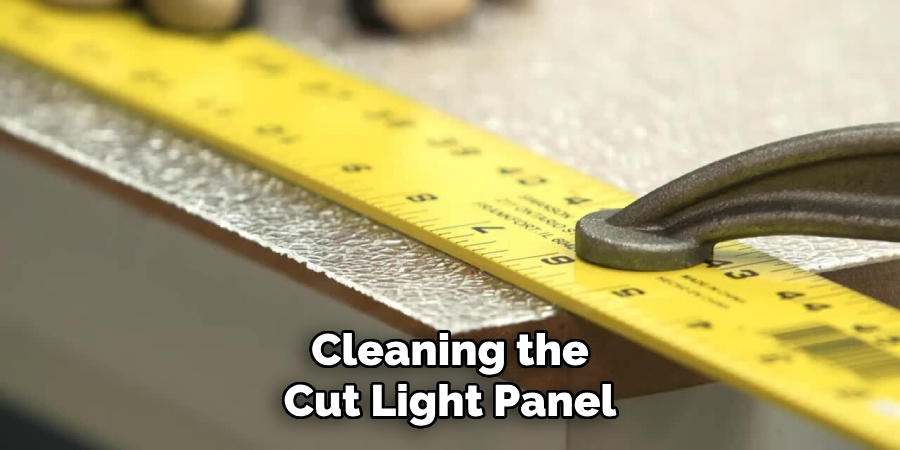
Step 6: Cleaning the Cut Panel
After cutting and smoothing, it’s important to clean the panel thoroughly. Use a damp cloth to wipe away any dust or debris from the cutting process. Be gentle when cleaning, especially if the panel is transparent, as harsh cleaning could scratch the surface.
For transparent panels, make sure to clean both sides to maintain their clarity and visual appeal. You can use a glass cleaner for an extra shine, but ensure it doesn’t leave streaks or residue. A clean, well-maintained panel will not only look better but will also function optimally in your lighting setup.
Follow these steps to cut light panels with precision, ensuring smooth edges for your project. Proper preparation and technique are key to success.
Common Challenges When Cutting Light Panels
Avoiding Cracks and Chips
To avoid damaging delicate panels, always use the appropriate tools for the material. For acrylic panels, avoid using too much pressure during the cutting process.
Cutting Curved or Irregular Shapes
Use a jigsaw with a fine-tooth blade for making curved or irregular cuts. You may need to heat the acrylic panel slightly to allow for easier bending or cutting.
Dealing with Static and Dust Buildup
Plastic panels, especially acrylic, can attract dust due to static electricity. Ensure your workspace is free from dust, and consider using an anti-static cloth after cutting.
Frequently Asked Questions
Q: Can You Cut Light Panels Without Cracking Them?
Ans: Yes, by using the right tools and techniques, such as scoring and snapping for thin panels or using a fine-tooth saw for thicker ones, you can minimize the risk of cracks.
Q: What Is the Easiest Way to Cut an Acrylic Light Panel?
Ans: Using a plastic scoring knife and scoring the panel before snapping it is the easiest and most effective method for cutting acrylic panels.
Q: Can I Cut LED Light Panels Without Damaging the LEDs?
Ans: Yes, but extra care must be taken to avoid cutting through the LED components. It is advisable to cut around the LEDs or use a saw designed for precision cutting.
Q: How Do I Cut Light Panels for Circular Fixtures?
Ans: A jigsaw with a fine-tooth blade works well for cutting curves or circles in light panels. Ensure the panel is securely clamped before cutting.
Conclusion
Cutting light panels can seem challenging, but with the right preparation, tools, and techniques, you can achieve professional results. Always prioritize safety and precision, and take the time to measure accurately before cutting. By following the steps outlined in this guide, you can customize light panels to fit any space, saving money and reducing waste while ensuring a perfect fit. Happy cutting!