Landscape lighting does more than just brighten up your yard — it adds character, enhances security, and transforms the way your home looks after sunset.
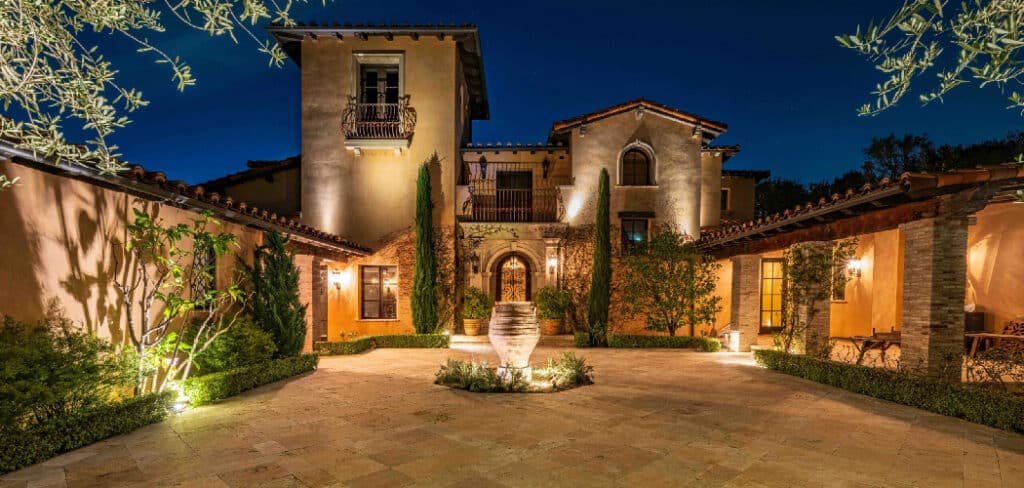
Whether you’re illuminating a walkway, highlighting your garden’s best features, or creating a cozy outdoor ambiance, a well-thought-out lighting plan can elevate your entire outdoor experience. As homeowners and designers look for creative ways to beautify their properties, landscape lighting has become both an aesthetic and functional must-have.
This article provides a comprehensive guide on how to design landscape lighting is designed for homeowners, DIY enthusiasts, and professionals alike. Whether you’re starting from scratch or upgrading an old system, you’ll discover practical knowledge that helps you confidently create a custom landscape lighting design that looks great and performs reliably.
Benefits of Landscape Lighting
There’s a reason landscape lighting is in demand. First and foremost, it greatly boosts curb appeal. A softly lit pathway, an elegantly spotlighted tree, or glowing garden accents add drama and dimension to your yard after dark. These touches not only highlight the beauty of your property but also create an inviting atmosphere for guests.
Security is another strong motivator. A dark yard can be an invitation to intruders, while a well-lit exterior acts as a deterrent. Strategic lighting can eliminate shadowy areas around entrances, garages, and fences, giving you peace of mind.
Moreover, it increases property value. Thoughtful landscape lighting is often seen as a sign of a well-maintained, luxurious home, and can be a major selling point for potential buyers. On a practical note, it also makes your outdoor areas safer to navigate at night, reducing the risk of trips and falls.
Lastly, it lets you enjoy your outdoor space for longer periods. Whether you’re having dinner under the stars or relaxing on the patio, lighting allows you to extend the functionality of your yard well into the evening.
Planning Your Landscape Lighting Design

Begin with a thorough assessment of your yard. Walk around both during the day and at night to identify elements that deserve attention—such as architectural structures, garden beds, statues, trees, or water features. Think about areas that remain too dark or could be safety hazards.
Next, clarify your goals. Is your priority security, beauty, functionality—or a blend of all three? Knowing your intent helps guide fixture choice and placement.
Highlight focal points that deserve attention after dark. A tall tree with a beautiful canopy, a bubbling fountain, or a front door with stone detailing can become nighttime features with the right lighting.
Observe how natural light affects your space. Take note of where shadows fall, how the sun sets in relation to your home, and which areas are already well lit from nearby sources like streetlights.
Finally, draw a basic layout. It doesn’t have to be perfect. Just sketch the boundaries of your yard, mark permanent structures, and identify spots where lighting will serve a purpose or make an impact.
Types of Landscape Lighting Techniques
There are several lighting techniques used in landscape design, and combining them gives your yard a professional finish. Uplighting creates a dramatic effect by casting light upward on trees, columns, or façades, emphasizing height and texture. Downlighting does the opposite, mimicking moonlight to softly illuminate seating areas or walkways from above.
Silhouetting involves placing a light source behind a feature—like a sculpture or a bush—to cast its shape in stark relief, adding drama and mystery. Shadowing works similarly but places the light in front of the object, casting playful or soft shadows against a wall.
Path lighting ensures safe navigation along driveways, walkways, and garden edges. Grazing involves placing lights very close to a surface, such as a stone wall, to highlight texture. Washing uses a broader light beam to illuminate larger surfaces, such as hedges or fences, creating a smooth and soft background glow.

Choosing the Right Fixtures and Materials
The environment outside can be unforgiving. That’s why durability matters. Opt for weatherproof and rust-resistant materials like brass, copper, or stainless steel. These materials not only last longer but age beautifully over time.
Depending on your needs, you can choose between solar-powered lights (ideal for easy installation), wired low-voltage fixtures (reliable and bright), or battery-operated lights (best for short-term needs or areas without wiring access). More homeowners are also turning to smart landscape lighting systems that can be controlled via smartphone apps or voice assistants, offering options for dimming, scheduling, and even color changes.
Aesthetics shouldn’t be overlooked either. Your fixtures should complement your home’s architecture and garden style—whether modern, rustic, or classic.
Selecting the Right Bulbs
The bulb inside your fixture impacts energy efficiency, brightness, and lifespan. LED bulbs are the clear favorite thanks to their low power consumption, long life (up to 50,000 hours), and cool operation.
Consider how bright each area should be. Lumens—not watts—measure brightness. For example, pathway lights might only need 100 lumens, while spotlights could require 300 or more.
Beam angle is another key consideration. Narrow beams create focused, dramatic lighting—great for highlighting statues or trees—while wide beams offer more ambient coverage for large areas.
If color accuracy is critical—such as when lighting plants or art—look for bulbs with a high CRI (Color Rendering Index). Also, choose dimmable options if you want flexibility in mood or brightness.
9 Easy Steps on How to Design Landscape Lighting
Designing your own landscape lighting may feel complex at first, but breaking it into simple, manageable steps makes the process approachable and effective.
Step 1: Evaluate Your Landscape
Walk around your outdoor space during both the day and night. Look for standout features you want to highlight—like trees, architectural details, or garden beds. At the same time, identify areas where lighting is essential for safety, such as stairs, uneven ground, or dark walkways.

Step 2: Define Your Goals
Decide whether your primary objective is to boost security, improve aesthetics, enhance usability, or a combination of all three. Determine whether each area requires purely functional lighting—like path lights for walking—or whether it would benefit from ambient or accent lighting to set a mood or showcase features. Be sure to prioritize the zones with the most impact, such as your front yard, entryway, backyard patio, or garden.
Step 3: Sketch a Lighting Plan
Draw a rough outline of your yard and mark all permanent elements like trees, fences, pathways, patios, and furniture. Then, indicate where you want to place lights, and what type of fixture each location will need. Use symbols or color codes to differentiate uplights, path lights, downlights, and accent lights. This will serve as your working blueprint.
Step 4: Choose Lighting Techniques
Apply uplighting to emphasize tall trees or architectural columns. Use downlighting mounted on pergolas or trees to bathe a space in soft, natural light. Line walkways and garden edges with path lights for both function and visual rhythm. For walls or wide surfaces, wall washing offers even, soft illumination. Match techniques to features based on what effect you want to create.
Step 5: Select Fixtures and Bulbs
Choose fixture styles that match your home and landscape aesthetic. Prioritize weather-resistant materials such as copper, stainless steel, or brass for long-lasting durability. Select LED bulbs with appropriate brightness (lumens), color temperature, and beam angles to match each task. For example, accenting a sculpture may require a focused, narrow beam, while lighting a patio may benefit from a wider flood beam.
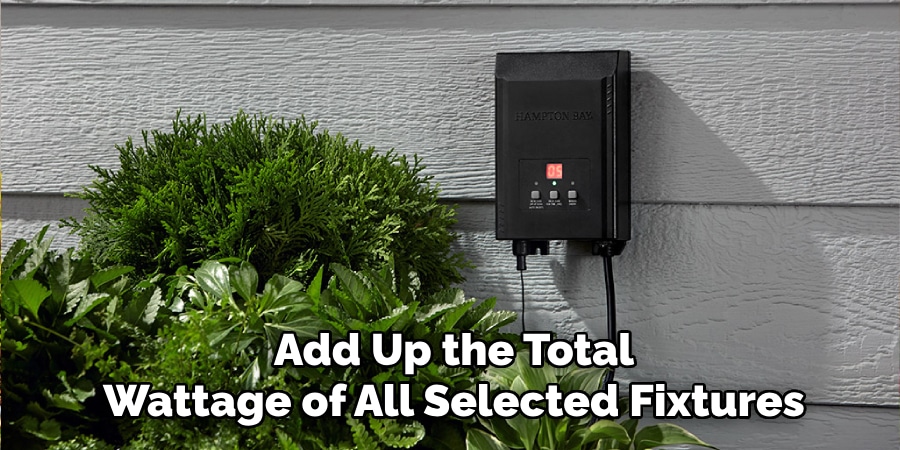
Step 6: Calculate Power Requirements
Add up the total wattage of all selected fixtures and ensure your low-voltage transformer can handle the load. Plan your cable runs carefully to avoid voltage drop—especially over long distances. Use thicker-gauge cables when necessary and stay within safe voltage limits to ensure even light output across your system.
Step 7: Install a Test Setup
Use extension cords to position fixtures at night and test angles, spacing, and coverage. This trial run lets you see how the lighting looks in real-world conditions and gives you a chance to adjust placement, brightness, or beam direction before finalizing.
Step 8: Finalize Installation
Mount your transformer securely and connect the wires according to your plan. Bury low-voltage cables at least 6 inches underground or tuck them along landscape edges. Secure each fixture firmly in place and add automation features like timers, dimmers, or smart controllers. Make sure all electrical connections are sealed with waterproof gel-filled connectors for long-term reliability.
Step 9: Test and Fine-Tune
Turn on the system and observe how it looks over a few nights. You may need to slightly adjust the angle of some fixtures, replace overly bright or dim bulbs, or reposition lights that create unwanted glare. Ensure your lighting enhances your home’s beauty without disrupting neighbors or creating hotspots.
Common Mistakes to Avoid
Avoid going overboard. Too many lights can make your yard feel like an airport runway. On the flip side, under-lighting makes the setup ineffective. Use a balanced combination and aim for subtle elegance.
Spacing matters too. Fixtures that are too close may create glare, while wide gaps can leave dark spots. Also, don’t mix color temperatures—a warm light next to a cool white light creates visual confusion.
Keep wiring away from heavy foot traffic, and never leave connections exposed. Finally, don’t forget that lights require occasional maintenance. Skipping upkeep can lead to system failures or diminished performance.
Maintenance Tips for Landscape Lighting
Clean fixtures and lenses at least once a month to keep them shining bright. Dirt, insects, and debris can dim the output over time. Inspect wiring for exposure, damage, or moisture buildup. If you notice corrosion, address it immediately.
Seasonal trimming of bushes and trees around lights helps prevent obstruction. Replace any burned-out bulbs with the same brightness and temperature to maintain visual consistency. Adjust angles occasionally, especially if lights have shifted due to weather or lawn care.
Sustainable and Energy-Efficient Lighting Tips
Opting for LEDs is the first step toward energy savings. You can go further by installing motion sensors for less frequently used zones. Timers are helpful too—they automatically turn lights off during daylight hours or when no one’s around.
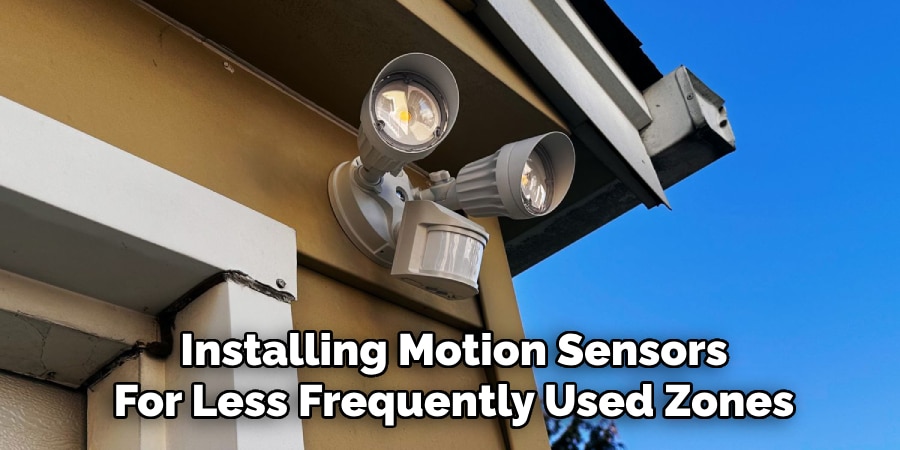
Consider solar-powered fixtures for accent lighting in remote or hard-to-wire areas. And for full control, invest in a smart landscape lighting system that lets you schedule, dim, and monitor lights from your phone.
Frequently Asked Questions
Q: What is the best lighting for pathways?
Ans: Low-voltage LED path lights are ideal—they offer reliable illumination and stylish designs.
Q: How far apart should I place path lights?
Ans: Generally, spacing them 6 to 8 feet apart offers balanced coverage without overpowering brightness.
Q: Should I use solar lights or wired fixtures?
Ans: Solar lights are easy to install but may be dimmer. Wired options offer more reliability and brightness, especially for critical areas.
Q: Do I need a transformer for landscape lighting?
Ans: Yes, for low-voltage systems. A transformer steps down the 120V current to a safe 12V.
Q: Is smart landscape lighting worth it?
Ans: Yes, especially if you enjoy automation. Smart lighting allows control from your phone, scheduling, and even voice commands.
Conclusion
Designing landscape lighting is both an art and a science. When done right, it not only transforms your yard into a nighttime masterpiece but also adds safety, function, and value to your home. From selecting the right fixtures to understanding lighting techniques and performing a proper installation, every step plays a crucial role in your lighting success.
Take the time to plan, test, and adjust. Thoughtful design paired with routine maintenance ensures your system shines beautifully for years to come—making your outdoor space as enjoyable by night as it is by day.