Track lighting is a modern and versatile lighting option commonly used in homes and commercial spaces. It provides focused illumination and enhances the aesthetic appeal of a room. However, track light covers can develop issues over time, such as becoming loose, cracked, or stuck due to dirt buildup, improper installation, or wear and tear.
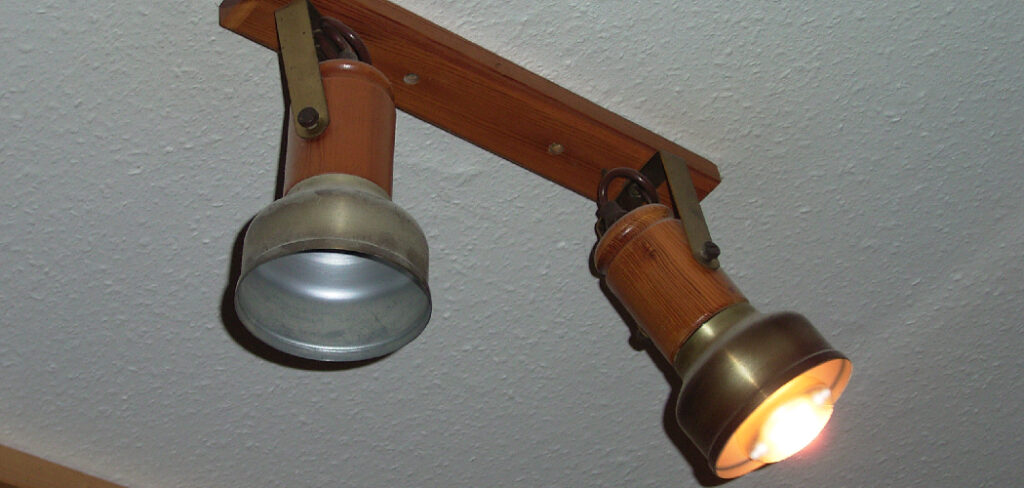
A damaged cover not only affects the fixture’s appearance but may also impact its functionality. Fortunately, fixing a track light cover is a straightforward process that requires basic tools and minimal effort. Whether you need to tighten, replace, or clean the cover, this article provides a comprehensive guide on how to fix a track light cover effectively.
Gather All the Necessary Tools
Before starting the repair process, gather the following tools and materials:
- Screwdrivers
- Needle-nose pliers
- Replacement clips or brackets
- Adhesive or mounting tape
- Step ladder
- Safety gloves and goggles
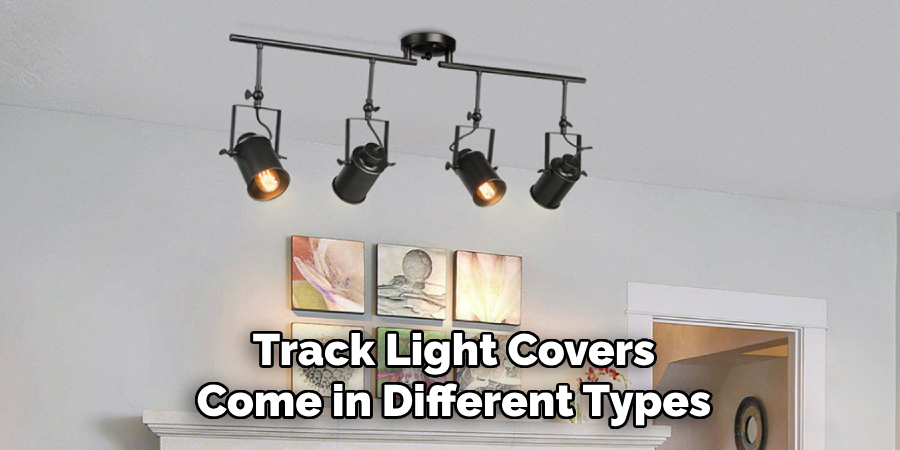
Understanding Track Light Covers
Types of Track Light Covers
Track light covers come in different types, including:
- Glass vs. Plastic Covers – Glass offers a sleek look but is fragile, while plastic is more durable but may discolor over time.
- Fixed vs. Adjustable Covers – Fixed covers remain stationary, while adjustable covers can be rotated.
- Open vs. Enclosed Covers – Open covers allow direct light exposure, while enclosed covers offer better protection against dust and debris.
Common Attachment Mechanisms
Track light covers are attached using various mechanisms:
- Screw-on Covers – Secured with small screws.
- Clip-on Covers – Held in place with tension clips.
- Twist-and-Lock Covers – Require a slight twist to remove or secure.
- Magnetic or Adhesive Covers – Modern designs that use magnets or sticky adhesives.
Diagnosing the Problem with the Track Light Cover
A loose or wobbly cover is usually caused by worn-out clips, loose screws, or improper installation, which can be fixed by tightening screws, replacing clips, or realigning the cover. A broken or cracked cover may result from accidental impact, heat stress, or aging, and can be repaired with transparent adhesive for minor cracks, or replaced if severely damaged.
A stuck or jammed cover may be caused by paint buildup, dust, or warping, which can be resolved by applying lubricant or using a rubber grip for removal. For a missing cover, ensure compatibility with your brand and model and measure the diameter before seeking a replacement.
6 Easy Steps on How to Fix a Track Light Cover
Track light covers can become loose, damaged, or stuck due to factors such as improper installation, aging, or dirt buildup. Fixing or replacing a track light cover is a simple process that requires minimal tools and effort. Follow these detailed steps to diagnose and repair common track light cover issues safely and efficiently.
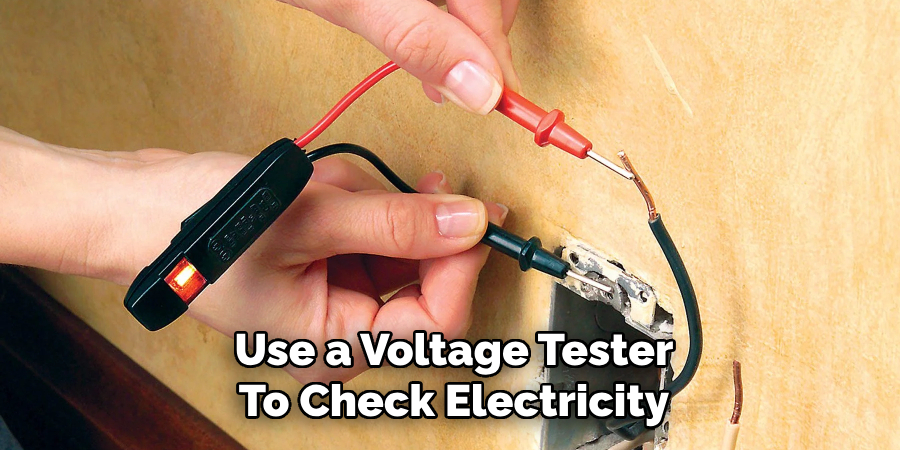
Step 1: Turn Off the Power
Before handling any electrical fixture, safety should be the top priority. Turn off the power supply to the track light at the circuit breaker. Simply switching off the light switch is not enough, as some fixtures may still have a live current.
To ensure safety, use a voltage tester to check if the fixture is completely powered off. Touch the tester to the track’s wiring or metal contacts to confirm there is no electricity flowing. Once the power is off, you can proceed with the repair.
Step 2: Identify the Cover’s Mounting Mechanism
Track light covers come in various designs, and understanding how they are attached is crucial for safe removal. The most common types include screw-on covers, which are secured with small screws, clip-on covers that attach with metal or plastic clips, and twist-and-lock covers that require a twisting motion to release. Carefully examine the cover and track light fixture to determine the correct removal method.
Step 3: Remove the Damaged or Loose Cover
The removal process will depend on the type of mounting mechanism. For screw-on covers, use a screwdriver to carefully loosen the screws while holding the cover in place to prevent it from falling. Set the screws aside in a safe place for reinstallation. If you are dealing with a clip-on cover, use pliers to press and release the clips. Be gentle to avoid breaking fragile clips.
For twist-and-lock covers, hold the cover firmly and rotate it counterclockwise to detach it. If the cover is stuck, gently wiggle it back and forth before twisting to loosen it. If the cover does not come off easily, inspect the fixture for hidden screws or additional locking mechanisms. Avoid applying excessive force, as this could crack or damage the cover.
Step 4: Repairing or Replacing the Cover
Once the cover has been removed, carefully inspect it for any cracks, chips, or signs of wear. Depending on the condition of the cover, you may choose to repair it or replace it entirely.
If the cover has small cracks or weak areas, apply plastic glue or epoxy to seal the cracks and reinforce fragile sections. Allow the adhesive to dry completely before reinstalling the cover. If the cover has minor scratches or discoloration, a clear acrylic spray can be used to restore its appearance.
If the cover is severely damaged, replacing it is the best option. When installing a new cover, ensure it aligns correctly with the fixture’s mounting points. Secure the cover using the appropriate screws, clips, or twist-lock mechanism. Do not over-tighten, as this may lead to cracks or misalignment.
Step 5: Securing the Cover in Place
After reinstalling or replacing the cover, check that it is securely attached. It should fit snugly without wobbling or shifting. If the cover is held in place by screws or clips, make sure they are tightened just enough to secure the cover without applying excessive pressure.
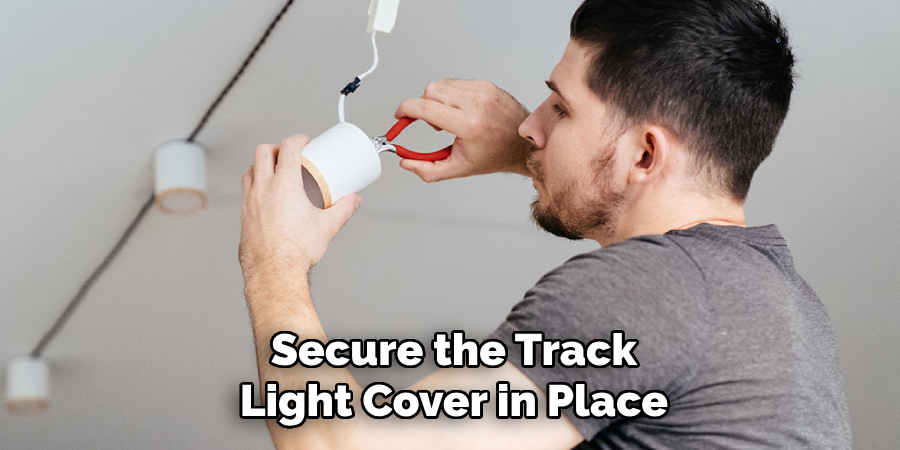
Over-tightening can lead to cracks, while an overly loose cover may fall off over time. Adjust the cover as needed to ensure uniform light distribution across the track. If the cover still seems loose, consider adding rubber washers or thin adhesive padding around the edges for extra stability.
Step 6: Testing the Track Light
Once the cover is securely in place, turn the power back on at the circuit breaker and test the track light. Check to see if the cover remains firmly attached when the light is on. Observe the light distribution to ensure there are no dark spots or uneven illumination. If necessary, make final adjustments to improve alignment. If the cover continues to loosen over time, apply thread-locking adhesive to screws or replace worn-out clips with stronger alternatives.
Common Mistakes to Avoid When Fixing a Track Light Cover
One common mistake is over-tightening screws or clips, which can crack the cover or cause misalignment, leading to an improper fit. Using the wrong replacement cover is another issue—always ensure the new cover matches the fixture’s size, shape, and material for proper installation. Ignoring safety precautions is also risky.
Always turn off the power at the circuit breaker before handling electrical components and use the correct tools to prevent injury. Rushing the process or forcing a stuck cover can cause damage, so take your time and follow proper removal and installation techniques.
Safety Tips for Handling Track Light Covers
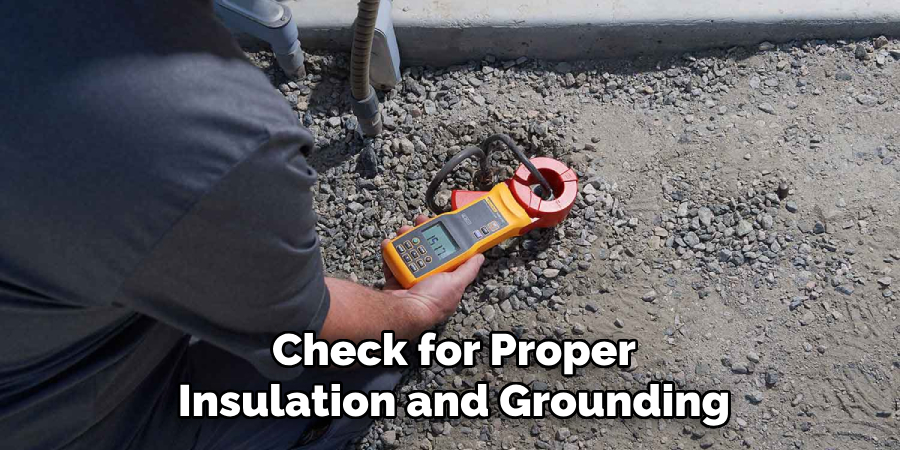
When working with fragile materials such as glass covers, always handle them with care to prevent accidental breakage. Use both hands for support and place the cover on a soft surface when removed. To prevent electrical hazards, ensure the power is turned off, and check for proper insulation and grounding before working on the fixture.
If dealing with high ceilings, use a sturdy ladder and position it securely on a flat surface. Avoid overreaching or leaning too far to maintain balance. Prioritizing safety measures reduces the risk of injuries and ensures a smooth and hassle-free repair process.
Frequently Asked Questions
Q: Why did my track light cover fall off?
Ans: Track light covers may fall off due to loose connections, faulty clips, or improper installation. If the cover was not securely attached to the track or the locking mechanism wasn’t engaged properly, it can become loose over time, especially if the light is bumped or subjected to vibrations.
Q: How can I prevent my track light cover from falling off in the future?
Ans: To prevent your track light cover from falling off again, ensure the cover is properly attached to the track. Tighten any screws or clips that hold the cover in place. Regularly check for wear and tear on the track or cover, and replace any damaged components as needed.
Q: Can I use glue to reattach a track light cover?
Ans: It’s not recommended to use glue to reattach a track light cover as it can affect the lighting’s functionality and safety. Glue may not provide a secure and long-lasting bond, and it could interfere with the ability to remove or replace the cover in the future.
Q: What types of track light covers are available for replacement?
Ans: Track light covers come in various materials and styles, such as glass, plastic, metal, and acrylic. You can find covers that are transparent, frosted, or colored, depending on the lighting effect you want to achieve.
Q: How often should I inspect my track lighting system for issues?
Ans: It’s a good idea to inspect your track lighting system every 6 to 12 months to ensure everything is functioning properly.
Conclusion
To fix a track light cover, first ensure the power is turned off, then assess if the cover is loose or broken. Tighten any loose clips or screws, or replace damaged components with compatible parts. Regular maintenance is crucial for the longevity of your track lighting system—inspect it every 6 to 12 months for loose fittings or wear and tear.
When choosing a replacement cover, ensure it fits securely and matches your lighting system’s specifications. Always install the cover carefully, ensuring it’s properly attached to avoid future issues, and remember to use quality components for safe, lasting use.