Fairy lights are a popular choice for adding warmth, charm, and a touch of magic to any space, whether for festive occasions or everyday decor. However, even a single broken wire can disrupt their delicate beauty and render the entire setup useless.

While the easiest solution might seem to be replacing the lights altogether, repairing them is often a better alternative. Not only is it more cost-effective, saving you money, but it is also an environmentally friendly option, reducing waste and extending the life of your lights.
This guide is designed to help you tackle broken fairy light wires with confidence. This article provides a comprehensive guide on how to fix broken fairy light wire effectively. You’ll learn about the essential tools required, the step-by-step process for repairs, and key safety measures to ensure the job is done effectively and securely. Bring your lights back to life and enjoy their glow once again!
What Tools You Need for Repairing Wires
Before you begin repairing fairy lights, it’s essential to gather the right tools and materials. Here’s what you’ll need:
- Wire cutters: For cutting and trimming wires.
- Wire strippers: To remove insulation from the wires.
- Soldering iron and solder: For securely reconnecting wires.
- Electrical tape or heat shrink tubing: To insulate the repaired section.
- Multimeter: To identify breaks and test continuity.
- Gloves and safety goggles: For protection while handling electrical components.
Having these tools ready will ensure a smoother repair process.
Understanding Fairy Light Wires
The Basics of Fairy Light Construction
Fairy lights are decorative lighting composed of small LED or incandescent bulbs wired in series or parallel circuits. These lights are typically connected by thin, insulated copper or aluminum wires to ensure flexibility and electrical safety. The insulation protects against short circuits and external damage.
Depending on the design, fairy lights are powered by different sources, including wall plugs, batteries, or USB connections, making them versatile for indoor and outdoor use. Some variants come with remote controls, timers, or dimming functions, allowing users to customize brightness and lighting effects. Their energy-efficient design ensures long-lasting and cost-effective illumination.
Common Issues with Fairy Light Wires
- Wire breaks: Caused by repeated bending or accidental damage.
- Faulty bulbs: A single dead bulb can disrupt the circuit in some designs.
- Loose connections: At the plug, battery box, or between sections of the lights.
- Corrosion: Due to exposure to moisture or poor storage conditions.
Understanding these issues will help you diagnose and address the problem effectively.
Preparing for Fairy Light Repair

Tools and Materials You Will Need
The first step in fixing fairy lights is to locate the broken wire. Start by plugging in the lights and using a multimeter to test for continuity, which helps identify where the electrical circuit is interrupted. If a multimeter isn’t available, visually inspect the wire for any signs of damage, such as cuts, breaks, or exposed copper.
Pay close attention to areas near connectors or LEDs, as these are common points of failure. Gently wiggle the wire near suspicious areas to see if the lights flicker. Once the damaged section is identified, mark it with tape or a marker to make it easy to locate during repairs.
Safety Precautions Before Starting
- Unplug the fairy lights or remove the batteries before starting repairs.
- Work in a dry environment to avoid electrical hazards.
- Wear gloves and goggles for protection.
- Avoid pulling or overstretching the wires to prevent further damage.
3 Common Reasons Your String Lights Won’t Turn On
- Broken wire: A common issue where one or more wires are severed.
- Blown fuse: Check the plug or power source for a damaged fuse.
- Burnt-out bulbs: If the lights are in series, one burnt bulb can cause the entire string to go dark.
5 Easy Steps Guide For How to Fix Broken Fairy Light Wire
Fairy lights can bring a cozy and magical ambiance to any space, but a broken wire can leave your lights dim or entirely non-functional. Follow this step-by-step guide to fix your fairy light wires and bring the sparkle back.
Step 1: Identifying the Broken Wire
The first step is to locate the break or fault in the wire. Visually inspect the entire length of the wire for any cuts, fraying, or exposed copper. If the wire damage is near an LED bulb, carefully remove the damaged LED along with a small surrounding section of wire. This ensures you are working with a clean and solid connection point. Leave enough wire on both sides to allow easy reconnection.
If the LED itself is faulty rather than the wire, replace it with a compatible bulb. Some fairy light have replaceable bulbs, while others require soldering a new LED in place. Handle the wires gently during this process to prevent additional breaks.
Step 2: Cutting and Preparing the Wire
Once you have identified the damaged section, use wire cutters to remove it cleanly. Make sure to leave a workable length of wire on both sides. If you cut too close to the LED or connector, you may struggle to reconnect the wires properly with power source.
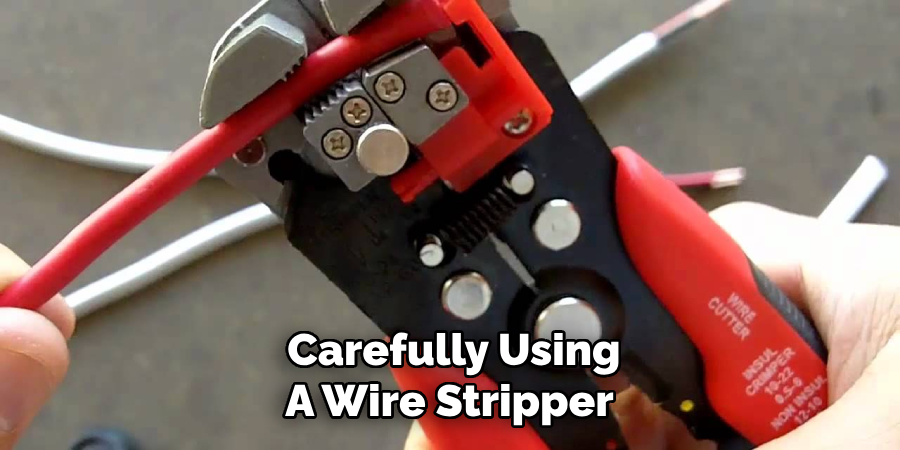
Step 3: Stripping and Twisting the Wires
Using a wire stripper, carefully remove approximately 1 cm of insulation from the ends of both cut wires. This will expose the copper inside, allowing for a strong connection. Be cautious not to cut too deeply, as this could damage the wire strands.
After stripping, twist the exposed wire ends together tightly. This ensures a secure bond before soldering. If you are reconnecting a section of LED strip lighting, align the positive and negative terminals correctly to avoid connection issues.
Step 4: Soldering the Wires
Soldering provides a durable and long-lasting connection. Heat a soldering iron and apply a small amount of solder to the twisted wire joint. This step strengthens the connection and prevents it from loosening over time.
When soldering, ensure that the wires are fully covered with solder but not excessively coated, as too much solder can create a weak connection. Allow the solder to cool completely before proceeding. Avoid touching the joint while it is still hot, as this could weaken the bond.
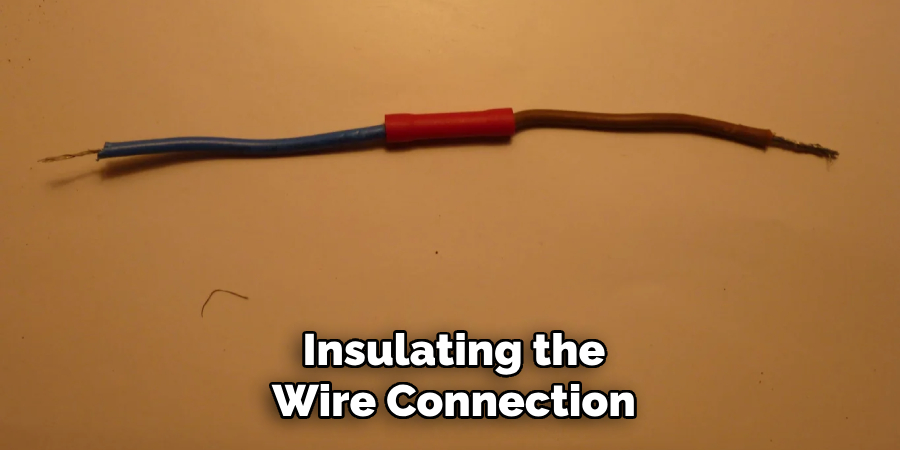
Step 5: Insulating the Connection
To prevent short circuits and protect the repaired wire, insulate the soldered joint. You have two primary options:
- Electrical Tape: Wrap the soldered area tightly with electrical tape, ensuring full coverage. This is a quick and effective method.
- Heat Shrink Tubing: Slide heat shrink tubing over the soldered connection before heating it with a heat gun or hair dryer. The tubing will shrink snugly around the wire, providing a more professional and durable insulation.
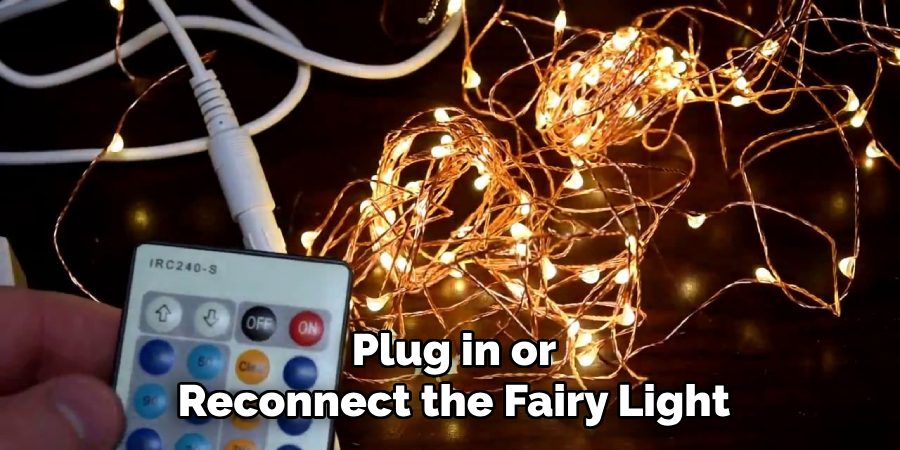
Final Check and Testing
Once the repair is complete, plug in or reconnect the Fairy Light to test its functionality. If the light works properly, secure the wires in place to prevent strain on the connection. If the issue persists, double-check your soldering and insulation.
By following these steps, you can efficiently repair a broken wire in your Fairy Light Wire, extending their lifespan and saving money on replacements.
Troubleshooting
How to Ensure Your Repair Was Successful
- Plug the lights back in or reinstall the batteries.
- Check if the repaired section lights up properly.
- If not, recheck the soldered connection or test for additional breaks.
Tips for Avoiding Future Wire Damage
- Avoid pulling or overstretching the wires.
- Store the lights neatly without tangling them.
- Use protective covers for outdoor fairy lights to shield them from moisture and UV damage.
Safety Tips for Storing and Handling Christmas Lights
- Coil the lights loosely to prevent kinks and breaks.
- Store them in a dry, cool place, preferably in a labeled box or container.
- Avoid stacking heavy items on top of stored lights.
- Check the lights for damage before use each season.
Frequently Asked Questions
Can I fix fairy lights without soldering?
Yes, you can twist the wires together and use electrical tape to insulate them. However, soldering provides a more secure and durable connection.
What should I do if multiple wires are broken?
Repair each break individually, following the steps outlined above. Ensure all connections are secure and insulated.
Can waterproof fairy lights be repaired in the same way?
Yes, but ensure the repaired section is properly sealed with waterproof materials like silicone or waterproof heat shrink tubing.
What wire is used for fairy lights?
Fairy lights typically use thin copper or aluminum wires coated with plastic insulation.
Conclusion
Repairing broken fairy light wires is not only a simple and rewarding process but also an excellent way to save money and minimize environmental waste. By taking the time to fix your lights instead of discarding them, you contribute to sustainable living while reviving the cozy charm they bring to your space.
This guide has equipped you with the tools, techniques, and safety tips needed to restore your fairy lights to their former glory, ensuring they shine brightly once again. Additionally, proper care and thoughtful storage play a crucial role in preventing future damage. By handling your fairy lights gently and storing them securely when not in use, you can extend their lifespan and enjoy their warm glow for many years to come. Happy repairing!