Solar pathway lights are a simple yet powerful addition to any garden, driveway, or walkway. They rely on the sun’s energy during the day and light up your outdoor spaces at night—without any wiring or electricity bills.

These lights not only boost the aesthetic appeal of your surroundings but also enhance safety by illuminating dark paths and stairs. However, like all outdoor electronics, solar lights are vulnerable to wear and tear. From dead batteries and dirty solar panels to moisture damage or internal component failure, a range of issues can cause them to stop working. The good news?
Most of these problems are fixable at home with minimal tools and a bit of time. Understanding the common reasons for failure and how to address them can help extend the life of your lights and save you money. This guide will walk you through everything you need to know to troubleshoot and how to fix solar pathway lights, step by step.
Tools and Materials You May Need
Having the right tools can make the repair process much smoother. Here’s a list of essential items you’ll need for safely opening, inspecting, and fixing your solar pathway lights:
- Screwdriver (Phillips and flathead)
- Soft cloth or brush
- Isopropyl alcohol or vinegar
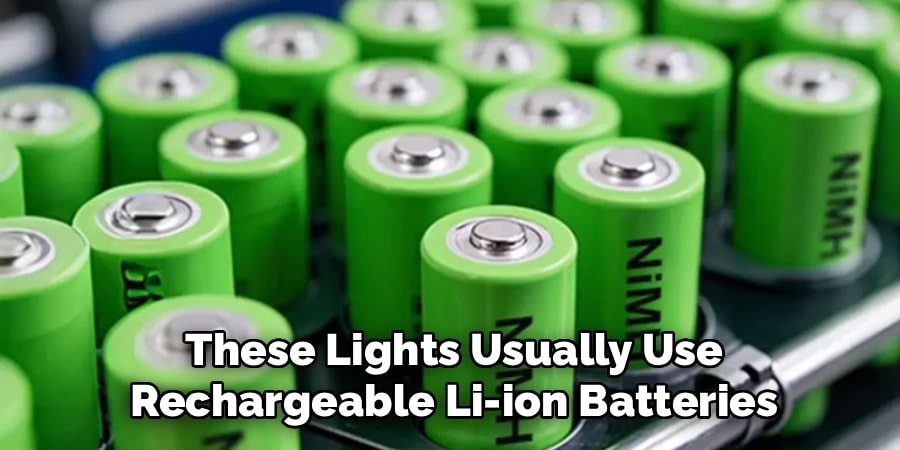
- Replacement batteries (usually AA or AAA NiMH or Li-ion)
- Multimeter
- Electrical tape
- Solar replacement parts (optional – panel, LED, etc.)
Common Reasons Solar Pathway Lights Stop Working
Dead or Weak Batteries
One of the most common issues with solar pathway lights is battery failure. These lights usually use rechargeable NiMH or Li-ion batteries that last around 1–2 years. When they die, the light may not turn on at all or might run for only a short time after dusk. If your lights used to work but gradually stopped functioning properly, the batteries are likely the culprit.
Dirty Solar Panels
Solar panels need direct sunlight to recharge the batteries. Over time, panels can get covered in dirt, dust, pollen, or bird droppings, which block sunlight absorption. Even a thin layer of grime can reduce charging efficiency. Regular cleaning helps ensure that the lights get enough energy during the day to illuminate at night.
Water Damage
Though most solar lights are labeled as weather-resistant, constant exposure to rain, snow, or humidity can still take a toll. If water seeps in through cracks or poorly sealed joints, it can damage internal components such as wiring or the circuit board. Foggy lenses or rust inside the casing are telltale signs of moisture damage.
Faulty Light Sensor or Photocell
Solar lights typically include a sensor that detects darkness to trigger the light to turn on. If this sensor fails or becomes too dirty, it may prevent the light from functioning, even if everything else is in working order. A faulty photocell might keep the light off at night or on during the day.
Broken or Damaged LED Bulbs
LEDs are known for their longevity, but they can still burn out or become dim over time. While some solar lights have replaceable LED bulbs, many budget models are not designed for easy repair. If the bulb is the issue, you may need to replace the entire head or fixture.
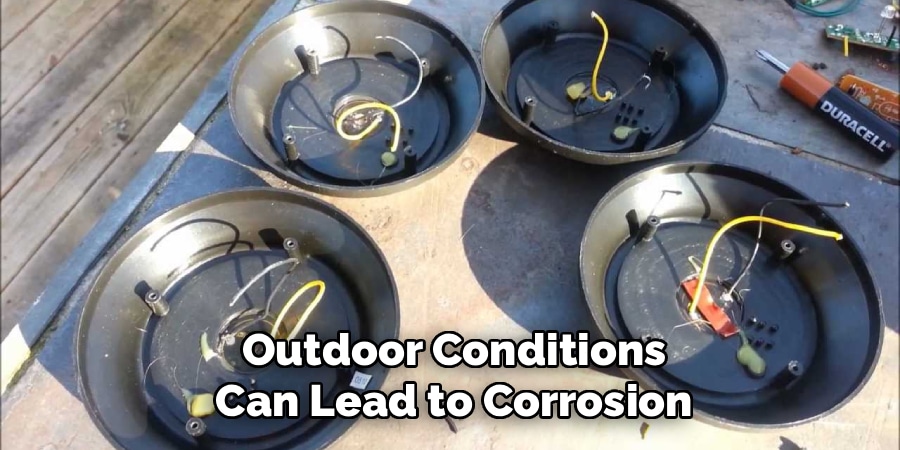
Corroded Battery Terminals
Outdoor conditions can lead to corrosion, especially inside the battery compartment. If you notice a white or green powder around the battery terminals, it’s likely corrosion caused by moisture and oxidation. This buildup can prevent proper electrical contact, stopping the light from functioning even if the batteries are new.
10 Easy Methods on How to Fix Solar Pathway Lights
Method 1: Identify the Problem
Begin by doing a visual and functional check. Does the light turn on at night? Does the solar panel get at least six hours of direct sunlight during the day? Is there an on/off switch that needs toggling? If you have multiple lights, swap components (like the batteries) between a working and non-working light to isolate the issue.
Method 2: Clean the Solar Panel
A dirty solar panel can’t do its job. Use a soft cloth or sponge with mild soap and water to wipe the surface gently. Remove all dirt, bird droppings, and debris. Avoid using abrasive materials that might scratch the panel. After cleaning, rinse and dry thoroughly.
Method 3: Check and Replace Batteries
Open the battery compartment, usually located under the top part of the light. Look for signs of corrosion, leakage, or swelling. If you have a multimeter, test the battery’s voltage. Anything below 1.0V may indicate a dead or weak battery. Replace them with the same type (NiMH or Li-ion) and ensure correct polarity.
Method 4: Inspect for Corrosion and Clean Terminals
If corrosion is present, remove the batteries and use a small brush dipped in vinegar or a baking soda solution to clean the terminals. Scrub gently until the corrosion is gone, then dry the area thoroughly. Insert fresh batteries once the compartment is completely dry.
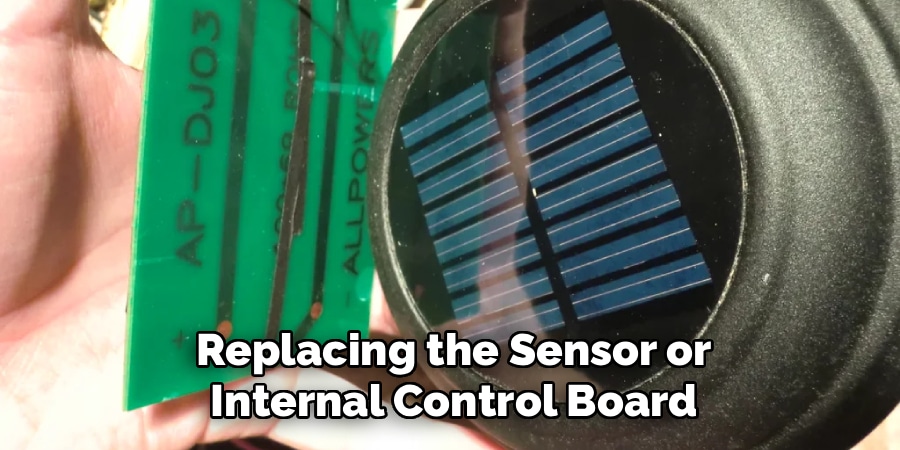
Method 5: Test the Photocell or Light Sensor
Cover the solar panel completely in a dark room or during the day to simulate nighttime. If the light doesn’t turn on, the sensor might be defective. For advanced users, replacing the sensor or internal control board is possible but may require soldering or replacing the unit altogether.
Method 6: Check LED Light Bulbs
If the solar panel and batteries are working, but the light remains off, the LED could be faulty. Examine the bulb closely for burn marks or dim glow. In models with replaceable LEDs, you can try swapping them out. If not, you might need to replace the entire light head.
Method 7: Inspect for Water Damage
Disassemble the unit and inspect the interior for moisture, rust, or condensation. If you find any, let the parts dry out completely—preferably in sunlight or with a fan. Apply waterproof silicone around seams and joints during reassembly to prevent future leakage.
Method 8: Test Solar Panel Output
This step is optional but helpful if you suspect a faulty panel. Use a multimeter to measure the panel’s voltage output in direct sunlight. A healthy solar panel should generate between 1.2V and 2.4V, depending on the model. If it’s producing no voltage, the panel may need replacing.
Method 9: Repair or Replace Wiring
Check internal wiring for any loose connections, frayed wires, or burnt sections. Secure any loose wires with electrical tape. If you find major damage, such as melted insulation or broken solder points, consider replacing the fixture unless you’re comfortable with minor electrical repairs.
Method 10: Reassemble and Test at Night
Once all parts are repaired or replaced, reassemble the unit and place it in direct sunlight for a full day. At night, check if it turns on and stays lit for a reasonable time. If the light still doesn’t work, double-check your steps or consider replacing the unit.
Preventive Maintenance Tips
The best way to keep your solar pathway lights working efficiently is through regular maintenance. Clean the solar panel once a month to ensure optimal charging. During heavy snow, rain, or storms, bring the lights indoors to protect against water damage.
Position your lights where they receive at least six hours of full sunlight daily and avoid shaded areas. Replace rechargeable batteries every 12–18 months for consistent brightness. Periodically inspect for cracks or sealant wear and apply waterproof silicone as needed.
When to Replace Instead of Repairing
Not every solar light is worth saving. If the solar panel or internal circuitry is completely dead and non-replaceable, buying a new light may be more cost-effective. Similarly, if multiple components—like the LED, battery, and sensor—are all malfunctioning, replacement makes more sense than repair.
Physically broken fixtures or water-damaged units beyond cleaning are often not worth the trouble, especially considering how affordable new solar pathway lights have become in recent years.

Frequently Asked Questions
Q: Why do my solar pathway lights stop working after a few months?
Ans: This usually happens due to weak batteries, poor sunlight exposure, or a dirty solar panel. Simple maintenance like battery replacement and panel cleaning can often resolve the problem.
Q: Can I use regular alkaline batteries in solar lights?
Ans: No. Solar lights require rechargeable batteries (NiMH or Li-ion). Using non-rechargeable batteries can damage the unit and lead to leakage.
Q: How do I know if my solar panel is charging?
Ans: Use a multimeter during daylight to measure voltage. A functioning panel should show 1.2V or higher. If there’s no reading, the panel might be faulty.
Q: Are solar pathway lights waterproof?
Ans: Most are water-resistant but not fully waterproof. Prolonged exposure to heavy rain or snow can cause internal damage. Check the IP rating before outdoor installation.
Q: Can I leave solar lights out all year?
Ans: Yes, but it’s best to bring them inside during extreme weather conditions. This helps prolong the life of the battery and internal components.
Conclusion
Fixing solar pathway lights isn’t as daunting as it might seem. Most problems—like battery failure, dirty panels, corroded terminals, and moisture—can be handled at home without professional help. With a little patience and the right tools, you can restore your lights to full functionality.
Simple preventive care like cleaning, inspecting for damage, and replacing batteries annually can keep your lights running smoothly for years. Before tossing a non-working light, try following the steps outlined in this guide—you might save money and extend the life of your outdoor lighting system.
If you’re comfortable with small electronics and basic troubleshooting, fixing solar pathway lights can be a satisfying and worthwhile task that pays off in the long run.