Outdoor string lights are a popular way to create cozy, inviting spaces in gardens, patios, balconies, and event venues. They provide both functional lighting and a warm, charming ambiance that transforms ordinary areas into something special.
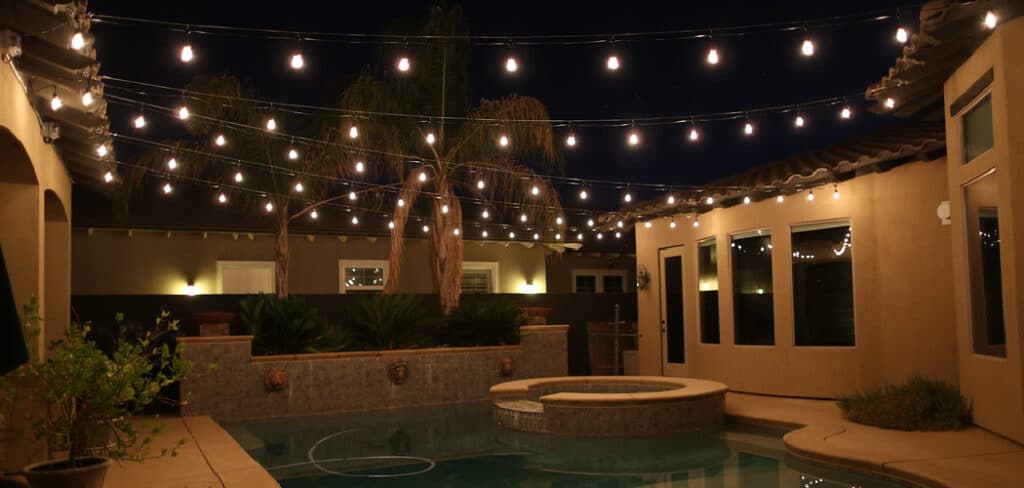
Whether for a dinner party under the stars or a peaceful evening outdoors, string lights are a versatile choice. However, many avoid using nails to hang them, as nails can damage surfaces, leave permanent holes, or violate rental agreements. Even homeowners often prefer no-damage methods to preserve their walls and woodwork.
Fortunately, there are multiple secure, creative, and nail-free ways to hang string lights. This guide covers how to hang outdoor string lights without nails, the tools required, and a simple step-by-step process to achieve a safe and beautiful installation.
Benefits of Hanging String Lights Without Nails
Hanging string lights without nails offers many benefits beyond avoiding permanent wall damage. It protects surfaces like wood, brick, or painted walls from cracks, splinters, and chipped paint, preserving their appearance.
This approach is ideal for renters, as non-invasive methods such as adhesive hooks or clips meet landlord requirements and protect security deposits. No-nail options are also flexible and reusable, allowing easy repositioning for different seasons or events without leaving holes.
Additionally, they’re safer for delicate materials like thin metal or decorative wood, preventing cracks, splits, or structural weakening while still providing a secure, attractive installation.
Choosing the Right String Lights for No-Nail Hanging
When choosing string lights for no-nail hanging, select ones designed for outdoor use to ensure safety and durability. Consider the weight, length, and style—heavier lights need stronger supports, while lightweight LED strands are easier to hang and gentler on hooks or clips.

Measure your space accurately, and use multiple strands if needed instead of overstretching one. Ensure the lights are weatherproof and outdoor-rated to withstand rain, humidity, and temperature changes. For bulbs, LEDs are energy-efficient, long-lasting, and produce less heat, making them safer and cost-effective.
Incandescent bulbs offer a warmer glow but are more fragile and consume more energy, making them better suited for occasional use rather than long-term outdoor setups.
Tools and Materials Needed
Having the right tools ensures you can hang your lights securely and without unnecessary hassle. Here’s a list of essential items you’ll need for a no-nail installation:
- Outdoor-rated adhesive hooks
- Heavy-duty outdoor mounting tape
- Zip ties
- Pole stands or planters with weighted bases
- Gutter hooks
- Cable clips
- Tension wire kit (optional)
- Extension cords and outdoor-rated power strips
These materials are designed to withstand outdoor conditions such as rain, wind, and sun exposure, ensuring your setup lasts throughout the season.
6 Easy Steps on How to Hang Outdoor String Lights Without Nails
Step 1: Measure and Plan the Layout
Start by sketching your space and measuring each span you want to light. Note anchor points like fence posts, pergola beams, soffits, trees, or planters where freestanding poles could sit. Decide on a pattern—straight runs feel modern, zigzags add energy, and canopy drapes create a café vibe.
Plan a gentle sag so the line looks intentional rather than droopy. Mark exact hook or clip positions with painter’s tape or a pencil. Identify the nearest outdoor, GFCI-protected outlet and route to it without crossing walkways; if you must cross, plan cord covers. Finally, estimate total length; it’s better to run two shorter strands than overstretch one long one.
Step 2: Choose the Best No-Nail Hanging Method
Match your method to the surface and span. Adhesive hooks excel on smooth siding, painted wood, and vinyl. Use outdoor-rated, UV- and water-resistant options with a published weight limit that comfortably exceeds your strand’s weight.
For long, open runs, tension wire creates a backbone: anchor the cable to poles or existing structures and attach lights to the wire rather than the structure. Zip ties are ideal for fences, lattice, and railings—pick UV-resistant ties so they don’t get brittle.
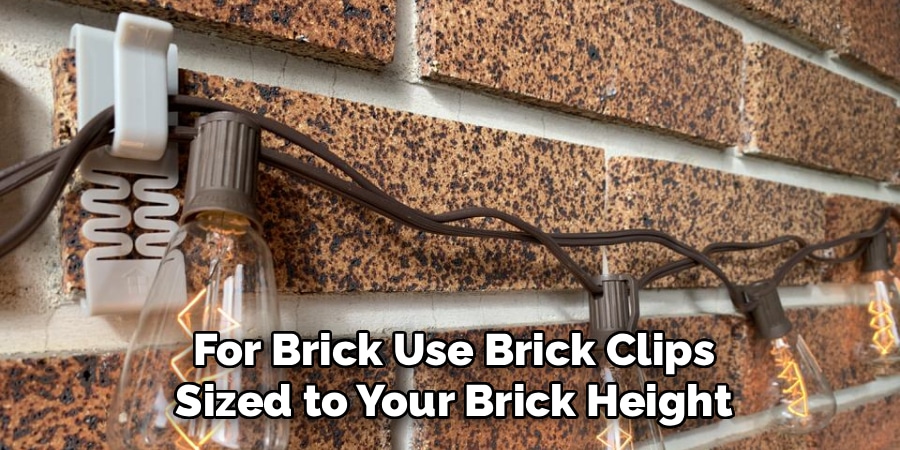
Along rooflines, gutter hooks slip over the lip without tools, great for seasonal setups. For brick, use brick clips sized to your brick height. For metal railings, magnetic hooks give strong hold without marks. In wide yards with no anchor points, use DIY freestanding poles set in heavy planters or ground sleeves.
Step 3: Clean and Prepare the Surface
Adhesion is only as good as the prep. Wipe each mounting spot with a dry cloth, then clean with mild soap and water or isopropyl alcohol to remove dust, chalky paint, pollen, and oils. Let it fully dry. Avoid installing adhesives in rain or when surfaces are hot to the touch; moderate temperatures help adhesives cure properly.
If your siding is textured, choose hooks with larger pads to increase contact area. For trees, skip adhesives—use wide, tree-friendly straps that won’t girdle bark. For railings and fences, check for loose or flaking paint that could compromise grip and touch it up if needed.
Step 4: Install the Support System
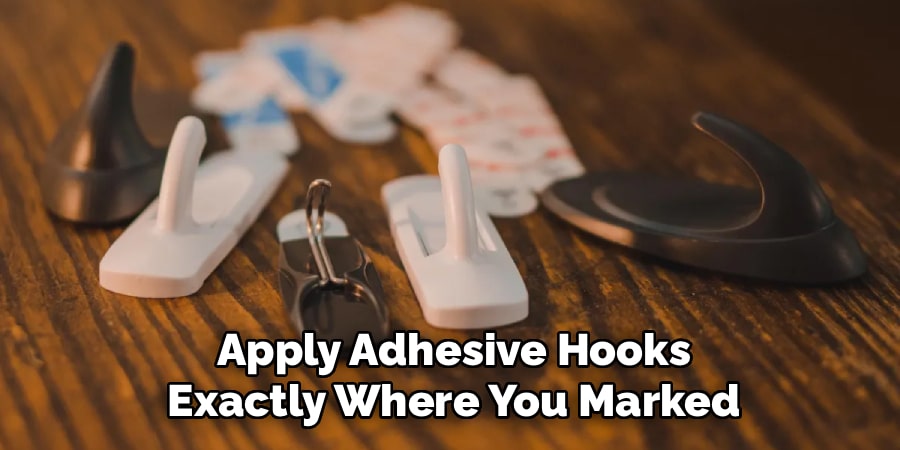
Apply adhesive hooks exactly where you marked, press firmly for the time the manufacturer recommends, and allow the full cure window before loading them. Space attachment points every 2–4 ft depending on the weight of your lights and how much drape you want. Setting poles?
Use planters at least 12–16 inches wide filled with sand, gravel, or concrete for stability; add a cross brace or eye screw at the top for your line. In windy areas, consider a discreet guy line.
For tension wire, install eye screws or closed eye bolts on your two end supports, thread a stainless or vinyl-coated cable, then tighten with a turnbuckle until taut. Add intermediate cable clamps or clips to keep the line straight. Keep all hardware aligned so the load pulls in-plane rather than twisting fasteners.
Tips: Install your hooks, poles, or wires carefully — I’ve learned that giving adhesive hooks their full curing time is like letting bread rise. Rush it, and the whole thing flops.
Step 5: Hang the String Lights
Begin at the power source and create a drip loop before the cord enters any plug or timer so rainwater sheds away. Clip or tie the cord—not the glass—at each planned support point. If you’re attaching to a tension wire, small carabiners or S-hooks make installation and removal painless.
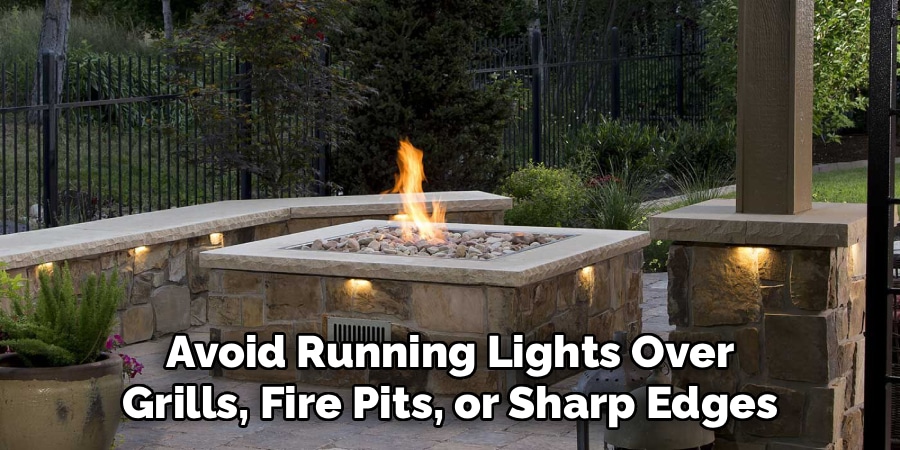
Maintain consistent spacing so the drape looks intentional; a little slack between points reads elegant, while overtightening can stress conductors and sockets. Keep connectors off the ground and, where possible, under eaves, canopies, or weatherproof covers. If your layout crosses a pathway, reroute or elevate to at least head height. Avoid running lights over grills, fire pits, or sharp edges.
Step 6: Test and Adjust the Setup
Plug in each strand before the final clip goes on—catching a dud bulb or a loose connection now saves rework later. If a section doesn’t light, check the inline fuse in the plug and ensure connectors are fully seated. Step back 10–20 feet and evaluate symmetry, sag, and sightlines from your main seating area; micro-adjust clip positions to smooth any visual “bumps.”
Secure excess cable with additional clips or UV zip ties and coil spare cord neatly near the outlet. Add a timer or smart plug for auto on/off and energy savings. Give everything a gentle shake to confirm stability, then do a quick night check to verify glare-free, even illumination and safe clearance above walkways and doors.
Alternative No-Nail Hanging Ideas
If traditional hook-and-clip methods don’t fit your space, there are still creative options. You can use trees and natural structures, attaching lights with tree-friendly straps that won’t damage the bark. Draping lights over pergolas or arbors creates an elegant look with minimal effort. Magnetic hooks are excellent for metal railings, and DIY freestanding poles give you complete flexibility in open yards.
Safety Tips for Outdoor String Light Installation
Safety should always come first. Only use UL-listed outdoor-rated lights and accessories, and make sure your extension cords are also designed for outdoor use. Avoid overloading a single outlet, as this can cause overheating. Keep all electrical connections off the ground to protect them from water, and inspect your setup periodically for signs of wear, loose connections, or damage.
Maintenance and Storage Tips
Proper maintenance will extend the life of your lights. During the off-season, store them tangle-free by wrapping them around a spool or large piece of cardboard. Clean bulbs with a dry cloth to remove dust and dirt, and check for rust or corrosion before reinstalling. When removing adhesive hooks, follow the manufacturer’s instructions to avoid peeling paint or damaging surfaces.
Frequently Asked Questions
Q: What is the best way to hang string lights without damaging walls?
Ans: Adhesive hooks, gutter clips, and tension wires are all effective ways to hang lights without drilling holes or causing damage.
Q: Will adhesive hooks hold up in rain and wind?
Ans: Yes, as long as you use outdoor-rated adhesive hooks and install them on a clean, dry surface.
Q: Can I hang string lights on brick without drilling?
Ans: Yes, brick clips or specially designed adhesive mounts allow you to attach lights to brick without drilling.
Q: How far apart should I place hooks or clips?
Ans: Generally, place them every 2–4 feet, depending on the weight of the lights and how much sag you want.
Q: Can I use indoor string lights outdoors if I hang them without nails?
Ans: No. Indoor lights are not weatherproof and can be a fire hazard when exposed to moisture. Always use outdoor-rated products.
Conclusion
Hanging outdoor string lights without nails isn’t just possible—it’s a smart choice for anyone who values flexibility, safety, and the integrity of their property. From adhesive hooks and tension wires to freestanding poles and creative draping methods, there’s a solution for every space and style.
By selecting the right lights, using proper materials, and following a careful installation process, you can create a warm and inviting outdoor environment without leaving a single hole behind. Whether you’re decorating for a special occasion or enhancing your backyard for year-round enjoyment, the right no-nail method will give you both beauty and peace of mind.