Introduction
LED strip lighting is a versatile and efficient way to transform any space with style and functionality. These flexible lights work for accent lighting, task lighting, or enhancing ambiance in living rooms, kitchens, and workspaces.
Although plug-and-play strips are easy to use, hardwiring provides a cleaner, more permanent solution. It eliminates visible cords, integrates seamlessly with existing electrical systems, and allows for enhanced customization, including dimmer switches or smart controls. Hardwiring also ensures a stable and durable setup for long-term use.
This guide walks you through the process of hardwiring LED strip lights, helping you how to hardwire led strip lighting and achieve a professional, safe, and aesthetically pleasing installation step by step.
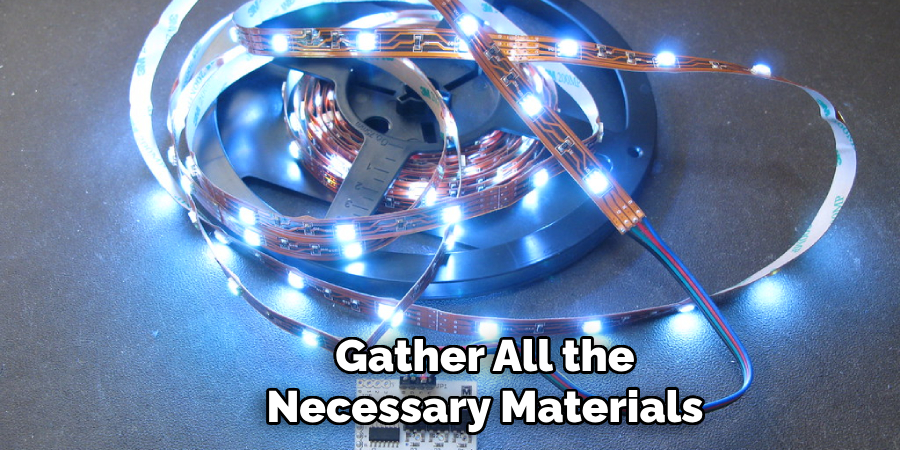
Gather All The Material
Before starting your project, gather all the necessary materials and tools:
- LED strip lights
- Power supply (driver) compatible with your LED strip’s voltage
- Electrical wires
- Screwdriver
- Wire connectors or soldering tools
- Electrical tape
- Wire strippers
- Multimeter
- Mounting clips or adhesive backing
Having everything ready ensures a smoother installation process.
Understanding LED Strip Lighting Basics
LED strips are available in various types, each designed for different lighting needs:
- Standard LED Strips
These are the most common type of LED strips and are designed for general-purpose lighting. They are ideal for use in spaces like under-cabinet lighting, accent lighting along walls, or as indirect lighting to add warmth to any room. Standard LED strips offer a simple, energy-efficient solution for everyday lighting needs. - RGB LED Strips
RGB (Red, Green, Blue) LED strips allow users to change the color of the lighting, providing a wide range of colors and effects. These strips are perfect for decorative applications like mood lighting, entertainment spaces, or areas where dynamic, color-changing effects are desired. RGB strips can be programmed to create various lighting sequences, making them versatile for creative uses. - High-Density LED Strips
High-density LED strips feature more LEDs per meter than standard strips, making them much brighter. These are ideal for task-oriented spaces where brighter light is necessary, such as in kitchens, workstations, or commercial spaces. High-density strips provide uniform illumination and are particularly effective for areas that require a higher light output, like in detailed tasks or for highlighting specific features.
The right type of LED strip depends on your specific lighting needs. Whether you want a simple, energy-efficient lighting solution, dynamic and colorful lighting effects, or bright task lighting, there is a type of LED strip that fits every purpose.
Benefits of Hardwiring Over Plug-In Options
Hardwiring LED strips, rather than opting for plug-in versions, offers several key advantages, particularly in terms of aesthetics, functionality, and long-term reliability:
- Aesthetic Appeal
One of the main benefits of hardwiring LED strips is the cleaner, more streamlined appearance. With no visible power cords or adapters, hardwiring eliminates clutter, providing a sleek and professional look. This is especially important in spaces where the goal is to maintain a minimalistic or modern aesthetic, as visible cables can detract from the overall design. - Customizability
Hardwiring provides greater flexibility in controlling brightness and placement. You can connect your LED strips to dimmers, smart home systems, or existing switches, allowing for more control over how the lights operate. This level of customization lets you adjust the lighting based on different moods or functional needs, making it more versatile than plug-in options. - Durability
Hardwired connections are generally more durable and stable than plug-in connections. By directly connecting the LED strip to the power supply, you create a more permanent and secure setup. This reduces the risk of loose connections, which can cause flickering or power loss. Hardwiring ensures that the LED strips will function reliably over a longer period, making them a better option for high-traffic or long-term installations. - Integration
Hardwiring makes it easier to integrate LED strips into existing electrical systems, such as switches, dimmers, or even smart home automation systems. This means you can control your lighting from anywhere, schedule when it turns on and off, or set up advanced automation scenarios. For example, you could have your LED strips turn on at a certain time of day or activate with other devices in your smart home system, enhancing convenience and energy efficiency.
Safety Precautions Before Starting
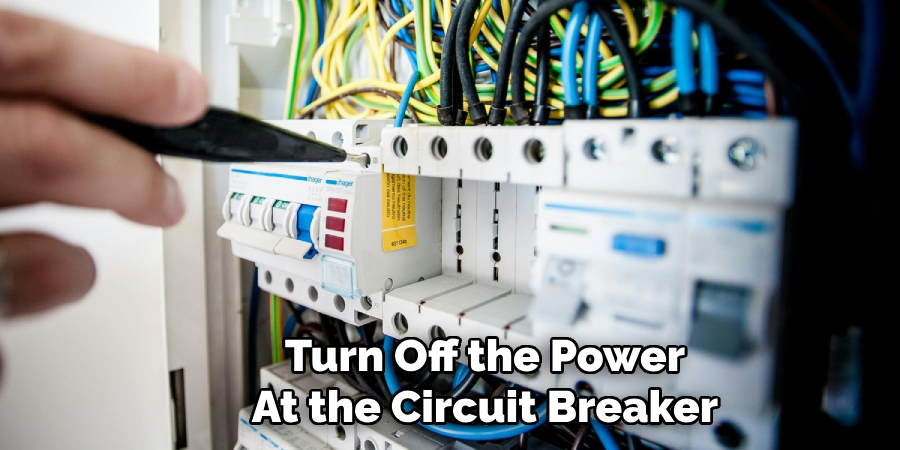
Working with electricity requires caution. Follow these safety tips:
- Turn off the power at the circuit breaker before beginning.
- Use tools with insulated handles to avoid electrical shocks.
- Test wires with a multimeter to ensure no live current is present.
- Work in a well-lit and dry area.
7 Easy Steps Guide For Hardwiring LED Strip Lights
- Step 1: Verify the Voltage of Your LED Strip
Start by determining the voltage rating of your LED strip, which is typically either 12V or 24V DC. This crucial information is often printed on the strip itself, its packaging, or detailed in the user manual. Selecting a power supply that matches this voltage ensures compatibility and prevents potential damage to your LED strip. Using an incorrect voltage can lead to issues like overheating, flickering, or even permanent failure. - Step 2: Calculate the Required Power Supply
Calculate the total wattage of your LED strip by multiplying its wattage per meter by the length of the strip. For safety, choose a power supply rated at least 20% higher than the total wattage to prevent overheating or overloading during operation. - Step 3: Cut the LED Strip to the Desired Length
Examine the LED strip to find the designated cutting points, usually marked by a scissors icon. Carefully cut along these lines to achieve the desired length. Avoid cutting outside these points to ensure all LED segments remain functional. - Step 4: Connect the LED Strip to the Power Supply
Strip the ends of the wires attached to your LED strip to expose the copper conductors. Connect the positive (+) and negative (–) wires to the corresponding terminals of the power supply. Use wire connectors or solder the wires for secure and reliable connections. - Step 5: Wire the LED Strip to a Switch (Optional)
For more control, install a switch between the power supply and the LED strip. Connect the live wire from the power supply to one terminal of the switch. Then, connect the other terminal to the positive wire of the LED strip. Test the switch to confirm it works. - Step 6: Position the LED Strip
Place the LED strip in its intended location. Use adhesive backing for smooth surfaces, mounting clips for added security, or aluminum tracks for better heat dissipation. Align the strip carefully to ensure straight placement for a professional and polished appearance. - Step 7: Test the Installation and Adjust
Turn on the power supply and test the LED strip to ensure it lights up evenly. Check the brightness, alignment, and switch functionality. Make any necessary adjustments to connections or placement for optimal performance and aesthetics. Enjoy your newly installed lighting!
Optimizing Your LED Setup

Choosing the Right Location for Installation
Consider areas where lighting is most effective, such as under cabinets, along staircases, or behind televisions. Ensure the location is accessible for maintenance and free from excessive moisture.
Tips for Efficient LED Strip Placement
- Avoid placing strips near heat sources.
- Use diffusers to soften light and reduce glare.
- Plan your layout to minimize visible wiring.
Frequently Asked Questions
Q: Can LED strips be connected directly to the house power supply?
Ans: No, LED strips require a driver or transformer to convert AC power to the appropriate DC voltage. Direct connection can damage the strip and pose safety risks.
Q: How do you hide the wires for a clean installation?
Ans: Use cable channels, conduit, or adhesive wire clips to conceal wires along walls or furniture. Paintable channels can blend seamlessly with your decor.
Q: Do LED lights strips use a lot of electricity?
Ans: Installed as your light source, LED strip lights guzzle less electricity to produce the same light output. The potential savings are very significant – LEDs draw up to 85% less electricity than conventional incandescent lighting
Q: Which power supply for LED strip?
Ans: The majority of LED strips available on the market run at 12V DC. Others are primarily at 24V DC.
Q: How many LED strips per power supply?
Ans: To work out how much LED tape you can run off an LED power supply, simply divide the wattage of your LED strip driver (for example, 100w) by the wattage per metre of your LED tape (e.g. 4.8w p/m). This gives you the total length of LED tape, in metres, that your LED power supply can drive.

Conclusion
Hardwiring LED strip lighting may seem daunting at first, but with the proper tools and a clear step-by-step approach, it becomes a straightforward DIY project. This method not only enhances the visual appeal of your space by eliminating messy wires but also improves the functionality and longevity of the lighting setup. Hardwiring allows for seamless integration with existing electrical systems, offering the potential for advanced features like dimming and smart control. By following this guide, you’ll be able to create a professional, efficient, and durable lighting solution that transforms any room into a well-lit, stylish environment.