Ever wondered if you could hatch chicks at home without spending a fortune on a high-end incubator? The answer is a resounding yes — all you need is the right know-how, a bit of patience, and a reliable heat lamp.
Whether you’re a backyard hobbyist, a homesteader, or someone looking to teach the kids about life cycles, hatching eggs with a heat lamp is a practical and budget-friendly alternative. Many people opt out of buying an expensive incubator due to cost or simply because they enjoy the hands-on process of creating a DIY setup. Others may find themselves in an emergency situation where an incubator is unavailable. Whatever your reason, this method works — and we’re here to walk you through it, step by step.
In this guide, you’ll learn everything you need to know how to hatch chicken eggs with a heat lamp. From understanding egg development to setting up the ideal environment, turning techniques, and post-hatch care, we’ve got it all covered.
Understanding the Basics of Egg Hatching
Before diving in, it’s crucial to understand what you’re dealing with.
Fertilized vs. Unfertilized Eggs
Only fertilized eggs can hatch. These are eggs that have been laid by a hen after mating with a rooster. Supermarket eggs are typically unfertilized and will never develop into chicks.
You can obtain fertilized eggs from:
- Your own backyard hens (if you have a rooster),
- Local farms or hatcheries,
- Online sellers specializing in hatching eggs.
Make sure the eggs are fresh (no more than 7–10 days old) and haven’t been refrigerated.
The 21-Day Hatching Process
A chicken egg takes about 21 days to hatch. Here’s what happens during that time:
- Day 1–7: Embryo starts forming, blood vessels develop.
- Day 8–14: Heartbeat, body parts forming, chick is active.
- Day 15–18: Chick prepares for hatch.
- Day 18–21: “Lockdown” period — no turning. Chick positions itself and begins hatching.
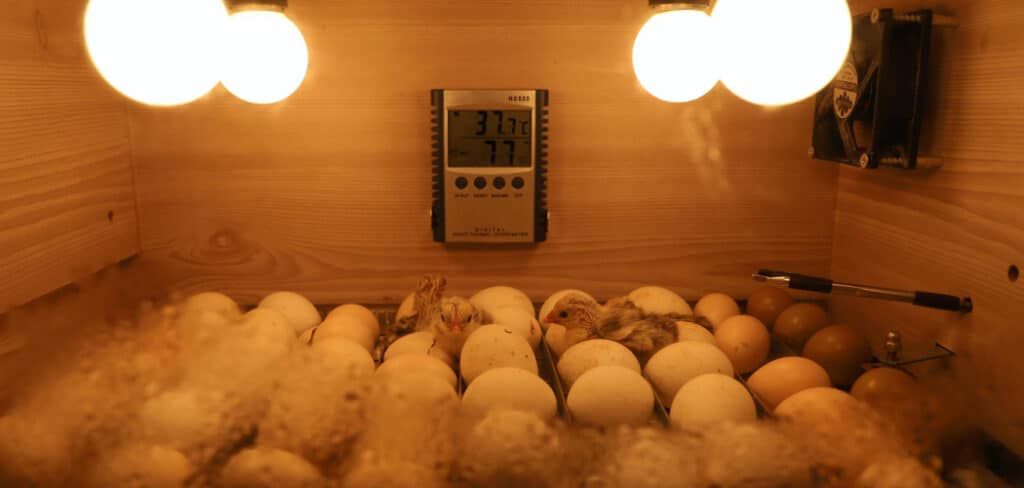
Throughout this time, maintaining a stable temperature (99–101°F) and consistent humidity (~50–55%, later 65–70%) is critical for success.
Materials and Equipment You’ll Need
Here’s what you’ll need to get started:
- Heat Lamp: Choose a ceramic heat emitter (no light) or an infrared heat bulb. These provide steady warmth without disturbing the eggs.
- Thermometer and Hygrometer: Essential for monitoring temperature and humidity levels.
- Brooder Box: A cardboard box, plastic bin, or wooden container — make sure it’s tall enough and safe from drafts.
- Egg Cartons or Bedding: Soft bedding like straw, paper towels, or egg cartons to hold eggs gently in place.
- Reflector/Dome: Helps focus heat directly on the eggs and prevents loss of warmth.
- Timer or Manual Plan: For tracking egg turning throughout the day.
- Water Source: A small bowl or sponge to control humidity.
- Optional – Candling Light: For checking embryo development inside the egg.
Setting Up the Heat Lamp Incubation Area
This is one of the most important steps — the environment you create will directly affect hatch success.
Choose the Right Container
You can use:
- A deep cardboard box (lined with foil or reflective insulation),
- A plastic tote bin (with holes for ventilation),
- A small wooden crate.
Ensure the container is large enough to allow heat circulation but cozy enough to maintain warmth.
Positioning the Heat Lamp
Mount the heat lamp 8–12 inches above the eggs, depending on light bulb wattage. Use a stand or secure the lamp to avoid fire risk. Never let it touch the container or bedding.
Tip: Use a dimmer or lamp with a thermostat controller for better heat regulation.
Temperature and Humidity
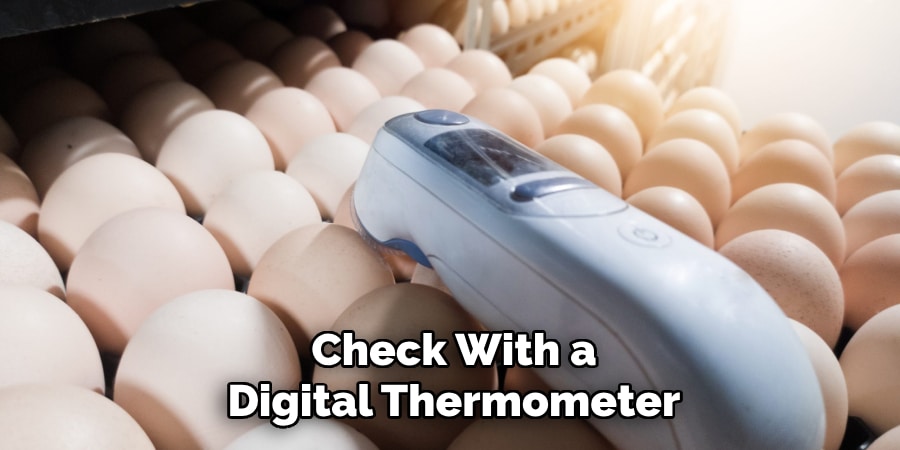
- Temperature Goal: Maintain between 99–101°F at egg level. Check with a digital thermometer.
- Humidity: Keep at 50–55% during days 1–18. After Day 18, increase to 65–70% using a water bowl or moist sponge.
Safety Tips
- Avoid placing the setup in windows or vents.
- Don’t leave the heat lamp on unattended unless you’re confident in its safety.
- Run the setup for at least 24 hours before placing eggs to stabilize conditions.
Egg Preparation and Placement
Handling Eggs
Always handle eggs with clean, dry hands. Dirty eggs can introduce bacteria — don’t wash them, just gently wipe off debris with a dry cloth.
Positioning Eggs
Lay eggs large end slightly elevated, as this keeps the air cell at the top (critical for chick breathing before hatching). You can:
- Lay them on their sides on soft bedding.
- Place them in an egg carton with holes cut for ventilation.
Marking Eggs
Use a pencil to mark one side with an “X” and the other with an “O” — this helps you track turning.
Spacing
Leave about 1–2 inches of space between eggs to ensure air flow and even heat distribution.
Detailed Guide on How to Hatch Chicken Eggs With a Heat Lamp
Turning is essential to keep the embryo from sticking to the shell and to promote even growth.
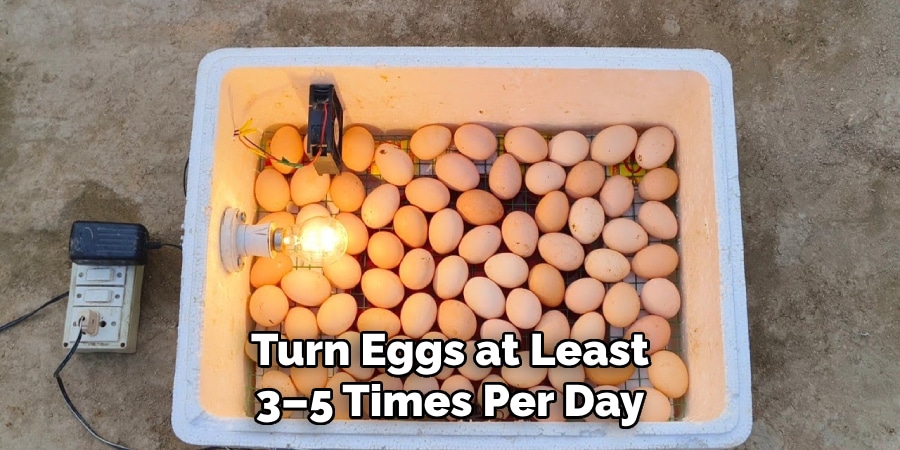
How Often to Turn
Turn eggs at least 3–5 times per day, always an odd number of times. This prevents the chick from resting in one position overnight.
Turning Methods
- Manual: Gently roll eggs or tilt egg cartons.
- Semi-automatic: Tilt the entire box slightly from side to side every few hours.
When to Stop Turning
Day 18 is your cut-off — from this point on, chicks prepare to hatch. This period is called “lockdown.”
Tips for Success
- Be consistent with turning times.
- Wash hands before touching eggs.
- Avoid rough movements that might harm the embryo.
Monitoring Progress: Candling the Eggs
Candling lets you peek inside the eggs to see development.
What You Need
- A bright flashlight or a dedicated egg candler.
- A dark room for better visibility.
When to Candle
- Day 7: Look for veins and a dark embryo spot.
- Day 14: Embryo should be clearly visible and moving.
- Day 18: Final check before lockdown.
What to Look For
- Healthy eggs: Veins, movement, growing dark spot.
- Bad eggs: No development, blood rings, clear eggs — these should be removed to avoid contamination.
Lockdown and Final Hatching Stage
Once you reach Day 18, it’s time to prep for the grand finale.
What is Lockdown?
- Stop turning eggs.
- Don’t open the container unnecessarily.
- Increase humidity to 65–70% to soften the shell for hatching.
Signs of Hatching
- Internal pip: Chick breaks into the air cell.
- External pip: First crack in the shell.
- Zipping: Chick begins cutting a circle around the shell top.
This process can take up to 24 hours, so don’t rush it. Let nature do its thing.

Do Not Assist Unless Absolutely Necessary
Intervening too soon can cause injury or death. If the chick seems stuck for over 24 hours, you can gently help, but only after research and caution.
After Hatching: Chick Care Essentials
Congrats! You’ve got chicks! Now, let’s take care of them.
Let Them Dry First
Leave the chicks in the box under the lamp until they fluff up — usually within 12–24 hours.
Set Up a Brooder
Move them to a brooder setup with:
- Clean bedding (pine shavings or paper towels),
- Constant warmth (~95°F for the first week),
- Proper ventilation.
Reduce temperature by 5°F each week until fully feathered.
Feeding and Watering
Provide:
- Fresh water in a shallow dish (with marbles to prevent drowning),
- Chick starter feed (available at feed stores).
Monitor Their Health
- Healthy chicks = alert, active, peeping.
- Signs of trouble: lethargy, pasty butt, refusal to eat.
Keep the brooder clean and dry to prevent illness.
Common Mistakes to Avoid
Even experienced hatchers can slip up. Here are some pitfalls to dodge:
- Overheating or underheating: Causes poor development or death.
- Humidity errors: Low humidity = shrink-wrapped chicks.
- Skipping egg turning: Can cause embryo death.
- Opening the container during lockdown: Disrupts humidity and temps.
- Using dirty or cracked eggs: Risk of contamination.
- Not testing setup beforehand: Always run a 24-hour test before adding eggs.
Frequently Asked Questions
Q: Can I hatch chicken eggs without an incubator?
Ans: Yes, you can hatch chicken eggs without a traditional incubator by using a heat lamp setup. However, you must carefully control temperature and humidity to mimic natural incubation conditions.
Q: How far should the heat lamp be from the eggs?
Ans: Start with the lamp about 18–20 inches above the eggs, and use a thermometer to adjust the height based on temperature. Lower it if it’s too cool and raise it if it’s too hot.
Q: Do I need to turn the eggs manually?
Ans: Yes. Eggs must be turned at least 3–5 times a day to prevent the embryo from sticking to the shell. Stop turning them around day 18 to allow chicks to position themselves for hatching.
Q: How long does it take for chicken eggs to hatch under a heat lamp?
Ans: Chicken eggs typically hatch in 21 days, just like in an incubator. However, it may vary by 1–2 days depending on temperature stability.
Q: Can I use a regular household lamp instead of a heat lamp?
Ans: No, regular lamps don’t produce consistent heat. You need a proper heat lamp or brooder lamp with a thermostat to keep the temperature stable.
Conclusion
Hatching chicken eggs with a heat lamp is a rewarding and educational experience — and yes, it’s entirely possible without a fancy incubator. With a little attention to detail and consistent care, you can raise healthy, fluffy chicks right from your living room.
Remember, success comes from patience, consistency, and learning from each hatch. Don’t be discouraged by mistakes — every attempt teaches you something new.
Pro Tip: Keep a hatch journal. Note your temperature, humidity levels, turning times, and candling observations. It’ll help improve your success rate and make each hatch easier than the last.