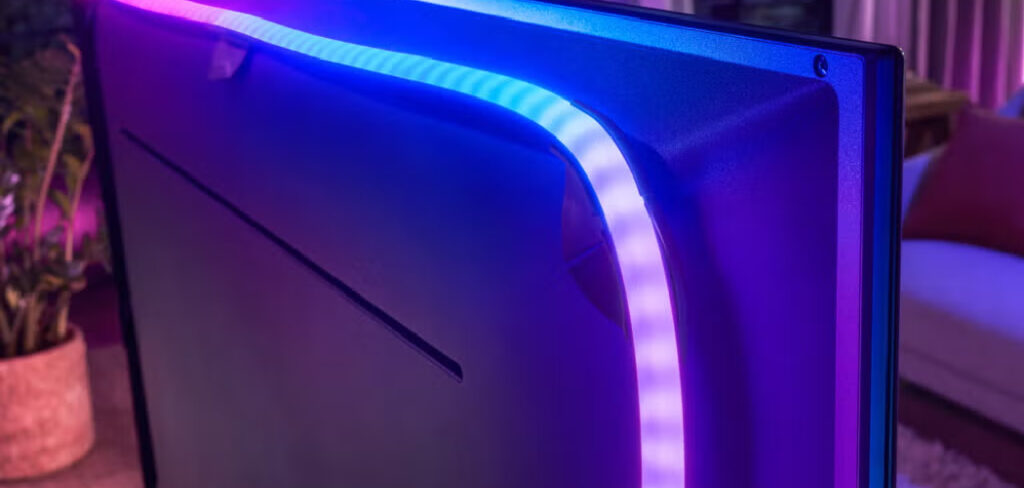
LED strip lights have become a popular choice for home and commercial decor thanks to their flexibility, energy efficiency, and aesthetic appeal. However, one common issue people face is when the adhesive backing of the LED strip loses its stickiness over time.
Whether it’s due to dust, poor-quality adhesive, or repeated reapplication, it’s frustrating to see how to make led strips sticky again. In this article, we’ll explore why this happens and provide effective, easy-to-follow solutions to make your LED strips sticky again, ensuring they stay in place for the long haul.
Materials Needed
- Double-side adhesive tape,
- Measuring tape
- Scissors, and
- LED lights.
- A clean cloth and brush
Why Do LED Strips Lose Their Stickiness?
Before diving into the solutions, it’s important to understand the root causes of the problem. Here are the main reasons why LED strips may lose their adhesive quality:
- Dust and Dirt : If the surface or the adhesive side of the strip accumulates dust or grease, it can weaken the adhesive bond.
- Surface Material : LED strips adhere better to smooth, clean, and non-porous surfaces. Surfaces like textured walls, fabric, or rough wood can make it hard for the adhesive to stick properly.
- Low-Quality Adhesive : Some LED strips come with subpar adhesive that doesn’t hold up well over time.
- Reapplication : Peeling off and repositioning LED strips repeatedly reduces the stickiness of the adhesive.
- Heat and Moisture : Environmental factors like high temperatures or humidity can degrade the adhesive’s effectiveness.
Can You Restick LED Lights?
If your LED strip lights aren’t sticking anymore—maybe the adhesive wasn’t strong enough, or it’s just worn out over time—don’t stress. You can easily reattach them, even if the sticky backing has seen better days.
Before you jump into fixing it, it’s a good idea to figure out why the lights won’t stay put. Here are some common culprits:
- Dust and Dirt : If the surface isn’t smooth or clean, dust and air can sneak in and mess with the adhesive.
- Moisture Issues : Poor installation might let moisture creep in, which can weaken the stickiness.
- Overuse : Taking the strips off and reapplying them a bunch of times can wear out the adhesive, no matter how careful you are.
Once you know what’s causing the problem, you’ll be better equipped to fix it and keep your lights in place!
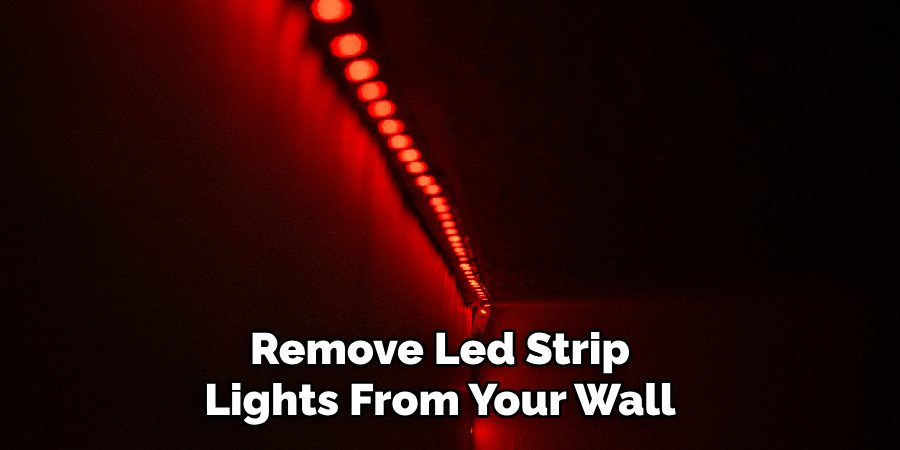
How To Take LED Strip Lights Off the Wall Without Damaging Paint?
To remove LED strip lights from your wall without messing up the paint, you just need to loosen the adhesive and carefully peel them off. This way, your walls stay smooth and scratch-free, and your paint job stays intact. Plus, being gentle while removing the strips will prevent any unnecessary damage.
Here’s a simple 3-step guide to safely take LED strip lights off your wall without damaging the paint:
- Unplug the Lights : First things first—disconnect the LED lights from the power source to keep things safe.
- Warm the Adhesive : Use a blow dryer or heat gun to gently heat one end of the strip. This softens the adhesive, making it easier to remove. Start with just one end of the strip to get things going.
- Peel Slowly : Once the end is warmed up, carefully peel it off. If you notice any paint sticking to the strip, give it a bit more heat and try again. Work section by section, heating and peeling, until the entire strip is off.
By taking your time and following this method, you can safely remove and even reuse your LED strip lights without damaging your wall or paint!
How to Move LED Lights to Another House?
LED lights are reusable, which means you can easily take them with you if you’re moving to a new home. Just keep in mind that their performance depends on how safely they make it through the move.
To protect these delicate lights, the key is proper packing. With enough cushioning, you can keep them safe from bumps during transit and while loading or unloading. Here’s a quick guide to pack your LED lights for a smooth move:
- Wrap Them Up : Start by wrapping the lights in soft bubble wrap. Make sure they’re fully covered, then secure the wrap with tape to keep everything snug.
- Find a Sturdy Box : Grab a solid cardboard box that’s just the right size to hold your wrapped lights. Leave enough room for power cables and any other accessories to fit in without cramming.
- Label the Box : Clearly label the box with something like “LED Lights” so you can easily spot it during unpacking.
By taking these steps, you can ensure your LED lights make it to your new home in perfect condition!
6 Easy Steps For How to Make LED Strips Sticky Again
Now that we know the causes, let’s look at practical solutions to restore the stickiness of your LED strips.
1. Clean the Surface and the LED Strip
One of the simplest and most effective steps is to clean both the surface where the LED strip will be mounted and the adhesive side of the strip itself.
Steps:
- Use a lint-free cloth or paper towel dampened with rubbing alcohol (isopropyl alcohol) to clean the surface. This removes grease, dirt, and dust.
- Gently wipe the adhesive side of the LED strip to remove debris. Be careful not to damage the strip or the electronic components.
- Let both the surface and the strip dry completely before proceeding.
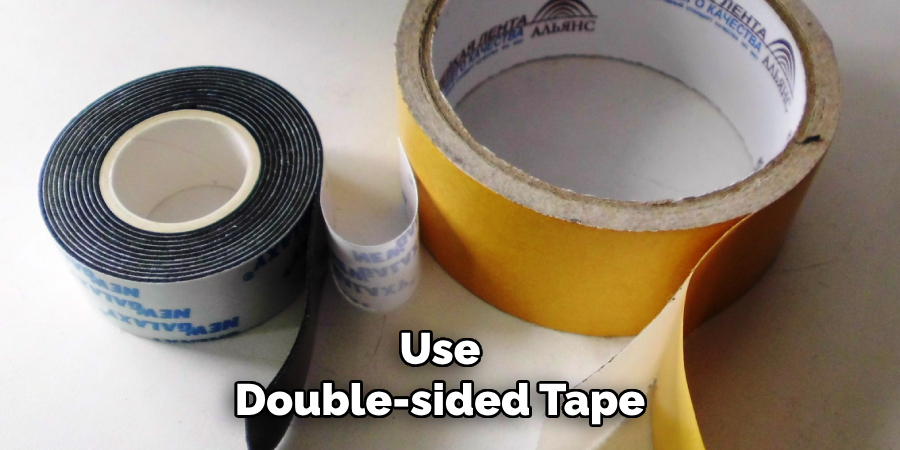
2. Use Double-Sided Tape
If the original adhesive has lost its tackiness, applying a strong double-sided tape can provide a reliable solution.
Steps:
- Cut small pieces of double-sided tape to match the width of your LED strip.
- Remove the backing from one side of the tape and stick it to the back of the LED strip.
- Remove the other backing and press the strip firmly onto the surface.
Tip: Opt for heavy-duty double-sided tape, such as 3M VHB (Very High Bond) tape, for a long-lasting hold.
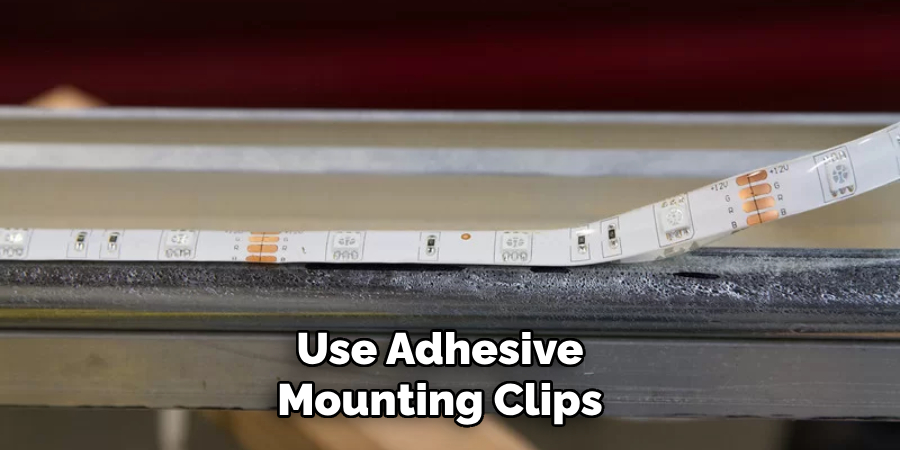
3. Use Adhesive Mounting Clips or Channels
For a more secure and professional-looking installation, consider using mounting accessories.
Steps:
- Purchase adhesive mounting clips or LED strip channels from a hardware store or online retailer.
- Attach the clips or channels to the surface using their adhesive backing or screws.
- Insert the LED strip into the clips or channels.
This method is especially useful for strips installed on ceilings or in areas with high humidity.
4. Apply Hot Glue
Hot glue is a versatile option for reattaching LED strips to almost any surface. It’s easy to apply and provides a strong hold.
Steps:
- Heat a hot glue gun and apply small dabs of glue along the length of the LED strip.
- Quickly press the strip onto the surface before the glue cools.
- Hold the strip in place for a few seconds to ensure a strong bond.
Note: Be cautious not to apply hot glue directly to the LEDs or electronic components.
5. Use Command Strips or Velcro
For a non-permanent and repositionable solution, consider using Command strips or Velcro strips.
Steps:
- Cut the strips to size and attach them to the back of the LED strip.
- Press the strip firmly onto the surface.
- These options allow you to remove or adjust the LED strips without damaging the wall or adhesive.
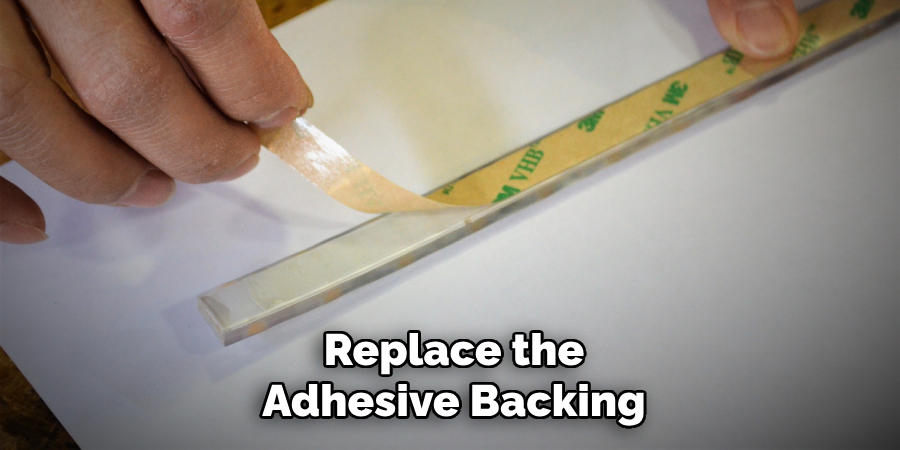
6. Replace the Adhesive Backing
If all else fails, you can replace the original adhesive backing with a new one.
Steps:
- Carefully peel off the old adhesive layer from the LED strip.
- Purchase replacement adhesive backing, such as 3M adhesive rolls.
- Cut the replacement adhesive to size and attach it to the back of the LED strip.
- Press the strip firmly onto the surface.
Tips to Prevent Future Adhesive Issues
- Choose the Right Surface: Always install LED strips on clean, smooth, and dry surfaces. Avoid textured walls or surfaces prone to moisture.
- Prepare the Surface: Clean and dry the surface thoroughly before applying the LED strips.
- Avoid Excessive Repositioning: Once installed, try not to peel off and reattach the LED strips repeatedly.
- Consider External Adhesives: If you’re installing LED strips in challenging environments, use additional adhesives like epoxy or silicone.
Frequently Asked Questions:
Can you make LED lights sticky again?
Ans : Epoxy resin is a great option for securing your LED strips. Alternatively, you can use Velcro for a more flexible solution: stick one half of the Velcro strip to the LED lights and the other half to the surface where you want to attach them.
How to glue LED strips?
Ans : Begin by putting an amount of hot glue on the cut end of the LED tape or at the cut point which needs waterproofing, and then slide the heatshrink over this. You can then heat up the heatshrink with a heat gun to tighten/contract the glue.
How to waterproof a LED strip?
Ans : Wrap the strip with hollow silicone casing. Then, fill the hollow casing with silicone to form a sealing effect. IP68: 6 represents good dust-proof and touch protection. 8 stands for underwater protection against water intrusion.
Q: Can I Reuse the Adhesive Tape?
Ans : It’s not recommended to reuse adhesive tape as it may lose its adhesive properties after being used once. It’s best to use a new piece of tape for optimal bond strength. Additionally, make sure to properly store your unused adhesive tape to prevent it from drying out or losing its stickiness.
Conclusion
Fixing the stickiness of your LED strip lights is not a difficult task. running through the steps explained in this guide keeps the lights in place and this looks nice.
Whether you go for wiping the surface, attaching double-sided adhesive tape or both for mounting clips, these remedies will assist you in setting up a lasting and secure installation. Remember to always prioritize safety and choose the right adhesive for your specific application. Happy reattaching!