Looking to update your home décor without breaking the bank? Painting lamps is an easy, cost-effective DIY project that can transform any room with just a bit of color and creativity.

Whether you’re freshening up a thrift store find, reviving an old piece, or simply customizing your lighting to match your current aesthetic, this project offers big impact with minimal investment. Not only can painting lamps help you save money, but it also allows you to personalize your space to your taste. From sleek metallic finishes to rustic chalky textures or bold, vibrant hues, the possibilities are endless.
In this guide, we’ll walk you through everything you need to know—from choosing the right paint and tools to prepping different materials and applying the perfect finish. Whether you’re working with ceramic, metal, wood, or glass, you’ll learn how to paint lamps safely, stylishly, and effectively.
Why Paint a Lamp?
Painting a lamp is more than just a quick makeover—it’s a creative and practical decision that offers several benefits:
- Refresh Old Décor: If your lamp looks outdated or doesn’t match your current décor, a fresh coat of paint can give it a modern or thematic update.
- Budget-Friendly Customization: Instead of purchasing a new lamp, revamping your current one with paint is a cost-effective way to achieve a designer look.
- Match Your Interior Theme: Coordinating your lamp color with other room elements—like furniture, throw pillows, or curtains—can pull your entire space together.
- Sustainability: Instead of discarding a perfectly functional lamp, painting encourages reuse and reduces waste, making it an environmentally conscious choice.
Whether you’re upcycling or personalizing, painting your lamp offers a stylish way to make your home uniquely yours.
Choosing the Right Paint and Finish
Before diving in, it’s crucial to choose the appropriate paint for your lamp’s material and your desired look:
Types of Paint
- Spray Paint: Ideal for metal or plastic lamps, it offers a smooth, even finish. Look for paints labeled for use on the specific surface type.
- Acrylic Paint: Best for wood and ceramic, acrylics allow for detailed brushwork and color mixing.
- Chalk Paint: Great for vintage or farmhouse aesthetics, chalk paint provides a textured, matte finish.
- Enamel Paint: Durable and glossy, enamel paints are often used for a more polished or professional appearance.
Paint Finishes
- Matte: Offers a non-reflective, understated finish—ideal for rustic or soft looks.
- Glossy: Shiny and vibrant, this finish makes colors pop and is easy to clean.
- Satin: A middle ground between matte and glossy, perfect for a subtle sheen.
- Metallic: Adds a chic, reflective shine, commonly used for modern or glam styles.
Paint Compatibility with Lamp Materials
- Metal: Spray paint or enamel works best.
- Ceramic: Acrylic or chalk paint for precise, matte finishes.
- Glass: Specialized glass paint or frosted spray paint required.
- Wood: Acrylic or chalk paint works well; use primer for better adhesion.
- Plastic: Choose paint labeled as plastic-safe; use primer specifically made for plastic surfaces.
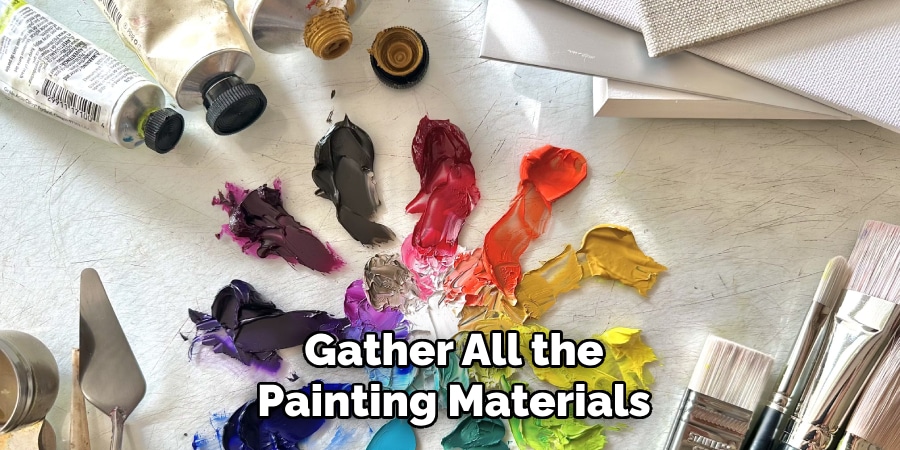
Tools and Materials You’ll Need
Before starting your lamp transformation, gather the following supplies:
Essential Tools and Materials
- Painter’s tape
- Drop cloth or old newspapers
- Fine-grit sandpaper (220 grit works well)
- Cleaning supplies (mild soap, water, or alcohol wipes)
Primer - Chosen paint (spray or brush-on)
- Brushes (foam or synthetic)
- Clear sealant or topcoat
- Gloves and a face mask
Optional Items
- Stencils for designs
- Painter’s markers for detailed work
- Decorative accents like gold leaf, decals, or decoupage paper
Having the right tools ensures a smoother process and more professional-looking results.
9 Easy Steps on How to Paint Lamps
Transforming your lamp is easy if you follow these clear and practical steps:
Step 1: Unplug and Disassemble the Lamp
- Unplug the lamp to ensure safety.
- Remove the lampshade, bulb, harp, and detachable parts (like finials or base components).
- If possible, unscrew or separate any sections that make painting easier.
Step 2: Clean the Lamp Thoroughly
- Use mild soap and water or alcohol wipes to clean the entire surface.
- Remove all dirt, grease, and grime to help paint adhere properly.
Let it dry completely before moving to the next step.
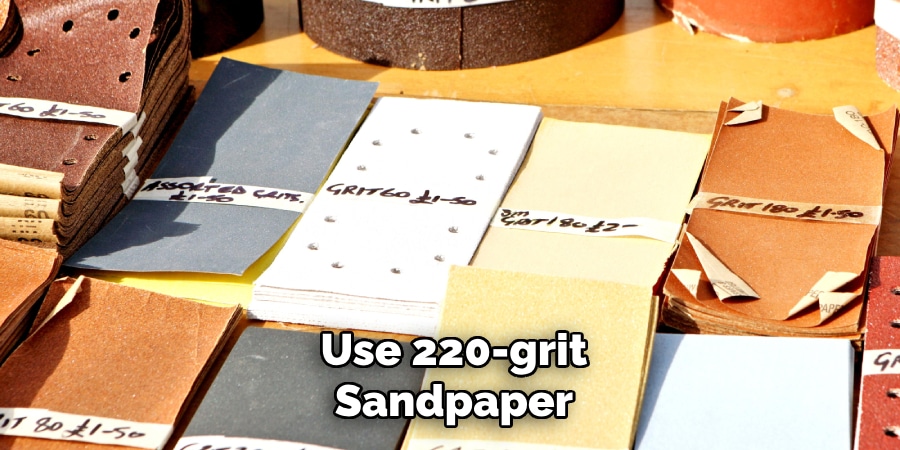
Step 3: Lightly Sand the Surface
- Use 220-grit sandpaper to lightly roughen smooth or glossy areas.
- This helps the primer and paint stick better, especially on metal, plastic, or glass.
- Wipe off all sanding dust with a clean, dry cloth.
Step 4: Tape Off Areas You Don’t Want to Paint
- Use painter’s tape to protect electrical components, cords, plugs, and sockets.
- Also tape off decorative elements or hardware you want to keep unpainted.
Step 5: Apply a Primer (If Needed)
- Use a primer suitable for your lamp’s material (metal, ceramic, plastic, wood, etc.).
- Spray or brush on a light, even coat.
- Let it dry according to the product instructions (usually 30 minutes to 1 hour).
Step 6: Paint the Lamp
- Choose spray paint for even coverage or acrylic/chalk paint for detailed work.
- Apply multiple thin coats rather than one heavy one to avoid drips.
- Allow each coat to dry completely before applying the next (usually 15–30 minutes between coats).
Step 7: Add Decorative Touches (Optional)
- Use stencils, painter’s markers, or decals to add custom patterns or designs.
- Consider metallic accents or distressing techniques for unique textures or styles.
- Let any detailing dry thoroughly before sealing.
Step 8: Apply a Sealant or Topcoat
- Once the paint is dry, seal it with a clear topcoat to protect your finish.
- Choose a sealant that matches your desired sheen—matte, satin, gloss, or metallic.
- Let the lamp cure for 24–48 hours to ensure the paint hardens and bonds fully.
Step 9: Reassemble and Style Your Lamp
- Carefully remove painter’s tape to avoid peeling any paint.
- Reattach the lampshade, harp, and bulb.
- Plug it in and test the lamp to make sure everything is functioning.
- Place your newly updated lamp in your desired space and enjoy your refreshed décor!
Preparing the Lamp for Painting
Proper prep work sets the foundation for a long-lasting paint job.
Unplug and Disassemble
- Safety First: Always unplug the lamp.
- Remove Parts: Take off the lampshade, bulb, harp, and detachable elements.
Clean the Lamp Thoroughly
- Wipe down all surfaces with soapy water or alcohol wipes to remove grease, dust, and grime.
Sand the Surface
- Lightly sand glossy or smooth areas to help the paint adhere better.
- Wipe off sanding dust with a clean, dry cloth.
Apply Primer
- Use primer especially on dark surfaces, metal, plastic, or if switching from a glossy to matte paint.
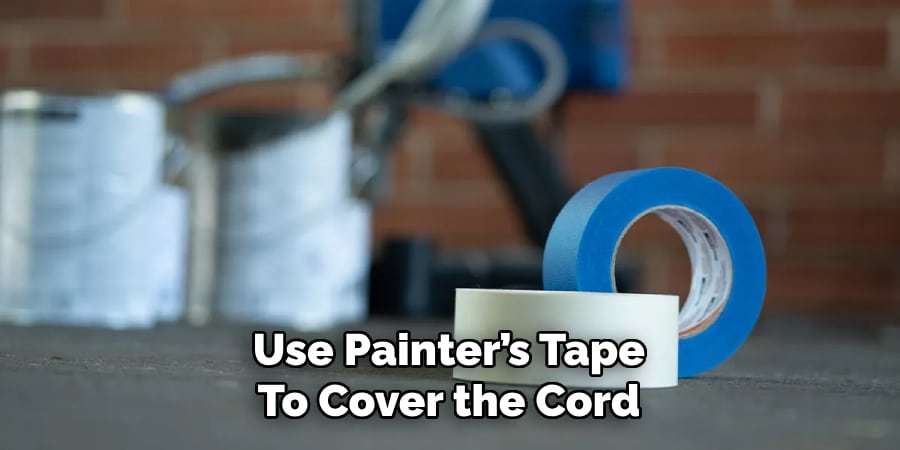
Tape Off Protected Areas
- Use painter’s tape to cover the cord, plug, socket, and any other areas that shouldn’t be painted.
Painting Techniques by Lamp Type
Different materials need slightly different painting approaches:
1. Metal Lamps
- Use spray paint for even, drip-free coverage.
- Apply multiple thin coats instead of one thick layer.
- Let each coat dry completely before adding another.
2. Ceramic Lamps
- Acrylic or chalk paint is ideal for ceramic.
- Use a foam brush for even application.
- Add details with stencils or fine brushes.
- Seal with a matte or gloss topcoat for durability.
3. Wood Lamps
- Sand more thoroughly to smooth the grain.
- Apply a primer if you’re using light paint over dark wood.
- Brush-on paint creates a classic, slightly textured look.
- Chalk paint works well for shabby chic or vintage styles.
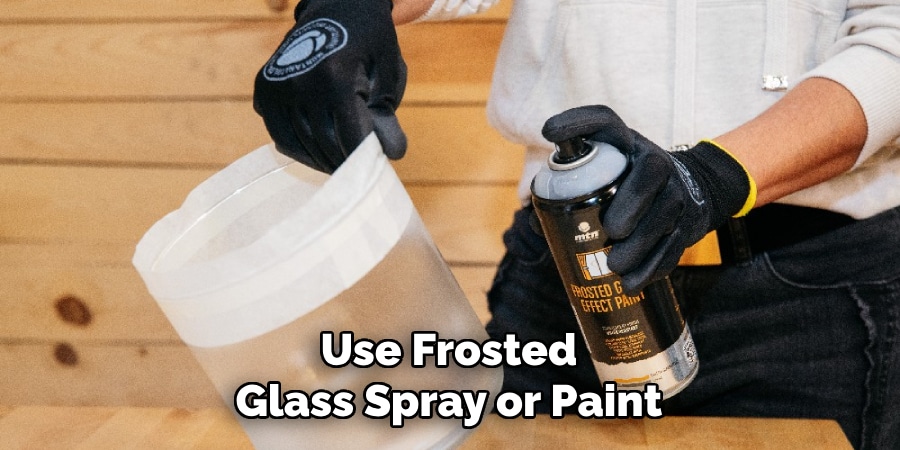
4. Glass Lamps
- Use frosted glass spray or paint specifically designed for glass.
- For a unique effect, paint the inside of the glass base to create a glowing effect.
- Avoid painting the electrical housing or internal components.
5. Plastic Lamps
- Use plastic-safe paint (usually marked on the can).
- Light sanding followed by a plastic primer helps the paint adhere better.
Apply light coats to avoid streaks or runs.
Safety Tips and Considerations
Always prioritize safety during your DIY project:
- Never paint while the lamp is plugged in.
- Do not apply paint to electrical components like the socket or plug.
- Work in a well-ventilated area—especially when using spray paint.
- Use heat-resistant paint if you’re painting near the bulb or on a part that gets hot.
- Allow ample drying time to prevent exposure to fumes.
These tips help ensure your project is safe as well as stylish.
Frequently Asked Questions
Q: Will resetting a smart bulb delete my settings and preferences?
Ans: Yes, performing a factory reset will remove custom settings, schedules, and network connections. You’ll need to reconfigure the bulb in the app afterward.
Q: Can I paint any type of lamp?
Ans: Most lamps can be painted, including metal, ceramic, wood, and glass lamps. However, you should always check the material and use the appropriate paint.
Q: What kind of paint should I use for a lamp?
Ans: Use spray paint or acrylic paint depending on the lamp material. For metal or plastic lamps, spray paint designed for those surfaces works best.
Q: Can I paint a lamp without using a primer?
Ans: While it’s possible, using a primer is highly recommended, especially for smooth or glossy surfaces, to help the paint adhere better and last longer.
Q: How long does the paint need to dry before reassembling the lamp?
Ans: Drying time depends on the type of paint used, but generally, allow at least 24 hours for full drying.
Conclusion
Painting a lamp is a simple, affordable, and highly customizable DIY project that almost anyone can do. It lets you breathe new life into old lighting, express your personal style, and reduce waste—all in one go. With the right tools, paint, and a little creativity, you can transform an ordinary lamp into a stunning focal point for any room.
So go ahead—gather your materials, pick your favorite color, and start painting. You might just be surprised by how easy (and fun) it is to light up your space with something you made yourself.