There’s something undeniably magical about outdoor Christmas lights. As winter settles in and darkness comes early, these twinkling decorations transform homes and neighborhoods into festive wonderlands. Whether you’re outlining a roof with shimmering icicles or lighting up your garden path with colorful strands, outdoor Xmas lights set the mood for holiday cheer.
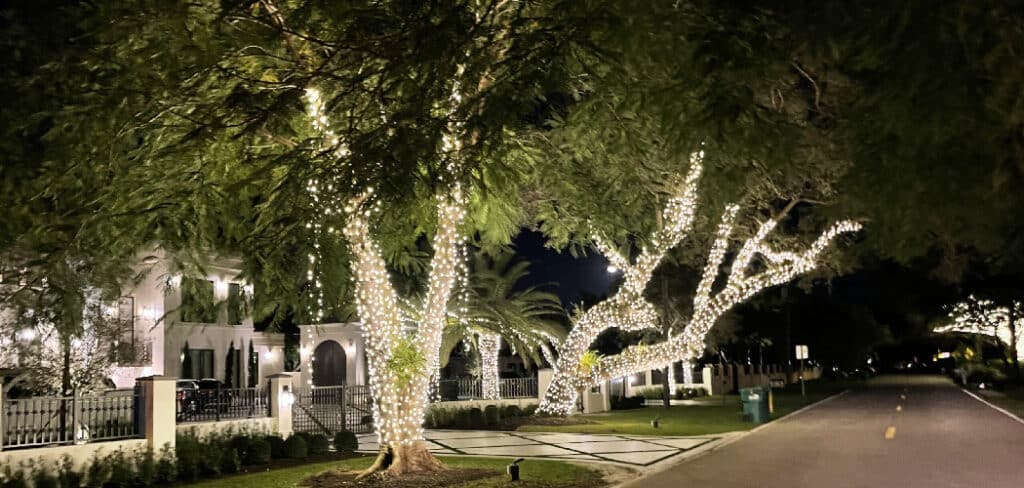
However, bringing that joy to life requires more than just hanging a few strands and flipping a switch. Plugging in outdoor Christmas lights safely and efficiently is essential. Without proper planning and setup, you risk electrical hazards, weather damage, or a disappointing display that doesn’t last the season.
This guide will walk you through everything—from planning and safety measures to tools and wiring techniques—so your outdoor holiday lighting shines brightly and safely all season long. Additionally, this article provides a comprehensive guide on how to plug in outdoor xmas lights effectively, helping you preserve their charm for years to come.
Why Proper Setup Matters
Proper setup of outdoor Christmas lights is crucial due to exposure to weather, moisture, and physical strain—factors that can lead to electrical failures or fire hazards. Moisture from rain or snow can seep into plugs and connectors, causing shorts if not properly waterproofed.
Using indoor-rated lights or ignoring safety measures risks damage and danger. That’s why GFCI outlets, outdoor-rated cords, and protective covers are essential. Beyond safety, proper installation enhances appearance and functionality.
Poorly connected lights can flicker, fail, or look untidy, with tangled cords and sagging strands. A secure, well-organized setup not only improves aesthetics but also reduces the need for repairs, making your holiday display both beautiful and reliable.
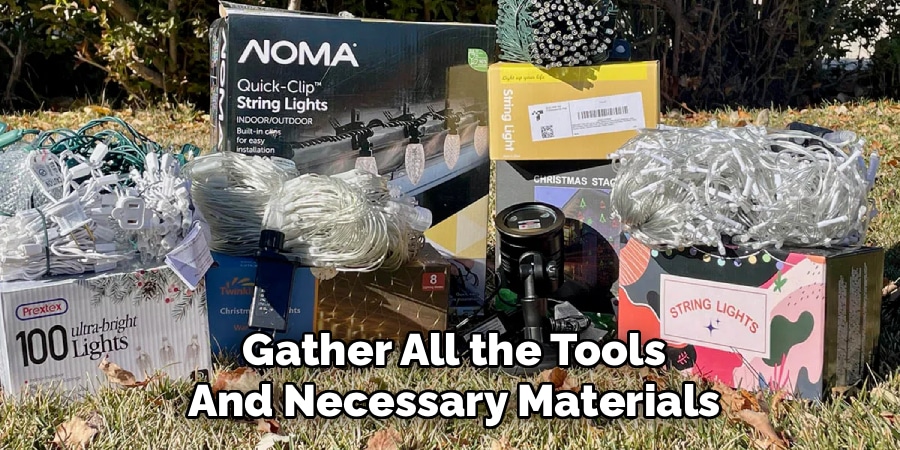
Tools and Materials You’ll Need
Having the right tools can make the installation process smoother, safer, and more organized. Here’s a list of essential items you’ll need for setting up and plugging in your outdoor Christmas lights:
- Outdoor-rated extension cords
- Ground Fault Circuit Interrupter (GFCI) outlets
- Outdoor-rated power stakes or power strips
- Weatherproof outlet covers
- Zip ties or light clips
- Timer (optional but recommended)
Pre-Installation Checklist
Before you plug anything in, take a few moments to prepare properly. This saves time, prevents damage, and ensures a safer experience.
Check Light Ratings
Not all lights are created equal. Make sure the strands you’re using are clearly labeled for outdoor use. UL-listed or ETL-certified lights are independently tested for safety and durability.
Test the Lights First
It’s frustrating to hang all your lights, only to find out that a strand is dead or a bulb is missing. Always test each set indoors before installing. Plug them in for a few minutes and check for flickers, burnt-out bulbs, or broken wires.
Calculate Power Load
Christmas lights, especially traditional incandescent ones, draw more power than you might think. Add up the wattage of your light strands and compare it with the amperage limit of your outlet and circuit breaker. This helps avoid tripped breakers or worse—electrical fires.
Plan Your Layout
Take a few minutes to sketch your lighting plan. Where will the lights go? Roofline, bushes, porch railings, and windows are common spots. Also, mark where your power outlets are. If your display spans large areas, figure out where you’ll need extension cords or power stakes for better coverage.
Best Types of Outlets and Extension Cords
The right outlets and cords are vital for a safe setup, especially in unpredictable winter weather.
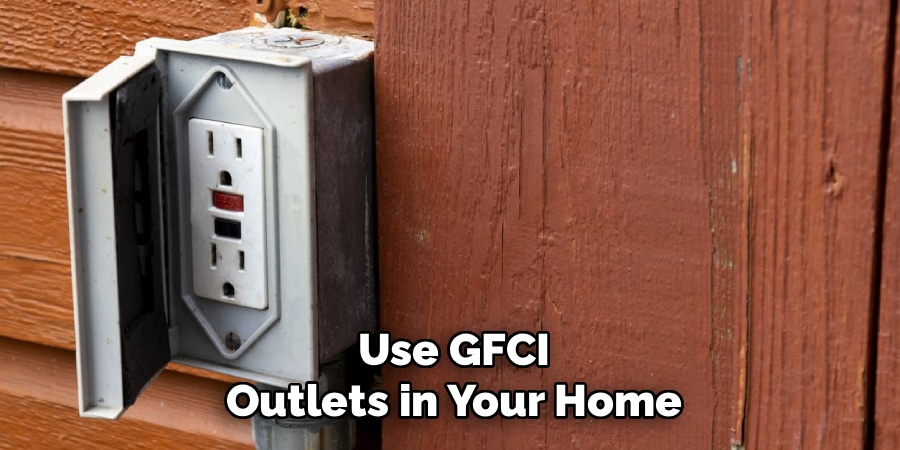
Use GFCI Outlets
GFCI outlets are specifically designed to cut power in case of a short or ground fault. If moisture causes even a tiny electrical leak, the GFCI will trip immediately, protecting you and your home from shock or fire.
Choose Outdoor Extension Cords
Indoor cords aren’t designed to withstand temperature fluctuations or moisture. Outdoor-rated cords are thicker, insulated, and weather-resistant. Make sure the rating is visible on the cord jacket.
Avoid Daisy-Chaining
Never plug multiple extension cords together to reach a longer distance. This reduces efficiency, increases resistance, and could lead to overheating or failure. Instead, buy cords in the length you need.
Power Stakes and Splitters
Power stakes are a great way to plug in multiple strands from a single outlet. Look for models with built-in timers or remote controls. These not only protect your connections from the elements but also offer easy access for turning lights on and off.
5 Easy Steps on How to Plug in Outdoor Xmas Lights
Step 1: Test and Prepare Your Lights
Before heading outside, begin by unboxing and gently untangling all your Christmas light strands. This makes installation easier and prevents damage from tugging or pulling. Plug each strand into a working indoor outlet to verify that all the bulbs light up evenly and consistently.
If you notice any flickering bulbs, burnt-out sections, or strands that don’t light at all, replace or repair them before moving on. Also, carefully inspect each cord for signs of damage such as frayed wires, cracked sockets, or exposed conductors.
Working with faulty lights poses serious electrical hazards, especially outdoors where moisture is present. This initial check ensures you’re starting with safe, functional lighting that won’t fail midway through the season.
Step 2: Locate Power Sources and Plan Connection
Identify the nearest Ground Fault Circuit Interrupter (GFCI) outdoor outlet. These outlets are essential for outdoor setups because they shut off power instantly if they detect moisture or imbalance in the current—helping to prevent shocks and fires.
If you don’t have one outdoors, you can use a weather-rated extension cord from an indoor outlet, but make sure to safely close any doors or windows it passes through. For larger displays, plan ahead by placing weatherproof power stakes or outdoor power strips in key spots around your yard.
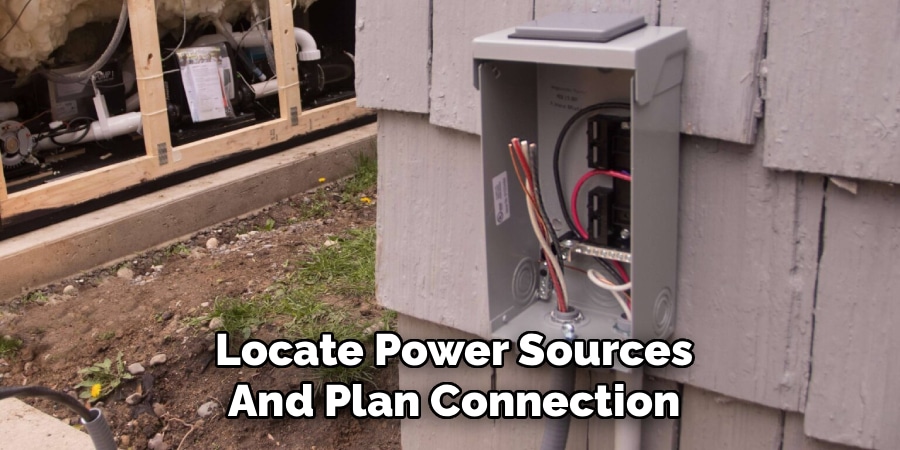
These tools allow you to safely power multiple light strands without overloading one single outlet, improving both convenience and safety.
Step 3: Install and Secure the Lights
Use outdoor-rated extension cords with adequate length so there’s no pulling or straining at connections. If cords cross walkways or driveways, secure them with cord covers or tape to prevent tripping. When hanging the lights, use plastic light clips for rooflines, gutters, and fences.
These clips grip securely and won’t damage surfaces. For wrapping trees, railings, or columns, zip ties work well and keep lights taut and tidy. Avoid using nails or staples—they can pierce the wire insulation and cause shorts or fire hazards. Secure installation ensures a clean, professional appearance and minimizes mid-season maintenance.
Step 4: Connect and Weatherproof
After positioning your lights, connect the first strand to your extension cord or power stake. If connecting multiple strands, always check the manufacturer’s recommended limits for how many can be safely linked.
Overloading can cause overheating or circuit tripping. To protect connections from moisture, use weatherproof covers or wrap them tightly in plastic and electrical tape, and elevate them off the ground using hooks, stakes, or bricks. This protects against puddles, rain, and snow.
Step 5: Final Check, Timer Setup, and Enjoyment
Turn on your entire setup and do a final walkthrough. Check for any flickering, overheating plugs, or loose ends. Install a timer or smart plug to automate your lights—saving energy and hassle.
Once everything’s secure and glowing, enjoy your festive display! Regularly inspect it throughout the season, especially after storms or heavy winds.
Common Mistakes to Avoid
Many common mistakes can compromise the safety and appearance of outdoor Xmas lights. Using indoor-rated lights outside risks water damage and short circuits. Overloading circuits with too many strands—especially incandescent—can trip breakers, so follow wattage guidelines and consider LED alternatives.
Exposed plug connections are vulnerable to moisture; always weatherproof and elevate them. Cords stretched across walkways create tripping hazards and wear out quickly—secure them properly or reroute.
Lastly, poorly anchored light strands may sag or break in the wind. Use clips or zip ties to keep everything secure and tidy. Avoiding these errors helps ensure a safer, longer-lasting, and better-looking holiday display.
Energy-Saving Tips
LED lights are a game-changer for holiday decorating. They use up to 80% less electricity than incandescent lights, produce less heat, and last for many more seasons. If you haven’t switched yet, now’s the time.
Timers and smart plugs help you avoid leaving the lights on all night. Set them to turn off a few hours after dark to save energy and extend the lifespan of your setup.
Also, remember to turn off the lights when no one’s home or during daylight hours—it saves electricity and reduces fire risk.
Frequently Asked Questions
Q: Can I plug outdoor Christmas lights into an indoor outlet?
Ans: Yes, but make sure to run the extension cord carefully and weatherproof the connection where it exits the house. Keep it protected from moisture and avoid pinching the cord in doors or windows.
Q: How many Christmas light strands can I plug together?
Ans: This varies by type. Traditional incandescent lights usually allow 3–5 strands in series, while LED lights often support more. Always check the packaging for safe connection limits.
Q: Do I need a special outlet for outdoor Christmas lights?
Ans: Absolutely. GFCI outlets are strongly recommended for outdoor use. They cut power instantly if any current leaks, protecting you from shock and fire.
Q: What should I do if my outdoor lights keep tripping the breaker?
Ans: This could indicate an overload, short circuit, or moisture problem. Unplug everything, dry all connections, and try plugging in fewer strands at a time.
Q: How do I protect outdoor light plugs from rain?
Ans: Use weatherproof plug protectors, elevate plugs off the ground, and wrap connections in plastic or electrical tape to shield from moisture.
Conclusion
Installing outdoor Christmas lights isn’t just about festive looks—it’s about safety, efficiency, and planning. Testing lights, using GFCI outlets, and weatherproofing connections are key to a reliable and dazzling display.
The right tools and setup extend performance and lifespan. Always prioritize safety with outdoor-rated gear, secure mounting, and protected plugs. A well-thought-out installation enhances your home’s holiday spirit while giving you peace of mind. Regular checks and proper takedown after the season help preserve your lights for years to come.
Happy decorating—and enjoy the glow of your well-lit, joyful outdoor wonderland!