Ceiling lights are essential in nearly every room, but their bare appearance can often feel stark or industrial. A well-chosen lampshade not only softens harsh lighting but also adds personality and warmth to your space.
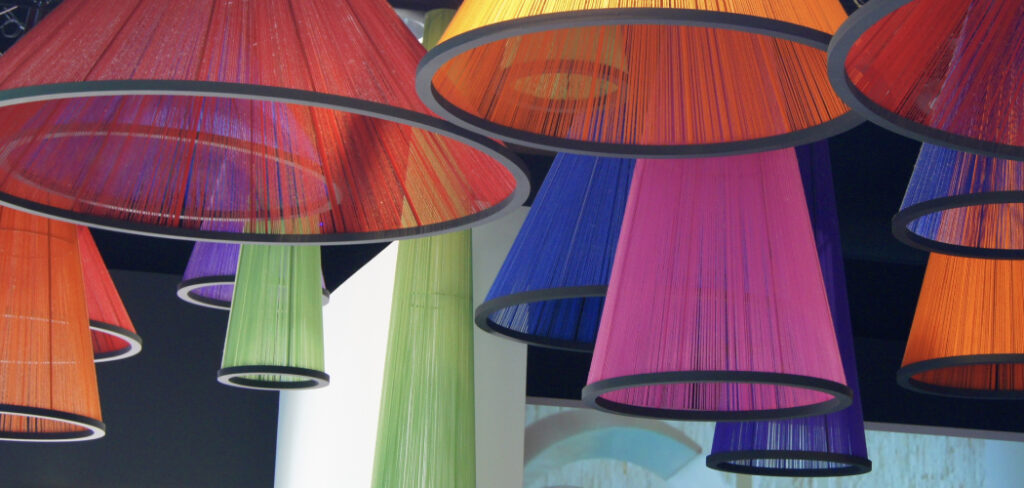
Whether you’re redecorating or upgrading a rental, adding a lampshade is a small project with a big impact. Installing a lampshade on a ceiling light is a straightforward DIY task, and with a bit of guidance, anyone can do it—even if you’re not particularly handy. Lampshades enhance the lighting ambiance, reduce glare, and bring a decorative finish that can tie your entire room together.
This article provides a comprehensive guide on how to put a lampshade on a ceiling light effectively. From simple fabric shades to elegant glass diffusers, the right shade makes a ceiling light feel complete.
Why Installing a Ceiling Lampshade is a Common DIY Task
One of the reasons this project is so popular among homeowners and renters alike is that it doesn’t require major rewiring or expensive tools. Most modern ceiling fixtures are designed to accept shades or adapters with ease. Whether you’re trying to hide a bare bulb or give your room a cozier vibe, this upgrade is both affordable and approachable. Plus, the visual change is almost immediate, making it a satisfying weekend project.
Types of Ceiling Lights Compatible with Lampshades
While not all ceiling fixtures are created equal, many support lampshades with the right fitting or adapter. Pendant lights, flush mounts, and semi-flush mounts are among the most common ceiling lights that work well with shades.
Fixtures that feature exposed bulbs or standard sockets are particularly easy to update, especially when they come with a threaded socket or a screw-on ring. Even chandeliers and chain-hung fixtures can accept lampshades with clip-on or fitted attachments. The key is ensuring the shade is balanced, secure, and allows for safe heat dissipation around the bulb.
Tools and Materials You’ll Need
Having the right tools can make the process much smoother. Here’s a list of essential items you’ll need for safely removing, attaching, and testing your new ceiling lampshade:

- The new lampshade
- Screwdriver (flathead or Phillips depending on fixture type)
- Ladder or step stool
- Protective gloves
- Lightbulb (if replacing)
- Lampshade holder or adapter
- Wire cutters or pliers
Safety First: Turn Off the Power
Before starting any electrical-related task, even something as simple as replacing a lampshade, it’s critical to turn off the power. Switch off the breaker that controls the light fixture, not just the wall switch. A non-contact voltage tester can help confirm that no electricity is flowing to the fixture.
Once the power is off, unscrew the bulb and take a moment to inspect the fixture. Make sure there are no loose wires, cracked components, or other signs of wear. A clean, intact fixture is essential for safely installing a new lampshade.
Understanding Lampshades and Ceiling Fixtures
Lampshades vary in shape and style, with drum, empire, square, and glass diffusers being common choices. Drum shades offer balanced light, while empire shades give a traditional look. Square designs suit modern decor, and glass or acrylic diffusers provide a sleek finish.
Fixtures like pendant lights, socket-style mounts, chain-hung lights, and chandeliers often support shades using screw-on, clip-on, or fitted adapters. Compatibility is key—check for fitting types like spider, UNO, clip-on, or fitter rings.
Accurate measurements and the right hardware (harps, brackets, or adapters) are essential for a secure fit. Always maintain safe bulb clearance to prevent heat buildup and ensure proper lighting performance.
8 Easy Steps on How to Put a Lampshade on a Ceiling Light
Step 1: Examine the Existing Fixture
Before you begin installing a lampshade, it’s crucial to understand your current ceiling light setup. Take a close look at the fixture to determine its bulb holder type—typically E26 or E27 for standard screw-in bulbs in most homes. These identifiers will help you choose compatible hardware and lampshades.
Also, check if your fixture has any existing shade support, like a threaded socket with a locking ring, or if it will require an adapter, harp, or bracket. This examination will save time and prevent mid-installation surprises by clarifying what type of fittings or accessories may be needed for your specific fixture.
Step 2: Remove the Existing Bulb or Cover
Once you’re familiar with your fixture, the next step is to remove the existing bulb and any covers. Carefully unscrew the bulb by turning it counterclockwise. If your ceiling light includes a glass dome, plastic cover, or decorative plate, follow the manufacturer’s instructions to detach it safely.
Use both hands and take care not to drop or crack the cover. After removal, wipe the socket area clean with a dry cloth. Dust and grime can interfere with the secure seating of the new shade or create uneven alignment. A clean fixture will not only look better but also help ensure the lampshade fits firmly and functions safely.
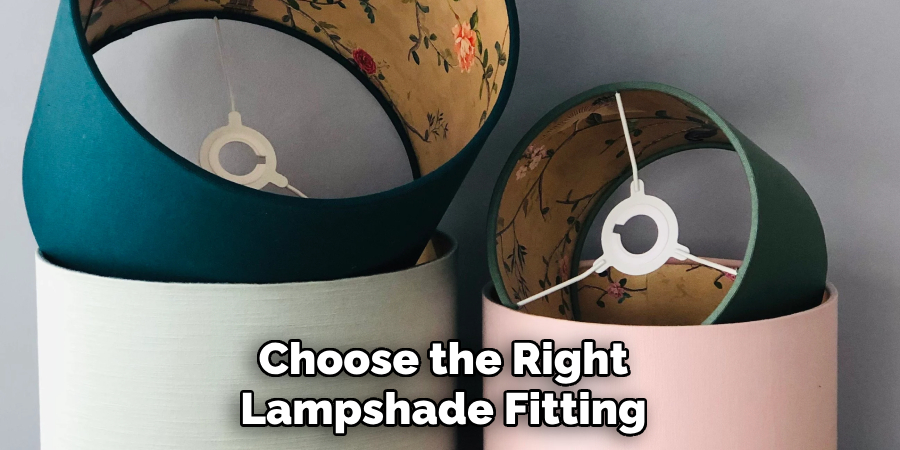
Step 3: Choose the Right Lampshade Fitting
With the old components out of the way, it’s time to select the appropriate lampshade fitting. Lampshades aren’t one-size-fits-all, so you must match the fitting type to your fixture. Common fittings include:
- Spider fitting – Requires a harp and is commonly used in table lamps but can be adapted for ceiling fixtures.
- UNO fitting – Sits directly on the socket and is secured by the bulb.
- Clip-on fitting – Clips directly onto the light bulb and is ideal for small chandeliers or pendant fixtures.
- Fitter ring (threaded) – Attaches to a threaded socket base using a locking ring.
If your shade and fixture don’t naturally match, don’t worry—adapters and converters are widely available. This step is key for ensuring compatibility, stability, and safety during and after installation.
Step 4: Install the Lampshade Holder or Bracket
Some lampshades, especially those with spider fittings, require additional support like a harp or bracket. If your installation calls for such a component, install it now. Secure the harp base to the light fixture or slide the bracket over the socket, depending on the design.
For threaded sockets, simply screw the adapter or ring into place. Use your hand to gently tighten and level it, ensuring the holder is straight and firmly seated. A loose bracket can cause the shade to wobble, tilt, or even fall, so take the time to get it right.
Step 5: Position the Lampshade
Now that your support hardware is installed, gently place the lampshade onto the fitting. Align it carefully so that it sits straight and centered. Whether you’re using a bracket, a ring, or a clip, visual balance matters here.
A crooked or tilted shade will not only look awkward but may also direct the light unevenly, creating unwanted shadows or glare. Use one hand to hold the shade while adjusting its alignment with the other. This step might require a few tweaks until everything is perfectly centered.
Step 6: Secure the Lampshade
Once positioned, it’s time to secure the lampshade to the fixture. For ring fittings, screw the threaded locking ring onto the socket over the lampshade’s center ring to hold it firmly in place. For clip-on types, press the shade gently onto the bulb so it grips the center securely.
Be careful not to apply too much pressure or overtighten any components, as this could crack the shade or damage the fixture. Your goal is a snug, stable fit that doesn’t shift when touched or bumped lightly.
Step 7: Reinsert or Replace the Light Bulb
Next, screw the light bulb back into the socket through the center of the lampshade. If your existing bulb is outdated or too hot for the shade material, consider replacing it with an energy-efficient LED bulb. LEDs stay cooler than incandescent bulbs and are ideal for fabric or paper lampshades.
Always check the recommended maximum wattage for your lampshade and fixture—this information is typically printed on a label inside the shade or near the socket. Never exceed this limit, as it could pose a fire hazard.
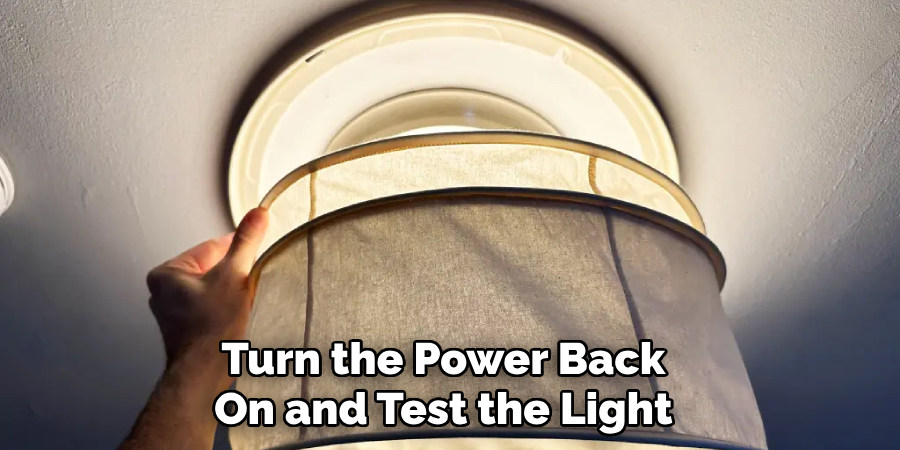
Step 8: Turn the Power Back On and Test the Light
With the bulb in place and the shade secured, it’s time for the final check. Go to your electrical panel and restore power to the circuit. Then, flip the light switch to test your work. The bulb should illuminate without flickering, and the shade should appear evenly aligned with no wobbling.
If the light seems uneven or the shade tilts, turn the light off and make small adjustments. Once everything looks good, you’ve successfully completed the installation—and given your ceiling light a stylish new upgrade.
Troubleshooting Common Issues
Shade doesn’t fit – Try a different adapter, fitting ring, or check the bulb socket size. E26/E27 sockets may require reducer rings or conversion kits for smaller fittings.
Lampshade sits unevenly – Inspect the bracket and check whether the fixture is crooked. Reinstall the holder or adjust the ring as needed.
Flickering or dim light – Ensure the bulb is tightly screwed in and compatible with the fixture. If the shade is too close to the bulb, it may cause overheating and dim output.
Shade keeps falling off – Recheck all fasteners and consider using rubber washers or a better bracket. Lightweight shades tend to be more secure on clip fittings.
Maintenance and Safety Tips

To ensure your new setup lasts, consider the following:
- Dust the lampshade regularly using a microfiber cloth
- Avoid high-wattage incandescent bulbs in fabric or paper shades
- Recheck fitting stability every few months
- Replace any broken parts or fixtures immediately
- Use gloves when replacing bulbs or adjusting fittings while the light is warm
Frequently Asked Questions
Q: What kind of lampshade can I use for a ceiling light?
Ans: Most ceiling-compatible lampshades are designed with UNO or spider fittings that attach using a socket ring. Pendant lights often support drum or conical shades.
Q: Can I put any lampshade on any ceiling light?
Ans: Not always. Compatibility depends on the fixture type, bulb socket, and lampshade fitting. Some may require adapters or special brackets.
Q: Do I need an electrician to install a ceiling lampshade?
Ans: If it’s just a lampshade installation without electrical work, you can do it yourself. However, for rewiring or replacing fixtures, a licensed electrician is recommended.
Q: Why is my lampshade tilting or loose?
Ans: This is usually due to improper fitting or lack of support. Check the locking ring, socket adapter, or balance of the shade to fix it.
Q: Can I use a fabric lampshade with a ceiling light?
Ans: Yes, but ensure it’s heat-resistant and paired with a low-heat bulb like an LED. Avoid enclosed fixtures that trap heat.
Conclusion
Adding a lampshade to a ceiling light is a simple, cost-effective way to elevate your room’s ambiance. It transforms stark overhead lighting into soft, inviting illumination. Whether you’re going for a modern minimalist vibe or a cozy vintage feel, there’s a shade that matches your aesthetic.
Always double-check fittings for compatibility, prioritize safety during installation, and consider heat management when choosing your bulb. Lampshades offer not only a decorative upgrade but also functional light diffusion, making your space more pleasant and practical.
For the best results, experiment with different styles, materials, and fittings until you find the perfect match. And if you’re ever unsure about your fixture’s wiring or stability, don’t hesitate to consult a professional.