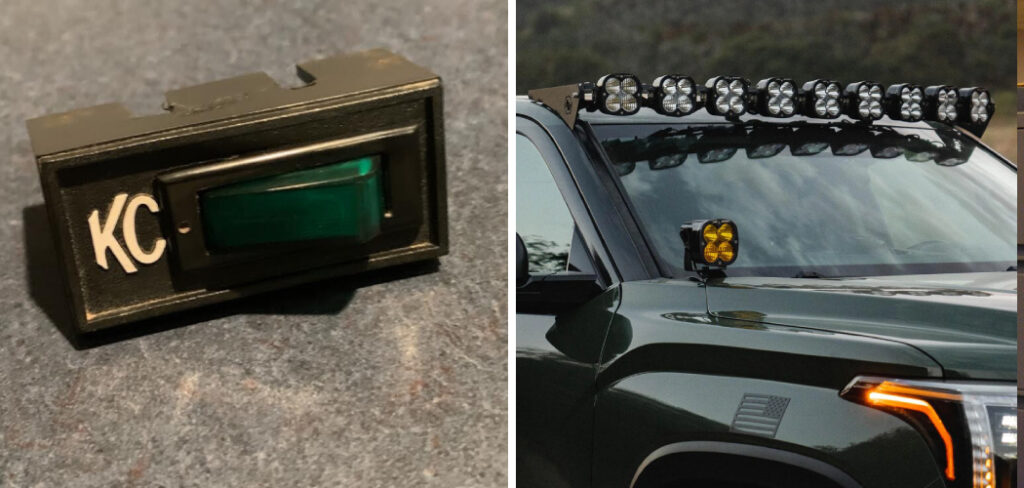
KC light switches are widely used in off-road vehicles, trucks, and utility setups to control auxiliary lighting safely and efficiently. They’re essential for visibility during night drives, worksite tasks, or emergencies.
However, like any electrical component, these switches can develop issues over time—such as flickering, unresponsiveness, or total failure—often due to wear, corrosion, wiring faults, or overload. A faulty KC switch not only reduces convenience but can also pose safety risks by compromising illumination or damaging your lighting system.
Regular inspection and timely repair are crucial to maintaining performance. This article will walk you through everything you need to know: the tools and materials required, safety precautions to observe, how to identify the root cause, and most importantly—how to repair KC light switch step by step.
Common Reasons KC Light Switches Stop Working
Before diving into the repair, it helps to understand what might be going wrong. Some issues are minor and easily addressed, while others may require a complete replacement.
Wiring Problems: The most frequent culprits behind malfunctioning light switches are frayed, loose, or disconnected wires. These issues often arise due to vehicle vibration, poor installation, or prolonged exposure to heat.
Corroded Terminals: Off-road environments are brutal—dust, mud, and water can penetrate the switch housing and corrode terminals over time. This restricts electrical conductivity and eventually leads to failure.
Blown Fuse or Relay: Sometimes, the switch itself is fine, but a fuse or relay in the circuit has blown due to a surge or overload. It’s a simple fix but easy to overlook during troubleshooting.
Faulty Switch Internals: Toggle switches can wear out, especially if they’re frequently used. The internal mechanism may degrade, resulting in poor contact or failure to stay in position.
Incorrect Installation or Overload: If the switch is wired incorrectly or used with high-wattage lights beyond its rated capacity, it may overheat or short-circuit.
Tools and Materials Needed
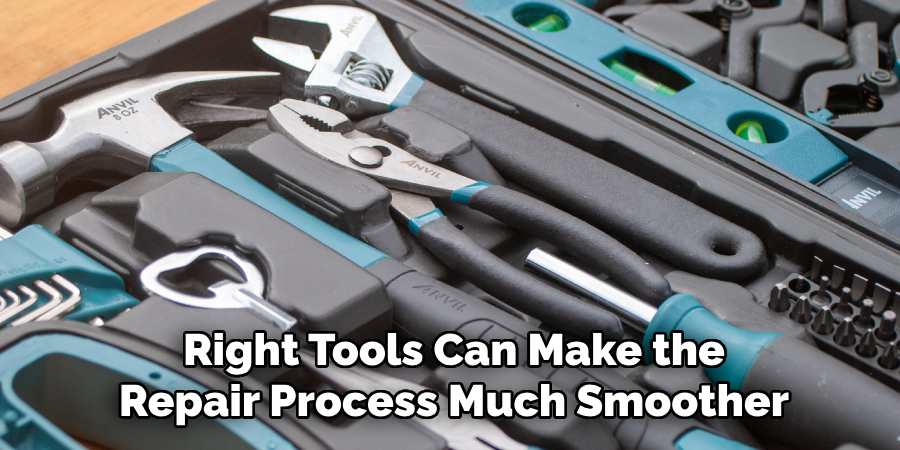
Having the right tools can make the repair process much smoother. Here’s a list of essential items you’ll need for safely removing, testing, and reinstalling your KC light switch:
- Screwdriver set (Phillips and flathead)
- Multimeter or circuit tester
- Wire stripper and crimper
- Replacement KC switch (if needed)
- Electrical tape or heat shrink tubing
- Soldering iron (for permanent wire repair)
- Safety gloves and protective eyewear
Safety Precautions Before You Start
Before you begin any electrical work on your vehicle, always prioritize safety. Start by disconnecting the vehicle’s battery to prevent electrical shock or accidental short circuits.
Make sure the lights are turned off and have cooled down if recently used. Use insulated tools and avoid working in wet or damp environments. If you’re unsure about your vehicle’s wiring diagram or switch layout, consult the user manual or a wiring schematic for your specific model. This can prevent costly errors during the repair.
9 Easy Steps on How to Repair KC Light Switch
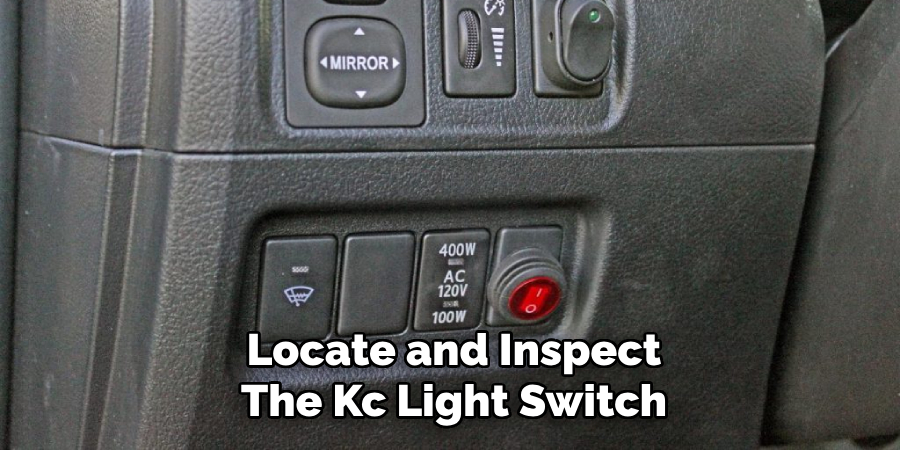
Step 1: Locate and Inspect the KC Light Switch
Begin by identifying the switch on your dashboard or auxiliary control panel. Once located, perform a visual inspection. Look for signs of wear, melting, or corrosion on the faceplate or surrounding area. Gently tug the connected wires to see if any are loose or dangling. These preliminary checks can help you determine whether the issue lies in the switch itself or in the wiring connected to it.
Step 2: Test the Switch with a Multimeter
To verify if the switch is functional, set your multimeter to continuity mode. Disconnect the power and remove the switch from the circuit. Place the probes on the terminals of the switch and toggle it on and off. If the multimeter doesn’t register a change or shows no continuity in either position, the switch is likely defective and should be replaced.
Step 3: Remove the KC Light Switch
Once you’ve identified the switch as faulty or needing deeper inspection, remove it carefully. Use the appropriate screwdriver to unscrew the mounting bracket or dashboard panel. Gently pull the switch out from the opening. Take a photo of the wiring configuration or label each wire to remember their correct position. This step is crucial to avoid confusion during reinstallation.
Step 4: Inspect and Repair Wiring Connections
With the switch removed, inspect the wires and terminals. Look for melted insulation, exposed copper, or signs of corrosion. If the ends are frayed or damaged, cut them off and strip fresh wire. You can either crimp on new connectors or solder the joints and cover them with heat shrink tubing for a more durable solution. Be sure the repairs are solid and insulated before continuing.
Step 5: Replace or Repair the Switch
If you’ve determined that the switch is faulty, replace it with a compatible KC switch. Be sure it matches the original in terms of amperage, voltage, and switch type. If you decide to reuse the old switch after cleaning the terminals, retest it with the multimeter. Once you’re confident in its functionality, reinstall it into the mounting position.
Step 6: Reconnect the Wiring
Refer to the photo or labels you made earlier and connect each wire to the correct terminal. Make sure all terminals are tight and secure. A loose connection can lead to intermittent failures or heat build-up.
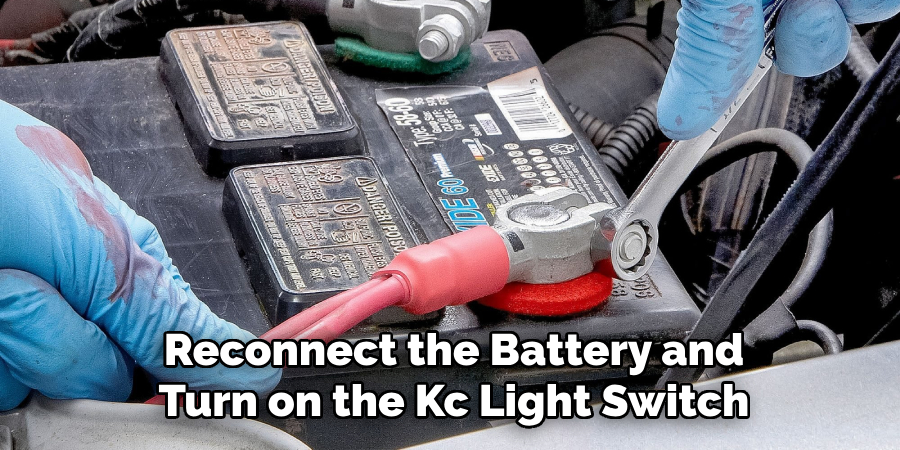
Step 7: Test the Switch Operation
Reconnect the vehicle’s battery and turn on the KC light switch. Observe the lights to see if they respond. Also, touch the switch after a few minutes of operation—if it feels hot or the lights flicker, recheck the wiring and terminals for tightness or short circuits.
Step 8: Secure the Switch in Place
If the switch is working properly, screw it back into the panel securely. Tuck in the wires neatly behind the panel to avoid pinching or rubbing. You can use zip ties to bundle wires and keep them from moving around during vehicle operation.
Step 9: Final Safety Check
Before wrapping up, double-check all connections. Ensure the switch isn’t hot, the wires aren’t exposed, and everything is firmly mounted. Test the switch while the vehicle is in motion (in a safe environment) to make sure the repair holds up under real-world conditions.
Troubleshooting Tips
If the lights still don’t work after completing the above steps, it’s time to broaden your diagnostic approach. Check the vehicle’s fuse box for any blown fuses related to the lighting circuit. Inspect the relay controlling the auxiliary lights—these are often overlooked but critical components.
Verify the ground connection for the circuit, as a poor ground can prevent current from flowing properly. Lastly, test for voltage drop across the circuit using your multimeter to identify any hidden resistance or power loss.
When to Replace Instead of Repair
While many KC light switches can be repaired, there are times when replacement is the smarter and safer option. If the switch is physically cracked, melted, or rusted internally, it should be discarded. Persistent issues like flickering lights, overheating, or repeated failure even after repairs are strong indicators that a new switch is needed. Also, if you’ve upgraded your lights to high-powered LEDs or HID systems, make sure your switch is compatible to prevent overload.
Preventive Maintenance Tips
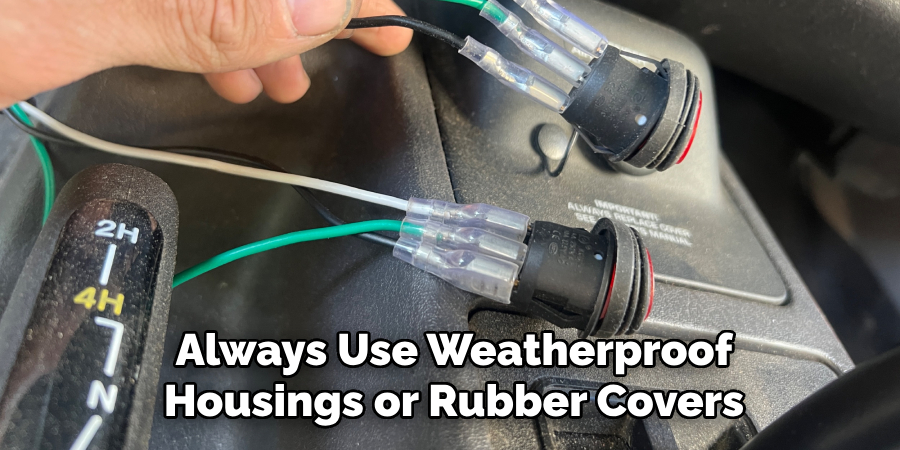
To extend the life of your KC light switch, adopt a few preventive practices. Always use weatherproof housings or rubber covers, especially if the switch is exposed to moisture or dust. Check connections every few months and clean terminals if corrosion begins to appear. Applying dielectric grease to terminals can help block moisture and corrosion. Most importantly, avoid overloading the switch by exceeding its rated wattage—calculate your lighting load before connecting.
Frequently Asked Questions
Q: How do I know if my KC switch is bad or it’s just a wiring issue?
Ans: Use a multimeter to test continuity. If the switch doesn’t show a connection when toggled, it’s likely bad. Also, inspect for loose or corroded wires.
Q: Can I use any toggle switch to replace a KC switch?
Ans: Not recommended. KC switches are designed for specific amperage and environments. Always replace it with a compatible KC or manufacturer-recommended switch.
Q: Do I need to solder the wires, or are crimp connectors enough?
Ans: Crimp connectors are sufficient for most users, but soldering offers a more permanent and vibration-resistant solution, especially for off-road use.
Q: Why does my KC switch get hot when in use?
Ans: This could indicate a bad connection, overloaded switch, or internal short. Stop using it immediately and inspect for damage.
Q: Can water damage the KC light switch?
Ans: Yes. Moisture can corrode terminals or cause shorts. Always use weatherproof covers if the switch is exposed to rain, mud, or snow.
Conclusion
Repairing a KC light switch is a practical and manageable task for most vehicle owners, especially if you’re comfortable with basic tools and electrical testing. By understanding the common reasons these switches fail—such as loose wiring, corrosion, or overload—you can diagnose the problem quickly and take the right action. The step-by-step process we’ve covered helps ensure a smooth and safe repair, and following proper safety precautions minimizes risk during the job.
While many issues can be solved with a simple wire fix or terminal cleaning, don’t hesitate to replace the switch if it’s damaged beyond repair. Preventive maintenance like weatherproofing and periodic checks will go a long way in extending the lifespan of your KC lighting system. And when in doubt, consulting a professional is always a safe bet—especially when dealing with complex vehicle wiring.