A chandelier serves as a striking focal point in any room, adding sophistication and style to the space. One of its key components is the light cover, which helps diffuse light evenly, enhances the overall aesthetic appeal, and protects the bulbs from dust and damage.
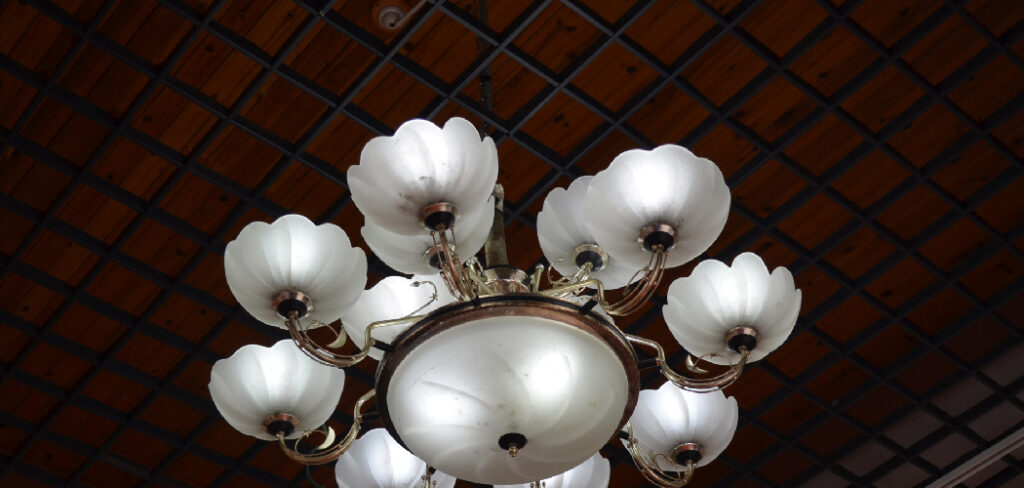
However, chandelier light covers can become outdated, cracked, or less effective over time, necessitating a replacement. Whether you’re upgrading for a modern look, improving brightness, or fixing a broken cover, the replacement process is simple and manageable with the right tools and precautions.
This article provides a comprehensive guide on how to replace a chandelier light cover effectively and ensure your fixture remains a beautiful and functional element of your home decor.
Understanding Chandelier Light Covers
What Is a Chandelier Light Cover?
A chandelier light cover serves multiple purposes, including diffusing the light for a softer glow, enhancing the fixture’s overall appearance, and providing protection for the bulbs. Different designs and materials can significantly impact the ambiance of a room.
Different Types of Chandelier Light Covers
- Glass Shades: Available in clear, frosted, or stained glass for various lighting effects.
- Crystal Covers: Often cut or beaded, providing a luxurious look.
- Fabric Shades: Includes drum and empire styles, offering a soft, diffused light.
- Metal Covers: Industrial-style or decorative designs that add a modern touch.
- Plastic or Acrylic Covers: Lightweight and available in contemporary designs.
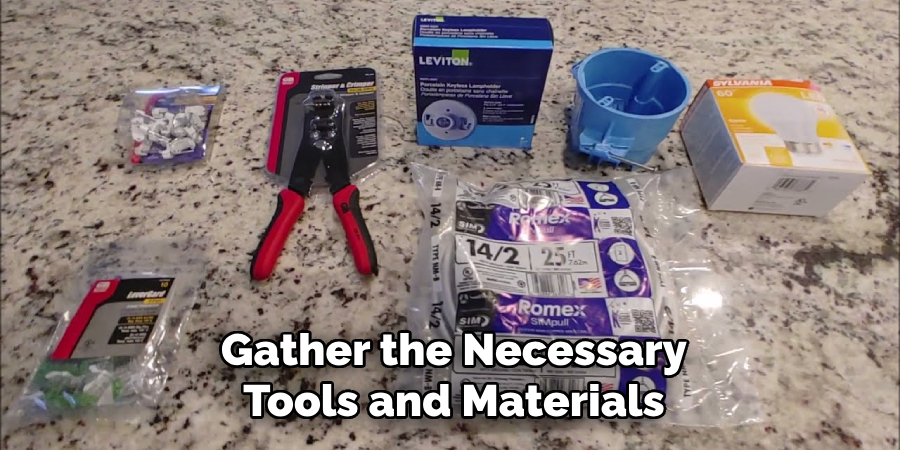
Tools and Materials Needed
Essential Tools
- Screwdriver
- Pliers
- Ladder or step stool
- Work gloves
- Safety glasses
Replacement Materials
- New chandelier light cover
- Screws or mounting brackets
- Light bulbs
Optional Items for Cleaning & Maintenance
- Microfiber cloth
- Glass cleaner or mild soap
- Soft brush
Safety Precautions Before Replacing the Light Cover
Turning Off the Power
Before starting any work, turn off the power at the circuit breaker to avoid electrical shocks. Simply switching off the light switch is not enough, as residual current may still be present. Use a voltage tester to ensure there is no electricity flowing to the fixture before proceeding.
Working with a Secure Ladder
If the light fixture is positioned high, use a sturdy, well-balanced ladder. Ensure it is on a flat surface to prevent wobbling. If you are working with a chandelier or ceiling light, have someone assist you by holding the ladder for added safety.
Handling Fragile Components Carefully
Glass or crystal covers are delicate and can break easily. When removing them, handle with care and place them on a soft towel or cushioned surface to prevent damage. Wearing gloves can help improve grip and prevent smudges on the glass.
6 Easy Steps on How to Replace a Chandelier Light Cover
Step 1: Removing the Old Chandelier Cover
Before installing a new chandelier cover, the first step is to remove the existing one. This process requires careful handling to prevent damage to the fixture or injury to yourself. Start by locating the screws or fasteners that hold the cover in place. These are usually found at the base of the chandelier or around the rim of the cover. Depending on the design, you may need a screwdriver or pliers to loosen them.
As you begin loosening the screws, support the cover with one hand to prevent it from falling unexpectedly. If the chandelier is particularly heavy or fragile, consider enlisting the help of another person. Once the final screw is loosened, carefully remove the cover and set it aside on a soft surface, such as a towel or cushioned table. This precaution prevents scratches or breakage in case you need to reuse it.
Step 2: Cleaning the Chandelier Before Installation
After removing the old cover, it is essential to clean the chandelier thoroughly before installing the new one. Over time, dust, dirt, and even insects can accumulate on the fixture, reducing the brightness of the light and diminishing its overall aesthetic appeal.
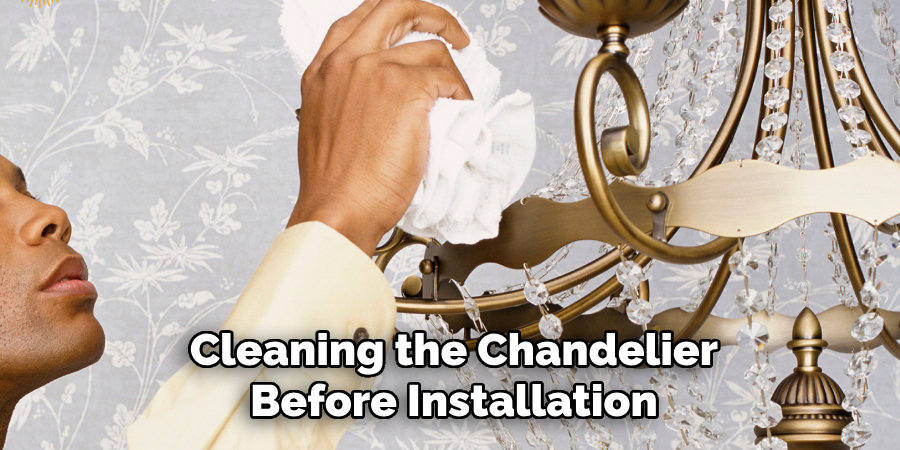
Start by wiping down the chandelier frame with a dry or slightly damp microfiber cloth. Be gentle, especially if the chandelier has delicate components such as glass or crystal elements. Next, clean the bulbs and sockets to remove any dust or residue that might hinder proper illumination. If necessary, use a mild cleaning solution to enhance brightness. Finally, check inside the fixture for any debris, such as cobwebs or dead insects, and remove them. A properly cleaned chandelier will not only look better but also function more efficiently.
Step 3: Installing the New Chandelier Cover
Now that the fixture is clean, you can proceed with installing the new chandelier cover. Begin by aligning the new cover with the mounting holes on the chandelier. Ensure that it fits properly before securing it with screws or brackets.
When tightening the screws, do so firmly but not excessively. Over-tightening could cause damage to the cover or the fixture itself. After securing the cover, double-check the stability and alignment. If it appears slightly off-center, make small adjustments before fully tightening the screws. Ensuring a secure and even fit at this stage will prevent future issues such as wobbling or misalignment.
Step 4: Testing the New Cover
Once the new cover is in place, it is important to test its functionality. Restore power to the fixture by turning the electricity back on and observe how the light interacts with the new cover. Check if the cover is properly secured and whether it affects the brightness or distribution of light.
If any issues arise, such as the cover appearing loose or causing an uneven light pattern, make the necessary adjustments. Sometimes, a slight repositioning is all it takes to achieve an optimal result. Testing at this stage ensures that you won’t have to revisit the installation process later.

Step 5: Securing and Adjusting the New Cover
Before finalizing the installation, take a moment to double-check the alignment and security of the new cover. If your cover has adjustable brackets, make sure they are positioned evenly to avoid an imbalanced appearance.
Gently wiggle the cover to confirm that it is securely in place. If there is any movement, tighten the screws slightly without overdoing it. A stable and well-positioned cover enhances the overall look of the chandelier and ensures long-term durability.
Step 6: Checking for Even Light Distribution
After installation, turn the power back on and observe how the light is distributed. Uneven lighting can detract from the chandelier’s aesthetic and functionality.
If the light appears dim in certain areas or overly bright in others, consider adjusting the cover slightly. The positioning of bulbs may also impact the distribution of light. In some cases, switching to different bulb types, such as LED or frosted bulbs, can improve brightness and create a more even glow. Ensuring proper light distribution enhances both the visual appeal and efficiency of the chandelier.
By following these steps, you can successfully replace a chandelier cover while maintaining the fixture’s functionality
Troubleshooting Common Issues
Troubleshooting common issues with light covers involves several steps to ensure proper functionality. If the cover doesn’t fit, verify the size and shape, and adjust the mounting brackets as needed. For loose or wobbly covers, tighten the screws securely and add rubber washers for extra stability. If the cover blocks too much light, switch to a clear or lightly frosted cover and consider using brighter bulbs like LEDs or adjusting the bulb type. If you’re struggling to remove an old cover, apply lubricant to stuck screws and tap gently with a rubber mallet to loosen it.
Additional Tips for Maintenance and Longevity
For maintaining the longevity of your light fixtures, regular cleaning is essential. Use a microfiber cloth or a mild cleaner to avoid damaging the surface, and refrain from using harsh chemicals on delicate materials. Periodically inspect your light covers for signs of wear and tear, such as loose screws or damaged mounts, and promptly replace any cracked or discolored covers. To keep your space fresh, consider upgrading your chandelier covers over time. Explore new styles and materials that complement your decor, and update your covers to match seasonal changes or room renovations for a more cohesive look.

Frequently Asked Questions
Q: Can I replace a chandelier light cover without removing the entire chandelier?
Ans: Yes, in most cases, you can replace the cover without removing the chandelier. However, turn off the power first for safety.
Q: Are chandelier light covers universal?
No, they come in different sizes, shapes, and mounting styles. Always check the specifications before purchasing a replacement.
Q: Can I use LED bulbs with my new chandelier light cover?
Yes, most chandelier covers are compatible with LED bulbs. Ensure the cover allows proper airflow to avoid heat buildup and ensure safe operation with LED lights.
Q: What should I do if my chandelier light cover keeps falling off?
Tighten the mounting screws or clips securing the cover. If the cover doesn’t fit snugly, use rubber washers to create a more secure hold and prevent it from falling off.
Conclusion
Replacing a chandelier light cover is a simple yet effective way to refresh your home’s lighting and aesthetics. By following the right steps and safety precautions, you can complete this DIY project with ease. Regular maintenance and occasional upgrades will ensure your chandelier remains a stunning focal point for years to come.