Driving at night or in poor weather requires headlights that work at their best, and in the U.S., they’re not just essential for safety but also a legal requirement. Dim, flickering, or burned-out bulbs increase the risk of accidents and can even lead to traffic tickets.
Halogen bulbs, while reliable, don’t last forever—they eventually burn out, produce uneven lighting, or become noticeably dimmer. The good news is that replacing them is a simple maintenance task most drivers can handle on their own.
With just a few tools and some patience, you can keep your headlights performing at their best. Before diving into the step-by-step process, it helps to understand how to replace a halogen bulb in a car, as well as why these bulbs remain one of the most common choices in vehicles across the USA.
Understanding Halogen Bulbs in Cars
Halogen bulbs are a type of incandescent light that use halogen gas to increase brightness and extend lifespan. They’ve been the standard in cars for decades because they’re affordable, easy to replace, and widely available at U.S. retailers like AutoZone, O’Reilly Auto Parts, and Walmart.
Pros and Cons of Halogen Bulbs
The advantages are clear: halogen bulbs are inexpensive, provide a warm white light, and are simple to install. On the downside, they consume more power than LED or HID options and don’t last as long. Halogen bulbs typically last between 450 and 1,000 hours, depending on usage and driving conditions.
Signs Your Bulb Needs Replacement
You’ll know it’s time for a change if your headlights start to flicker, appear dim, or if only one side is working. Sometimes the glass on a failing halogen bulb even darkens inside, signaling it’s near the end of its life.
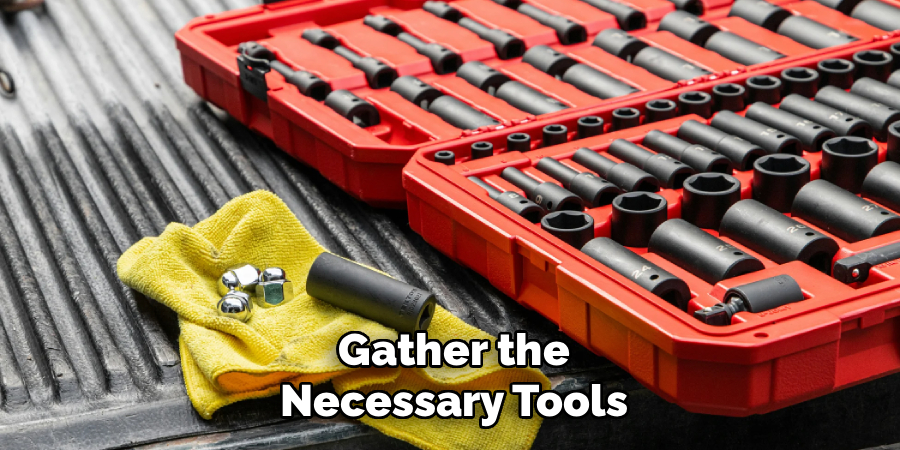
Tools and Materials Needed
Having the right tools can make the replacement process much smoother. Here’s a list of essential items you’ll need for safely removing and reinstalling your halogen bulbs:
- Gloves
- Screwdriver set (flathead or Phillips)
- Socket set or wrench
- Owner’s manual (for instructions)
- Replacement halogen bulb (correct size for vehicle)
- Clean microfiber cloth
Safety Precautions Before Starting
Before you roll up your sleeves, safety comes first. Always turn off the vehicle completely and remove the keys. Wait until the headlights cool down since bulbs can get extremely hot after use. For extra security, disconnect the battery—this prevents accidental electrical issues while working.
Make sure you’re working in a well-lit, stable environment such as your garage or driveway. And here’s a golden rule: never touch the glass of the new bulb with your bare hands, as oils from your skin can create hot spots that shorten its lifespan.
7 Easy Steps on How to Replace a Halogen Bulb in a Car
Replacing a halogen bulb might sound intimidating at first, but once you go through the process step by step, you’ll realize it’s simpler than expected.
Step 1: Identify the Correct Bulb Type
The very first thing you need to do is determine what type of halogen bulb your car uses. Halogen bulbs come in several sizes—like H1, H4, H7, and more—and not all are interchangeable. Installing the wrong one won’t work and could even damage the headlight assembly.
The easiest and most reliable way to find out the right type is to check your vehicle’s owner’s manual. If you don’t have the manual handy, a quick online search using your car’s make, model, and year will usually bring up the correct bulb type. This step may seem small, but skipping it is one of the most common mistakes people make when replacing bulbs.
Step 2: Open the Hood and Locate the Headlight Assembly
Once you’ve got the right bulb, it’s time to get under the hood. Pull the hood-release latch inside your vehicle, then prop the hood open with the support rod. With the engine bay exposed, locate the back side of the headlight assembly.
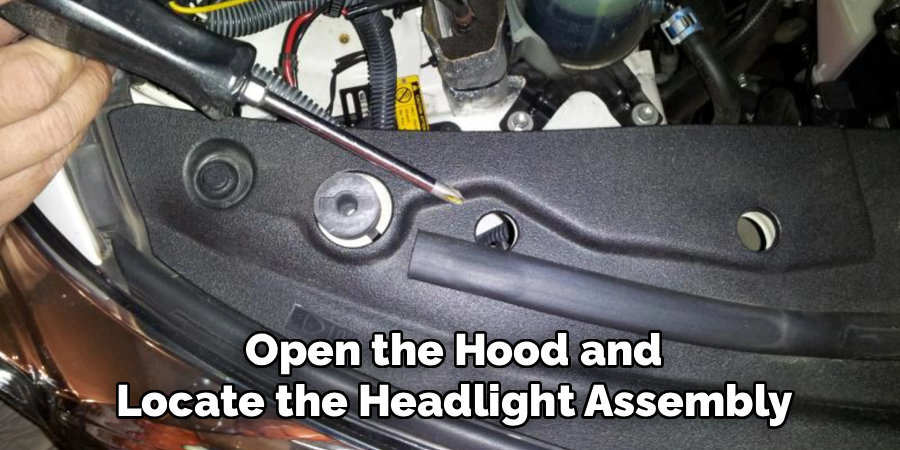
Depending on your car, you might see a dust cover, rubber boot, or even a small plastic panel that needs to be removed before you can access the bulb. Don’t worry—this part usually just involves pulling or twisting off a cover and doesn’t require any special tools.
Step 3: Disconnect the Power Connector
Behind the bulb, you’ll find a wiring harness that delivers power to the light. This is connected by a clip or tab that you need to press or pinch to release. Be gentle here—pulling too hard on the wires can damage the connector or the harness itself. If the connector feels stuck, try gently wiggling it while pressing the clip rather than forcing it out. Remember, you want to work with the car’s design, not against it.
Step 4: Remove the Old Halogen Bulb
Now that the power is disconnected, it’s time to remove the bulb. Some bulbs twist out with a counterclockwise turn, while others are held in place with a retaining spring or clip. Take your time and pay attention to how it’s secured. Once you’ve unlocked it, carefully pull the bulb out. You might notice a blackened glass envelope or a broken filament—both are signs that the bulb is dead and due for replacement.
Step 5: Install the New Halogen Bulb
Installing the new bulb is where precision matters. Never touch the glass part of the halogen bulb with your bare fingers; oils from your skin can create hot spots and shorten the bulb’s life. Always hold it by the metal base.
If you accidentally touch the glass, clean it with rubbing alcohol and a microfiber cloth before continuing. Align the bulb properly with the socket and insert it carefully, making sure it’s seated all the way. Depending on the setup, you’ll either twist it into place or secure it with a clip or spring.
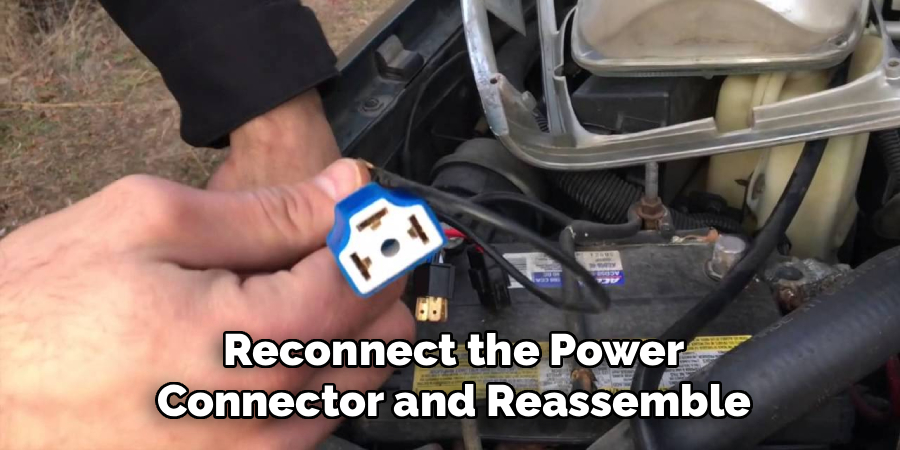
Step 6: Reconnect the Power Connector and Reassemble
With the bulb firmly in place, reconnect the wiring harness by plugging it back into the rear of the bulb. You should feel or hear a small click when it’s fully seated. If you removed a dust cover or any other protective piece earlier, reinstall it now. Give everything a light tug to ensure it’s all snug and secure before moving on.
Step 7: Test the New Bulb
The final step is to make sure all your hard work paid off. Turn on your headlights from inside the car and check that the new bulb lights up. Stand in front of the car to see if both headlights look equally bright and are aimed properly. If one still seems dim or flickers, you may have an issue with the wiring or a blown fuse. In most cases, though, you’ll be rewarded with a crisp, clear beam and the satisfaction of having done it yourself.
Common Mistakes to Avoid
Replacing halogen bulbs isn’t difficult, but there are a few pitfalls you’ll want to dodge. Many beginners accidentally touch the bulb glass with bare hands, shortening its life. Others replace only one bulb, leaving the headlights mismatched in brightness.
Another common mistake is forgetting to check the headlight aim after replacement. Misaligned headlights can blind oncoming drivers or reduce your own visibility. Also, resist the temptation to use excessive force on delicate clips or connectors—they’re more fragile than they look. And above all, don’t skip disconnecting the battery.
When to Consider Professional Help
Sometimes, replacing a halogen bulb is harder than it seems. In compact cars or newer models, headlight assemblies are tucked into tight spaces that may require partial removal of the bumper or other components. If your bulbs burn out unusually fast, that could signal an underlying wiring or fuse issue best handled by a professional.
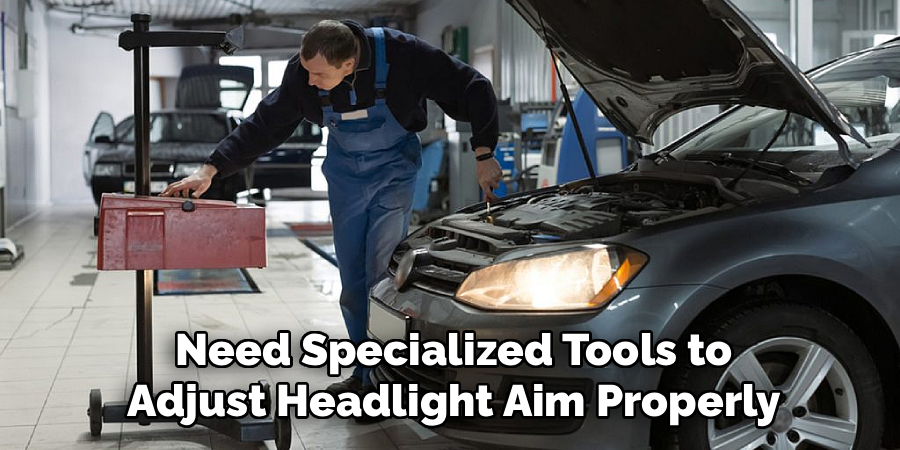
You may also need specialized tools to adjust headlight aim properly. If you’re not confident in dealing with these challenges, visiting a mechanic or auto shop is a smart choice.
Short Personal Tips
Here’s where I’ll share a little from personal experience. Always replace both bulbs at the same time, even if only one is out. I’ve learned the hard way that the other usually fails soon after, and it saves you an extra trip to the store.
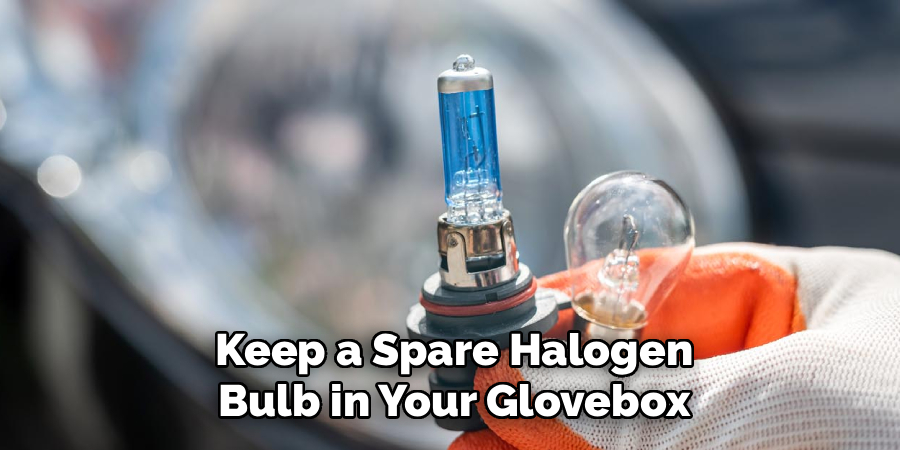
Another tip: keep a spare halogen bulb in your glovebox. On long U.S. road trips, especially if you’re driving through rural areas with few service stations, having a backup bulb can save you from a stressful night drive.
If you’ve got big hands, you’ll appreciate thin mechanic’s gloves—tight spaces around the headlight can be frustrating otherwise. And here’s a simple trick: after installation, park in front of your garage door and turn on the lights. It’s an easy way to confirm the beam is even without fancy tools.
Lastly, buy from trusted U.S. retailers like AutoZone, Walmart, or O’Reilly. I once bought cheap bulbs online that burned out in under a month—lesson learned. Stick with reliable brands for peace of mind.
Frequently Asked Questions
Q: What is the average lifespan of a halogen car bulb?
Ans: Most halogen bulbs last between 450 and 1,000 hours, depending on driving habits and weather conditions.
Q: Can I replace a halogen bulb with an LED bulb?
Ans: Yes, but be cautious. Some states in the U.S. restrict aftermarket LED conversions unless the entire headlight assembly is designed for it. Always check your local laws.
Q: Do I need to replace both headlights if only one bulb goes out?
Ans: It’s not mandatory, but it’s highly recommended. Replacing both ensures even brightness and consistent visibility.
Q: Why should I avoid touching the glass part of the halogen bulb?
Ans: Oils from your skin create hot spots on the glass, which can cause the bulb to fail prematurely.
Q: How much does it cost to replace a halogen bulb in the USA?
Ans: DIY replacement usually costs $15–$30 per bulb. At a mechanic or dealership, expect $50–$100 per bulb including labor.
Conclusion
Replacing a halogen bulb may sound intimidating, but in reality, it’s one of the simplest DIY car maintenance tasks you can do. With the right tools, a little patience, and careful handling, you can save money and get your headlights shining bright again in under an hour.
The key lies in following safety precautions, avoiding common mistakes, and always double-checking your work before heading out on the road. Keeping your headlights in good condition not only ensures your safety but also keeps you compliant with U.S. driving laws.
So, the next time a headlight goes out, don’t panic. With this guide, you have everything you need to confidently replace your halogen bulbs at home. And if things feel too complicated, remember—there’s no shame in seeking professional help.