Smart lighting adds convenience and control to our homes, and Merkury bulbs by Geeni stand out for their affordability and compatibility with Alexa and Google Home. Like all smart devices, these bulbs may occasionally need a reset—especially when switching networks, facing connection issues, or preparing them for a new user.

Though it might seem technical, resetting a Merkury bulb is actually simple once you know the steps. Whether you’re troubleshooting or reconfiguring, a proper reset restores the bulb to factory settings and ensures smooth performance.
This guide will walk you through everything from understanding how to reset merkury light bulb and common troubleshooting tips, helping you get your smart lighting back on track quickly and easily.
Understanding Merkury Light Bulbs
Merkury light bulbs, part of the Geeni smart home lineup, offer premium features like voice control, customizable brightness, and color options—all without needing a separate hub. They connect directly to a 2.4GHz Wi-Fi network and work seamlessly with the Geeni app, Google Assistant, and Alexa.
Available in soft white and color-changing models, they suit both functional and decorative lighting needs. However, like any smart device, they may require a reset—especially when switching Wi-Fi networks, transferring ownership, or facing connectivity or firmware issues.
Resetting restores factory settings and resolves most problems, making the bulb ready for fresh setup. Understanding how these bulbs work and when to reset them ensures a smooth and reliable smart lighting experience.
Types of Merkury Light Bulbs and Reset Methods
Soft White vs. Color Changing vs. LED Strip
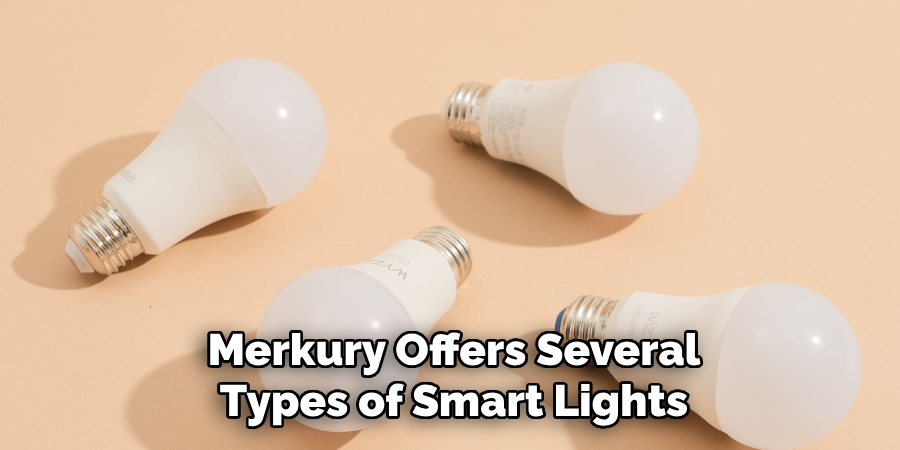
Merkury offers several types of smart lights, including soft white bulbs, RGB color-changing bulbs, and LED strips. While the reset process is largely the same across models, the blinking behavior may differ slightly during reset. For instance, some bulbs may blink white while others flash in color.
Two Reset Modes
Merkury bulbs support two reset modes:
- Easy Mode (Quick Connect): In this mode, the LED blinks slowly and is best suited for most modern routers.
- AP Mode (Manual Connect): The LED blinks rapidly, and this mode is ideal when Easy Mode fails to establish a connection. It allows for manual configuration through a hotspot connection.
Understanding which mode your bulb enters during reset helps you choose the correct connection method in the app.
Necessary Tools and Materials
Having the right tools can make the resetting process much smoother. Here’s a list of essential items you’ll need for safely resetting and reconnecting your Merkury light bulb:
- A functioning 2.4GHz Wi-Fi connection
- A lamp or fixture with a standard switch
- Your smartphone with the Geeni app installed
- Access to your Wi-Fi network password
7 Easy Steps on How to Reset Merkury Light Bulb
Resetting your Merkury light bulb can be done in a few simple steps. Here’s how to do it correctly:
Step 1: Turn the Bulb On and Off Repeatedly
The reset process begins with a physical power cycle. Locate the switch that controls the Merkury bulb—this could be a wall switch or a switch on the lamp or light fixture. Make sure the bulb is firmly screwed in and powered.
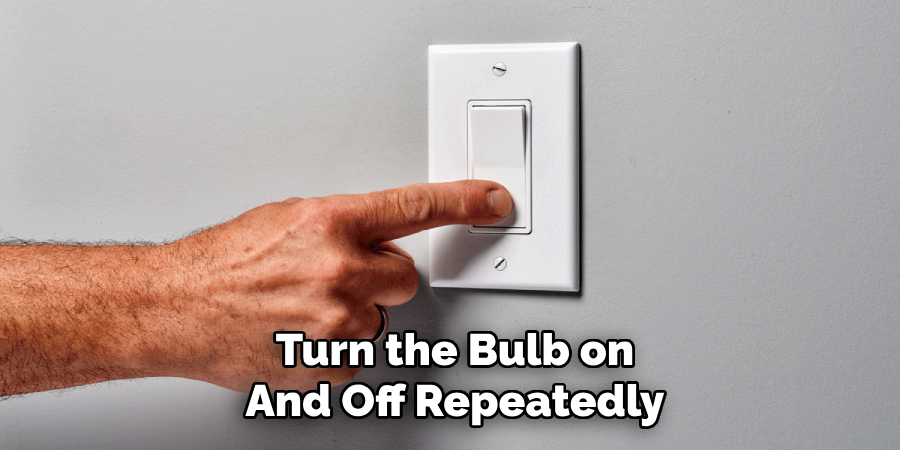
Now, turn the bulb on and off three times in a row, pausing for about one second between each action. Timing is important here, so avoid rushing. The correct sequence should look like this:
ON → wait 1 second → OFF → wait 1 second → ON → wait 1 second → OFF → wait 1 second → ON
After completing this cycle, leave the bulb on and observe it closely.
Step 2: Look for Flashing Pattern
Following the power cycling, the bulb should begin to blink. This blinking is an indication that the bulb has entered pairing mode.
There are two types of blinking patterns to watch for:
- Slow blinking: This indicates that the bulb is in Easy Mode, which is typically the default for new devices and ideal for most home routers.
- Rapid blinking: This means the bulb has entered AP Mode, which is a manual setup mode useful when Easy Mode doesn’t work.
If the bulb doesn’t blink at all, or just remains steadily lit, it likely means the timing of your on/off cycles was off. Repeat Step 1 carefully and make sure you pause appropriately between toggles.
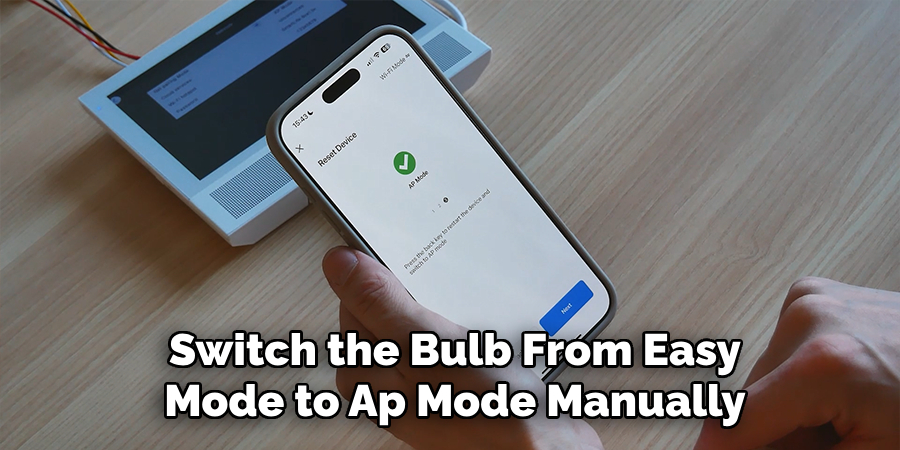
Step 3: For AP Mode – Repeat the Cycle
If you need to use AP Mode (usually when Easy Mode fails), you’ll need to switch the bulb from Easy Mode to AP Mode manually. To do this, perform another set of three on/off cycles, just like in Step 1.
Once done, the bulb’s blinking should change from slow to fast. This change in blinking speed confirms that the bulb is now in AP Mode, ready for a more manual connection method.
Step 4: Open the Geeni App
Now that the bulb is in pairing mode, open the Geeni app on your smartphone or tablet. If you haven’t installed it yet, you can download it for free from the Google Play Store or Apple App Store.
Once inside the app, tap the “+” icon or “Add Device” option. This will begin the process of adding a new device to your Geeni account.
Step 5: Choose the Bulb Type
The app will ask you to select the type of device you’re trying to add. Tap on “Smart Lighting” from the available categories.
From here, follow the on-screen instructions:
- If your bulb is in Easy Mode (slow blinking), the app will attempt to auto-detect and pair with the bulb.
- If the bulb is in AP Mode (fast blinking), select the “Can’t connect?” option. The app will then guide you through a few extra steps, including connecting your phone to a temporary hotspot that the bulb creates.
Step 6: Reconnect to Wi-Fi
Once you reach the Wi-Fi setup stage, you’ll be prompted to enter your Wi-Fi network password. This step is crucial—make sure you’re connecting to a 2.4GHz network, as Merkury bulbs do not support 5GHz bands.
Also, ensure that your smartphone is connected to the same 2.4GHz Wi-Fi network. If possible, disable mobile data temporarily to avoid interference during the setup process.
After entering the password, give the app a moment to sync with the bulb. You should see a confirmation message once the connection is successful.
Step 7: Rename and Finalize
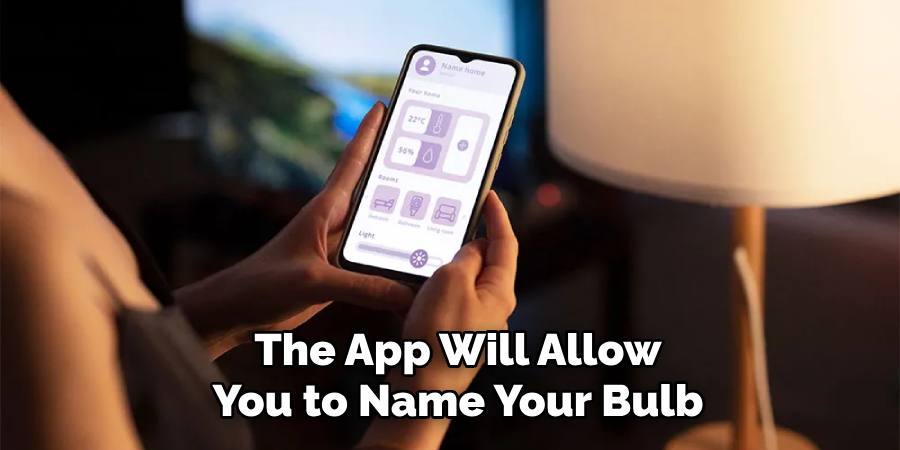
Once the pairing process is complete, the app will allow you to name your bulb. This is especially helpful if you have multiple smart devices in your home. Use clear and unique names like “Living Room Lamp”, “Desk Light”, or “Porch Bulb”.
After naming the device, test it to confirm the setup worked. Use the Geeni app to toggle the bulb on and off, adjust brightness, or change colors (if supported). If you’ve integrated your Geeni account with Alexa or Google Assistant, you can also test voice control at this point.
By following these steps carefully, you can reset and reconnect your Merkury light bulb with ease.
Troubleshooting Common Issues
Even with the correct procedure, you might run into a few issues. Here’s how to handle them:
Bulb Doesn’t Blink After Reset Steps: This is often caused by incorrect timing during the on/off cycles. Make sure you’re pausing long enough between toggles. If the bulb still doesn’t blink, try a different socket or lamp.
Bulb Not Found by App: Double-check that your phone is connected to a 2.4GHz Wi-Fi network. Temporarily disable mobile data, as it may interfere with the pairing process.
Stuck in Pairing Mode: If the bulb continues blinking but won’t connect, try resetting it again. Also, restart your phone and the Geeni app.
Voice Assistant Won’t Detect Bulb: Ensure your Geeni account is linked properly to Alexa or Google Home. Also, make sure the bulb’s name is easy to pronounce and doesn’t include symbols or numbers that might confuse the assistant.
Light Flickers Constantly After Reset: This may indicate a firmware issue or an incompatible dimmer switch. Reset the bulb again, and check for firmware updates in the Geeni app.
Maintaining Your Merkury Light Bulb Post Reset
Once your bulb is reset and functioning properly, here are a few tips to keep it running smoothly:
Keep the Firmware Updated: The Geeni app will notify you if a firmware update is available. Keeping the firmware current to ensure better performance and bug fixes.

Label Your Bulbs by Room or Function: This makes it easier to control them via voice commands or when setting up automated schedules.
Avoid Using with Dimmers: Merkury bulbs are not compatible with most dimmer switches. Use standard on/off switches to prevent flickering or connectivity issues.
Frequently Asked Questions
Q: How do I know if my Merkury bulb has been successfully reset?
Ans: If the bulb blinks—either slowly or rapidly—after the reset cycle, it means the reset was successful, and the bulb is ready for pairing.
Q: Do I need to reset the bulb if I just moved it to another room?
Ans: No, if it’s still on the same Wi-Fi network, just plug it in and use it. Resetting is only required when changing networks or if the bulb stops responding.
Q: Can I reset my Merkury light bulb without the app?
Ans: Yes, the physical reset process using the switch does not require the app. The app is only needed for pairing and controlling the bulb afterward.
Q: Why does my bulb not connect to Wi-Fi after reset?
Ans: Make sure your router is set to 2.4GHz, the signal is strong, and the bulb is blinking to indicate pairing mode.
Q: What should I do if the bulb keeps resetting on its own?
Ans: This might be due to a faulty socket or unstable power supply. Try another fixture and avoid using smart plugs with active schedules.
Conclusion
Resetting a Merkury light bulb might seem intimidating at first, but it’s actually a quick and efficient process. All it takes is a few power cycles and a little patience. By looking for the blinking pattern and using the Geeni app for reconnection, you can restore full control over your smart lighting setup in minutes.
Whether you’re dealing with a connectivity issue or preparing the bulb for a new user, a factory reset is the best way to start fresh. Bookmark this guide so you have it handy the next time your bulb acts up.
For more smart lighting guides, how-tos, and product recommendations, visit Lightorix.com—your trusted source for fixing and upgrading modern lighting solutions.