Sealing a headlight is a crucial maintenance task that ensures the longevity and performance of your vehicle’s lighting system. Over time, headlights can develop gaps and cracks due to exposure to weather conditions, vibrations, or aging materials.
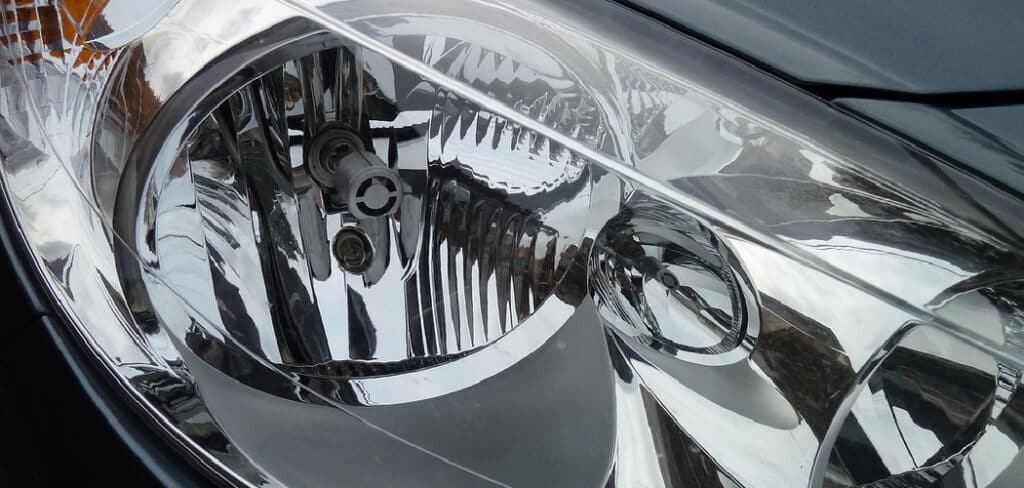
This can lead to several problems, such as moisture buildup inside the housing, reduced visibility at night, and even electrical damage that affects the car’s lighting system. Fortunately, sealing a headlight is a simple DIY process that can prevent these issues and extend the life of your headlights.
By properly sealing your headlights, you can maintain clear visibility, prevent internal damage, and ensure safety while driving. In this guide, we will walk you through the process on how to seal a headlight and covering the necessary tools, materials, and techniques to get the job done efficiently.
Understanding the Need for Sealing Headlights
Why Do Headlights Need Sealing?
Headlights are exposed to various environmental factors that can lead to deterioration over time. Sealing your headlights is essential for the following reasons:
- Prevents Water and Moisture Entry: Moisture inside the headlight can cause fogging, reduce brightness, and even lead to mold or mildew.
- Stops Dirt, Dust, and Debris from Entering: Dust buildup inside the housing can affect the performance of the light and reduce clarity.
- Maintains Brightness and Visibility: A well-sealed headlight ensures that the light output remains strong and unobstructed.
- Protects Internal Electrical Components: Sealing prevents water from reaching the wiring and connectors, reducing the risk of electrical failures.
Common Signs of a Headlight That Needs Sealing
If you notice any of the following issues, your headlights likely need to be sealed:
- Foggy or Cloudy Headlight Lens: This is a sign of trapped moisture inside the headlight housing.
- Water Droplets or Condensation Inside the Housing: Indicates that water has entered through a gap or crack.
- Visible Cracks or Separation in the Headlight Assembly: Any visible damage can lead to leaks and require immediate sealing.
- Reduced Light Output at Night: Water and dirt inside the headlight can block the light beam, making nighttime driving dangerous.
- Electrical Issues like Flickering or Dimming Lights: If moisture reaches the wiring, it can cause inconsistent lighting performance.
Tools and Materials Required
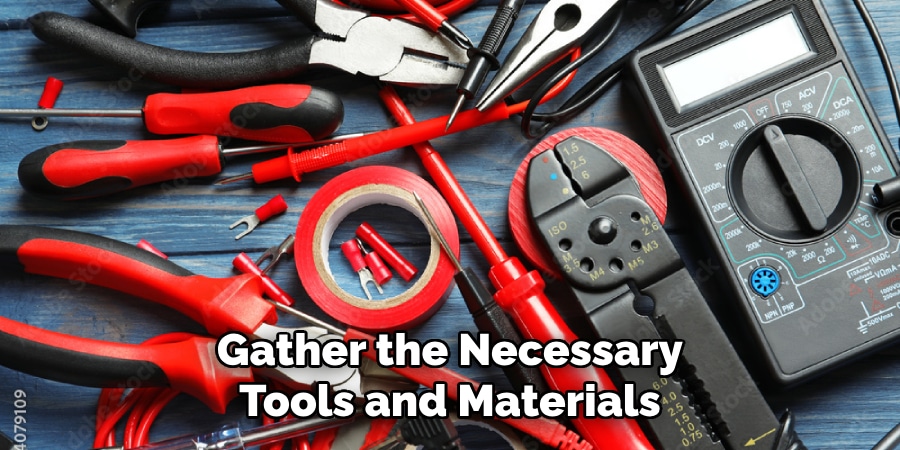
Essential Tools
To effectively seal a headlight, you’ll need the following tools:
- Flathead Screwdriver or Trim Removal Tool: Helps remove the headlight assembly without damaging surrounding parts.
- Heat Gun or Oven: Softens the old sealant, making it easier to separate the headlight housing.
- Razor Blade or Utility Knife: Used to remove the old sealant.
- Clamps: Helps hold the headlight together while the new sealant cures.
Recommended Materials
To ensure a long-lasting seal, use these materials:
- High-Quality Silicone Sealant (Automotive-Grade): Provides a strong and durable seal that withstands weather conditions.
- Rubber Butyl Sealant (Optional): Known for its excellent adhesion and flexibility, making it a great alternative to silicone sealant.
- Isopropyl Alcohol: Cleans the sealing surface to ensure proper adhesion.
- Microfiber Cloths: Helps in cleaning and drying the headlight before sealing.
- Protective Gloves: Keeps hands safe from adhesives and chemicals.
6 Easy Steps on How to Seal a Headlight
Over time, headlights can develop leaks due to worn-out seals, leading to moisture buildup inside the assembly. This can cause fogging, reduced visibility, and even damage to internal components. To prevent these issues, resealing your headlights is essential. Below is a detailed, step-by-step guide on how to effectively seal a headlight to restore its integrity and functionality.
Step 1: Removing the Headlight Assembly
The first step is to remove the headlight assembly from the vehicle to gain better access to the housing. Open the hood and locate the mounting bolts that secure the headlight in place. Use a screwdriver or socket wrench to carefully unscrew and remove the bolts.
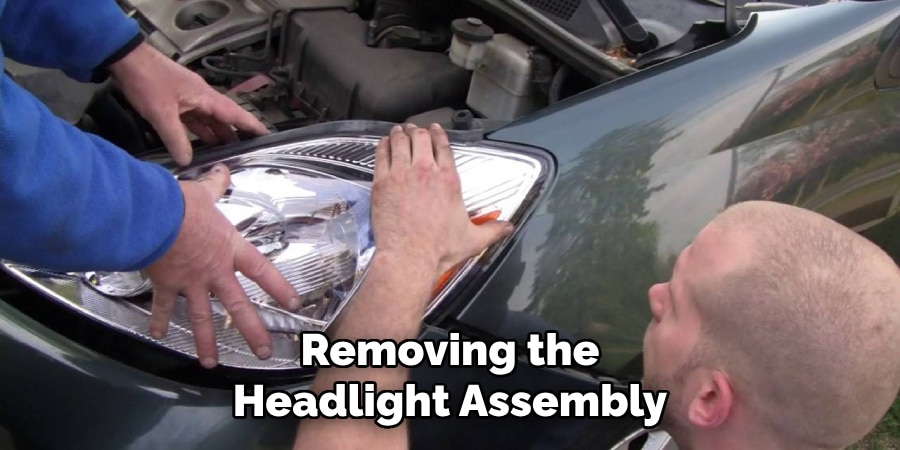
Gently pull out the headlight assembly while being cautious not to damage the attached wiring. If the headlight is difficult to remove or is permanently fixed, you may have to seal it while it remains attached to the vehicle. However, removal is recommended for better results.
Step 2: Separating the Headlight Housing
To apply new sealant, you need to separate the headlight lens from the housing. If the headlight has a factory seal, preheat an oven to approximately 250°F (120°C) and place the headlight inside for about 10 minutes to soften the adhesive. Alternatively, you can use a heat gun to evenly warm the edges of the headlight where the sealant is located. Once the adhesive is softened, use a screwdriver or plastic trim tool to gently pry apart the headlight lens from the housing. Completely remove any old sealant residue using a plastic scraper or rubbing alcohol to ensure a clean surface for the new application.
Step 3: Cleaning the Headlight Sealing Area
Before applying a new sealant, thoroughly clean the edges of the headlight to ensure a proper bond. Remove any dirt, debris, or old adhesive remnants using a microfiber cloth. Wipe the edges with isopropyl alcohol to eliminate grease, oil, or moisture. Allow the headlight to dry completely before moving on to the next step to prevent trapping moisture inside.
Step 4: Applying the New Sealant
Selecting the right sealant is crucial for a long-lasting, waterproof seal. Choose between silicone sealant (waterproof and highly durable) or butyl sealant (flexible and heat-resistant, often preferred for automotive applications). If using butyl sealant, slightly warm it with a heat gun to enhance adhesion. Apply a continuous, even bead of sealant along the entire perimeter of the headlight housing. Make sure there are no gaps, air pockets, or inconsistencies, as these could lead to future leaks.
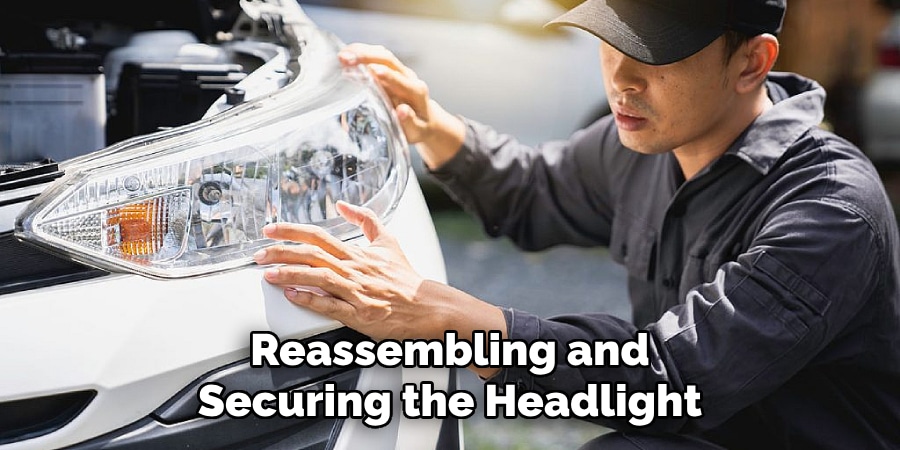
Step 5: Reassembling and Securing the Headlight
After applying the sealant, it’s time to put the headlight back together. Press the two halves of the headlight firmly together. Use clamps or heavy objects to apply pressure and ensure a tight seal. Let the sealant cure for the recommended time as per the manufacturer’s instructions (typically 24 hours). If necessary, apply an additional thin layer of sealant around the edges for extra protection against leaks.
Step 6: Reinstalling the Headlight on the Vehicle
Once the sealant has fully cured, reinstall the headlight assembly. Carefully place the headlight back into its original position. Secure it by tightening the mounting bolts using a screwdriver or wrench. Reconnect the wiring harness, ensuring all electrical connections are properly attached. Test the headlights by turning them on to confirm they are working correctly. Once everything is in place, close the hood and enjoy your newly sealed headlights!
Final Thoughts
Properly sealing a headlight prevents moisture buildup, protects internal components, and extends the lifespan of the assembly. Whether your headlight has developed condensation issues or you’re performing preventive maintenance, following these six simple steps will ensure a reliable, waterproof seal. Taking the time to complete this process can save you from expensive replacements and improve nighttime visibility for safer driving.
Additional Tips for a Long-Lasting Seal
To ensure a durable and effective seal, always use high-quality automotive-grade sealant. When separating the headlight housing, avoid excessive heat to prevent plastic deformation. Regularly inspect your headlights for any signs of moisture buildup or leaks and reseal them promptly if needed. If condensation forms inside the headlight, identify potential gaps or cracks and apply extra sealant to prevent further issues. Proper maintenance and timely resealing will help extend the lifespan of your headlights.
Common Mistakes to Avoid
- Using household silicone sealant instead of automotive-grade sealant.
- Failing to clean the sealing surface properly before applying the new sealant.
- Overheating the headlight housing, leading to plastic distortion.
- Applying too little or uneven sealant, resulting in leaks.
- Rushing the drying process—always allow adequate curing time.
Frequently Asked Questions
Q: What is the best way to remove old sealant from headlights?
Ans: A heat gun or oven can soften the old sealant, and a razor blade or utility knife can help remove the residue.
Q: How long does the sealant take to dry?
Ans: Most automotive sealants require at least 24 hours to fully cure. Always follow the manufacturer’s instructions for best results.
Q: How do I know if my headlight needs to be sealed?
Ans: Common signs include condensation inside the lens, reduced light output, visible cracks or gaps, and flickering or dimming lights.
Q: Will sealing my headlights prevent them from fogging up?
Ans: Yes, properly sealing headlights prevents moisture buildup, which is the main cause of fogging inside the lens.
Q: How often should I check and reseal my headlights?
Ans: It’s a good practice to inspect headlights every few months, especially after heavy rain or car washes, and reseal them as needed.
Conclusion
Sealing a headlight is a straightforward yet essential task that enhances visibility and protects the internal components from damage. By following the step-by-step guide outlined above, you can effectively seal your headlights and prevent issues caused by moisture and dirt. A well-sealed headlight ensures better performance, safety, and longevity.
To maintain your headlights, periodically inspect them for potential leaks and reseal them if necessary. Investing a little time in proper sealing can save you from costly repairs and replacements in the future. Stay proactive and ensure your headlights remain clear and fully functional!