Sengled is a well-known name in the smart lighting world—and for good reason. The brand has earned a reputation for creating reliable, affordable, and smart-home-compatible light bulbs that work seamlessly with platforms like Alexa, Google Assistant, and SmartThings.
Whether you’re new to smart lighting or expanding your current setup, Sengled offers great value and performance. Why do users love Sengled bulbs? It’s simple. They offer easy voice control, energy efficiency, remote access, and automation options that make home lighting both convenient and futuristic.
However, things can get a little confusing when it comes time to actually set them up. That’s because Sengled offers different types of smart bulbs—Wi-Fi, Bluetooth, and Zigbee—and each type has a slightly different setup process.
This article provides a comprehensive guide on how to setup sengled light bulb effectively. You’ll learn how to install the bulb, connect it to the app, pair it with Alexa or Google, fix common issues, and discover the best products to buy for your smart home.
Tools and Items You Might Need
To get started with setup, make sure you have the following:
- A smartphone or tablet with the Sengled Home App installed.
- A 2.4GHz Wi-Fi network.
- A smart assistant hub like Alexa, Google Assistant, or SmartThings.
- A Sengled Smart Hub if you’re using Zigbee bulbs and don’t have a Zigbee-compatible Echo/SmartThings.
- A compatible light socket.
- Power supply to the bulb.
Know Your Sengled Bulb Type
Before you jump into setup mode, it’s important to figure out which kind of Sengled bulb you have. Sengled bulbs three main types: Wi-Fi, Zigbee, and Bluetooth.
Wi-Fi Bulbs
These bulbs connect directly to your home’s 2.4GHz Wi-Fi network.
- No hub is required.
- Ideal for small setups or users who don’t want to invest in a smart home hub.
- Great for apartments, dorms, or those starting out with smart lighting.

Zigbee Bulbs
These bulbs need a compatible smart hub to function, such as the Sengled Hub, Samsung SmartThings, or an Echo device with Zigbee support.
- Offer faster and more stable connections.
- Ideal for larger smart homes or setups with many devices.
- Work well for routines and automation.
Bluetooth Bulbs
These connect directly to your phone or Alexa device via Bluetooth.
- Perfect for single-room setups.
- Can work without Wi-Fi.
- Useful in dorms, offices, or places with poor internet connectivity.
How to Identify Your Bulb Type
To check your bulb type:
- Look at the packaging or bulb label for product information.
- Common models: Sengled Smart Wi-Fi LED A19, E11-G13 (Zigbee), etc.
- Still unsure? Google the product number or scan the barcode on the box.
Easy Guide on How to Setup Sengled Light Bulb
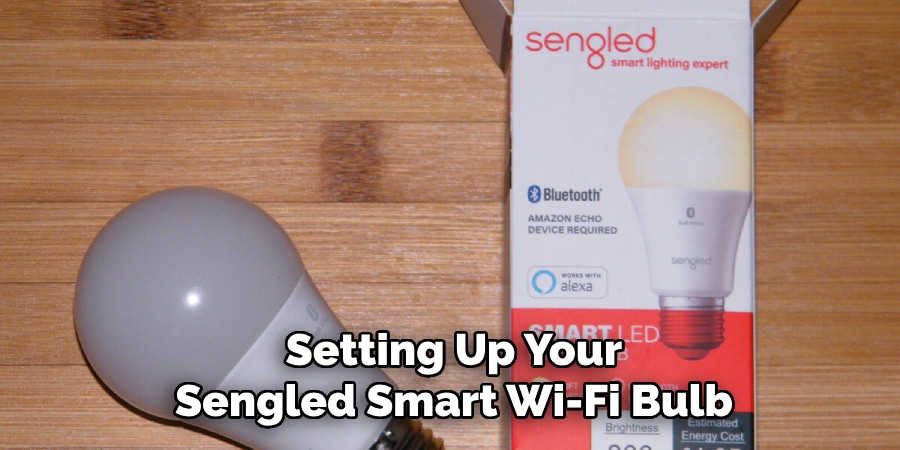
Setting up your Sengled Smart Wi-Fi bulb is simple, but following each step carefully ensures a smooth and successful installation. Here’s a detailed guide to help you:
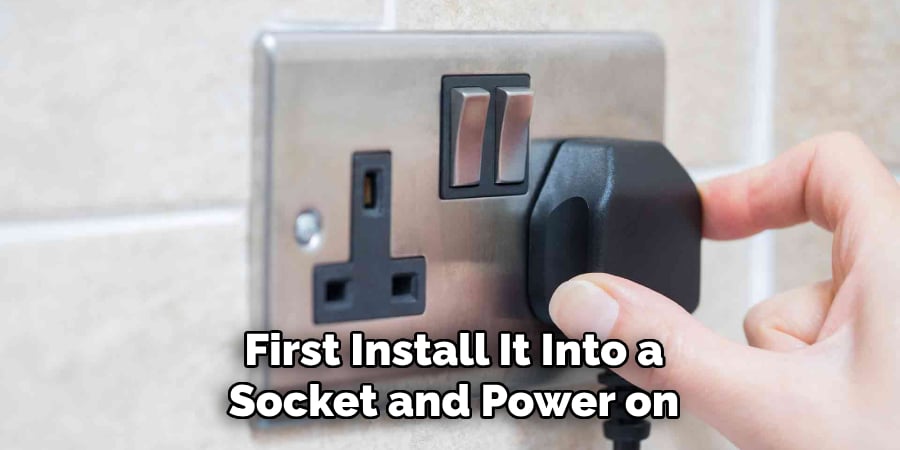
1. Install the Bulb
Start by screwing the Sengled Smart Wi-Fi bulb securely into a working light socket. Once installed, turn on the light switch. Make sure the power is stable, as the bulb needs continuous power to enter pairing mode. A properly installed bulb is the foundation for a successful setup.
2. Wait for the Bulb to Blink
After switching it on, observe the bulb. It should start blinking automatically within a few seconds, indicating that it is in pairing mode and ready to connect.
If the bulb doesn’t blink right away, don’t worry. Simply reset the bulb manually by quickly toggling the light switch on and off 10 times. After completing this reset process, the bulb should begin blinking, signaling that it’s ready for the next step.
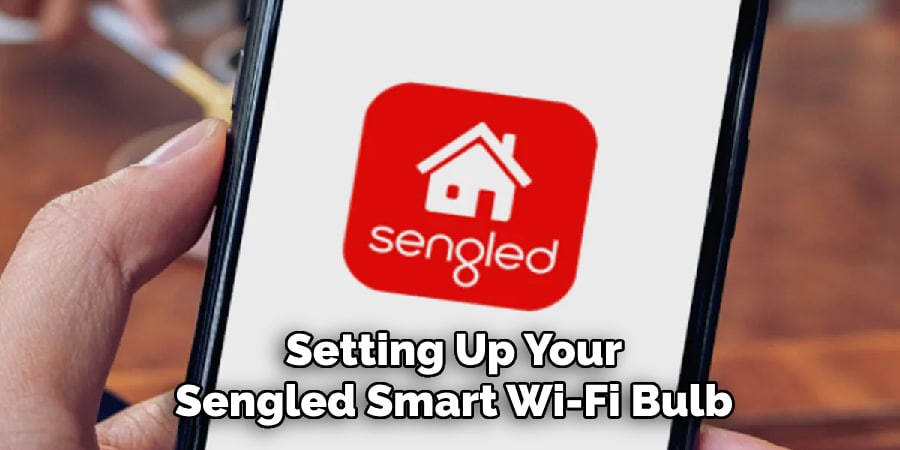
3. Open the Sengled Home App
Download the Sengled Home app from the App Store (iOS) or Google Play Store (Android) if you haven’t already. Open the app on your smartphone or tablet. This app is essential for managing and controlling your Sengled smart devices.
4. Log In or Create an Account
When you open the Sengled Home app, you will be prompted to either log in or create a new account.
- If you already have a Sengled account, simply log in with your credentials.
- If you’re new to Sengled, take a moment to create an account by providing your email address and setting a secure password.
An account is necessary to save your devices, settings, and schedules.
5. Add Your Device
Inside the app, tap on “Add Device.” You will see a list of product categories — select “Smart Wi-Fi Bulb.” This tells the app exactly which type of product you are trying to set up, allowing it to guide you through the specific connection process.
6. Connect to Wi-Fi
For the bulb to function properly, it must be connected to your 2.4GHz Wi-Fi network. Sengled Smart Wi-Fi bulbs do not support 5GHz networks, so be sure your mobile device is connected to 2.4GHz during setup.
If you’re unsure whether you’re on the right band, you can check your router’s settings or your phone’s Wi-Fi details.
7. Follow On-Screen Instructions
Once you’ve selected the correct device type, the app will walk you through the setup process step-by-step. Carefully follow the on-screen instructions to pair the bulb with your Wi-Fi network.
This may involve selecting your Wi-Fi network, entering the password, and confirming the connection. Be patient — the bulb may take a moment to complete the pairing.
8. Name Your Bulb and Assign It to a Room
After the connection is successful, you’ll be prompted to name your bulb. Choose a name that makes sense to you, such as “Bedroom Lamp,” “Living Room Light,” or “Desk Light.”
Additionally, you can assign the bulb to a specific room within the app. This organization helps when you want to control multiple smart devices via the app or using a voice assistant like Amazon Alexa or Google Assistant.
By carefully following these steps, your Sengled Smart Wi-Fi bulb will be ready to use, offering you convenient app control, scheduling, and voice commands!
Setting Up Sengled Bluetooth Bulbs
Using Alexa Devices with Bluetooth
- Screw in the bulb and power it on.
- Open the Alexa app > Devices > Add Device > Light > Sengled.
- Choose Bluetooth as the connection type or let Alexa scan for it.
- Once detected, assign a name and group.
Without Alexa
- Some Bluetooth models support basic control through the Sengled app.
- Features like remote access or advanced automations may not be available.
Limitations
- Limited to Bluetooth range (~30 ft).
- Cannot control the bulb remotely outside the Bluetooth zone.
Voice Assistant Integration
Amazon Alexa
- Open the Alexa app > Skills & Games > Search Sengled.
- Link your Sengled account.
- Control with voice commands like “Alexa, turn off bedroom light.”
Google Home
- Open the Google Home app > Add > Set up device > Works with Google.
- Search for Sengled, link your account, and sync devices.
Apple HomeKit (limited support)
- Only certain Sengled models support HomeKit directly or via hub.
- Use the Home app and scan the QR code from the box.
Automation Ideas
- Create routines like “Turn on lights at sunset.”
- Group lights: “Living Room” group controls multiple bulbs at once.
Troubleshooting Common Setup Problems
To set up your Sengled light bulb, first install it into a socket and power it on. Download the Sengled Home app and create or log into your account. Select “Add Device” and follow the on-screen instructions. If the bulb doesn’t connect, ensure Bluetooth is enabled and you’re on a 2.4GHz Wi-Fi network.
Reset the bulb by turning it off and on quickly five times until it flashes. Keep your phone close to the bulb during setup. If issues persist, reboot your router or reinstall the app. Make sure your app and device firmware are up to date.
Best Practices for Long-Term Use
After setting up your Sengled light bulb, ensure long-term performance by keeping the bulb connected to a stable 2.4GHz Wi-Fi network. Place your router nearby for a stronger signal. Regularly update the Sengled Home app and bulb firmware for new features and security fixes.
Avoid frequently turning the bulb off at the wall switch to maintain smart functionality. Instead, use the app or voice controls. If moving the bulb to a new socket, reset and reconnect it through the app. Protect bulbs from extreme temperatures and moisture to extend their lifespan and maintain optimal performance.
Frequently Asked Questions
Do I need a hub to set up my Sengled light bulb?
Ans: Some Sengled bulbs need a hub; Wi-Fi models connect directly without one. Check your bulb’s specifications before setting up.
Can I use Sengled bulbs outdoors?
Ans: Only specific Sengled bulbs are outdoor-rated. Indoor models are not weather-resistant, so always check the packaging before using bulbs outside.
Q: How many bulbs can I control with the Sengled app?
Ans: You can control many bulbs, depending on your Wi-Fi strength and router capacity. Good network strength ensures smooth operation without disconnections or lag.
Q: Why does my bulb keep disconnecting?
Ans: Weak Wi-Fi signals or interference may cause disconnections. Move your router closer to the bulb or install a Wi-Fi extender to boost the signal.
Q: Do I need to update my Sengled bulb?
Ans: Yes, updating the firmware through the Sengled Home app helps improve the bulb’s performance, add features, and fix possible security vulnerabilities.
Conclusion
Setting up a Sengled light bulb might seem tricky at first—but once you know what type of bulb you’re working with and follow the right steps, it becomes super easy. Whether it’s a Wi-Fi, Zigbee, or Bluetooth model, Sengled gives you the flexibility to build the smart lighting setup that works best for your home.
With this guide, you now have everything you need—from installation to app control, to voice assistant integration and troubleshooting tips. Don’t forget to check out our recommended products to take your lighting to the next level.
Let your lights do more—with less hassle.