Drop ceiling lighting, common in offices, basements, and schools, holds fixtures in a suspended grid, allowing easy access to wiring. If your setup still uses outdated fluorescent panels, it’s time for an upgrade.
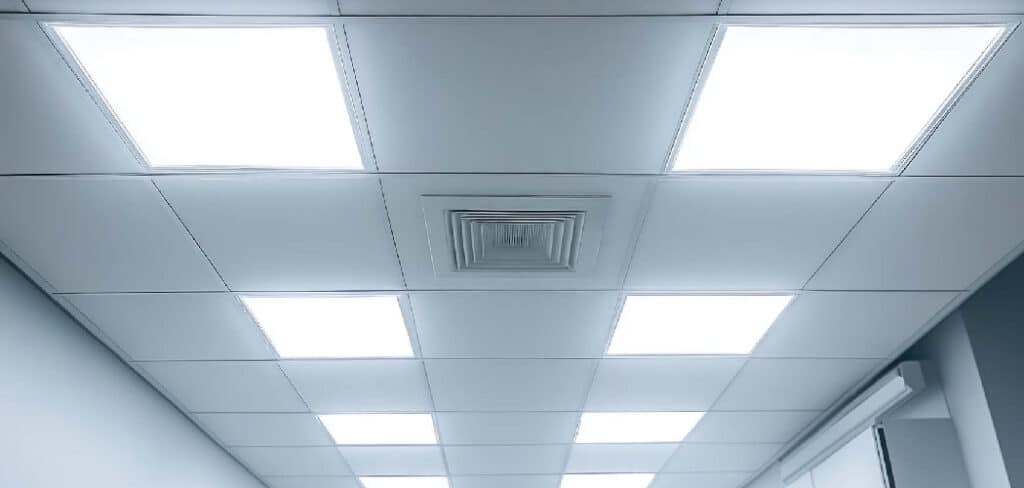
Modern options like LED panels, recessed lights, and smart systems improve energy efficiency, cut utility costs, and enhance room aesthetics. Whether you’re renovating a home office or refreshing a classroom, updated lighting offers better performance and a sleek, modern look.
This article provides a comprehensive guide on how to update drop ceiling lighting effectively, covering everything from choosing the right fixtures to installing and maintaining them. With the right approach, you can transform your space with safer, smarter, and more efficient ceiling lighting.
Benefits of Updating Drop Ceiling Lighting
Updating drop ceiling lighting brings energy savings, better aesthetics, and modern convenience. LED fixtures use less power, emit less heat, and last longer than old fluorescent lights—reducing utility costs and maintenance. Their sleek designs and color options improve ambiance and visibility, making them ideal for workspaces or living areas.
Smart LEDs add automation features like dimming, motion sensing, and app control for added efficiency. Plus, they’re safer—producing minimal heat and containing no hazardous mercury. Overall, upgrading your drop ceiling lighting modernizes the space, improves safety, and delivers lasting performance with less hassle.
Types of Drop Ceiling Lighting Options
Drop ceiling lighting options vary based on room function and style. LED flat panels are thin, efficient, and fit standard 2×2 or 2×4 grids—ideal for even light distribution. LED troffers, once fluorescent-based, now use LEDs in edge-lit or back-lit styles for uniform brightness.
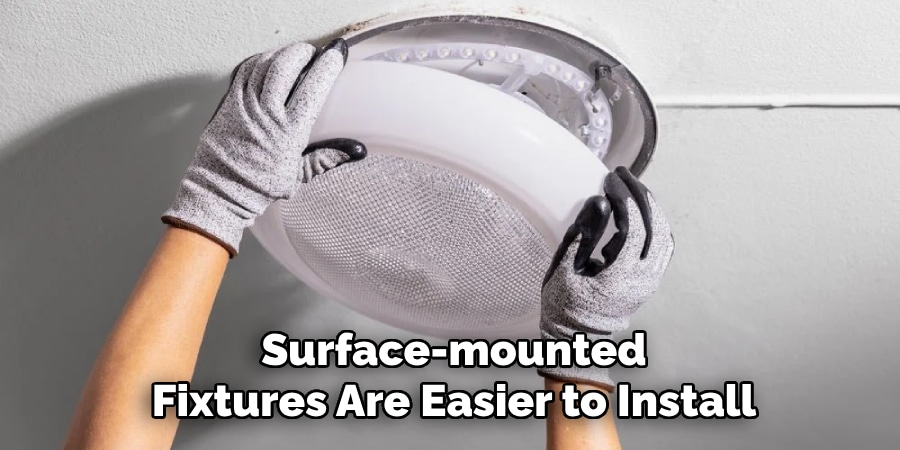
For a modern look, recessed can lights retrofit into ceiling tiles and offer a sleek, downward-focused glow. Surface-mounted fixtures are easier to install and suit decorative or task-specific lighting needs without major grid changes.
Finally, smart LED panels combine energy efficiency with remote control, voice assistant compatibility, and scheduling features—perfect for tech-savvy users. Each type enhances both function and aesthetics depending on your needs.
Tools and Materials Needed
Having the right tools can make the updating process much smoother. Here’s a list of essential items you’ll need for safely removing, packing, and reinstalling your LED lights:
- LED replacement panels or desired fixtures
- Screwdriver (flathead and Phillips)
- Wire strippers
- Voltage tester
- Ladder
- Safety gloves and glasses
- Junction box or mounting brackets
- Wire nuts or push connectors
- Tape measure
Safety Precautions Before You Start
Before diving into installation, safety should be your top priority. Begin by shutting off the power at the circuit breaker to avoid electric shock. Use a voltage tester to ensure no live current is running through the wires you’ll be handling.
Always practice proper ladder safety—set the ladder on a stable surface and never overreach. It’s also a good idea to have someone assist you, especially when lifting or balancing light fixtures. Lastly, be gentle when handling ceiling tiles, as they can be fragile and may break or dislodge debris if mishandled.
7 Easy Steps on How to Update Drop Ceiling Lighting
With proper tools and planning, this guide helps improve your lighting layout and accessibility through clear, step-by-step instructions.
Step 1: Evaluate Existing Setup
Before starting your drop ceiling lighting update, it’s essential to thoroughly evaluate your current lighting setup. Begin by counting how many light fixtures you have installed in the ceiling grid and measure the dimensions of the ceiling tiles where these fixtures are placed. Most drop ceiling tiles come in standard sizes of either 2×2 feet or 2×4 feet, so knowing these measurements ensures your new fixtures will fit correctly without needing major modifications.
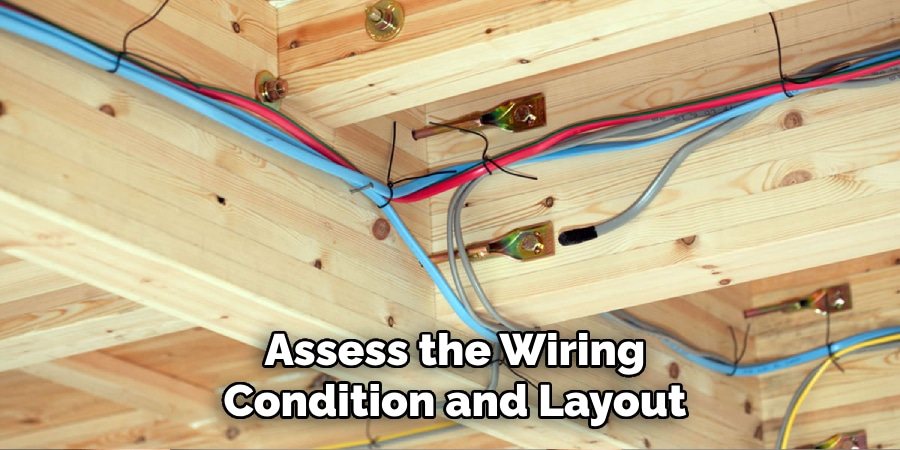
Next, assess the wiring condition and layout. Check if your existing wiring is up to code, free from damage, and capable of supporting modern lighting technology like LEDs. If your wiring is outdated or appears unsafe, consider consulting an electrician before proceeding. Understanding your current setup helps you decide the type and size of replacement fixtures that will work best for your space, ensuring a smooth upgrade process.
Step 2: Select Suitable Fixtures
With your assessment complete, it’s time to choose the right lighting fixtures for your drop ceiling. Today’s market offers various modern options, including LED flat panels, LED troffers, and recessed can lights designed specifically for suspended ceilings.
When selecting fixtures, consider key factors such as brightness, measured in lumens, which determines how much light the fixture will emit. You’ll also want to choose an appropriate color temperature, expressed in Kelvin (K). For example, 2700K to 3000K produces warm white light, ideal for cozy spaces, while 4000K to 5000K offers daylight-balanced light, better suited for offices or task areas.
Additionally, think about whether you want manual switches or smart lighting systems that offer features like dimming, motion detection, or app control. Lastly, ensure the fixtures you pick are compatible with your ceiling grid size and electrical load to prevent any installation issues.
Step 3: Turn Off Power and Remove Old Lights
Safety comes first in any electrical project. Before handling your existing fixtures, switch off the power supply at the circuit breaker panel that controls the lighting circuit. Use a voltage tester to double-check that no electricity is flowing to the fixtures you will be removing.
Once power is safely off, carefully remove the ceiling tiles that house the old fixtures. Unscrew the old lights and gently disconnect their wiring using a screwdriver or pliers as needed. It’s important to handle the ceiling tiles with care—they can be fragile and prone to breaking. Store the removed fixtures and tiles in a safe place for recycling or disposal later.
Step 4: Inspect and Prepare Wiring
With the old fixtures removed, take a close look at the wiring. Inspect for any signs of wear, such as frayed wires, cracks, or discoloration. Damaged wiring can cause poor connections or even electrical hazards, so replace or repair any compromised sections before proceeding.
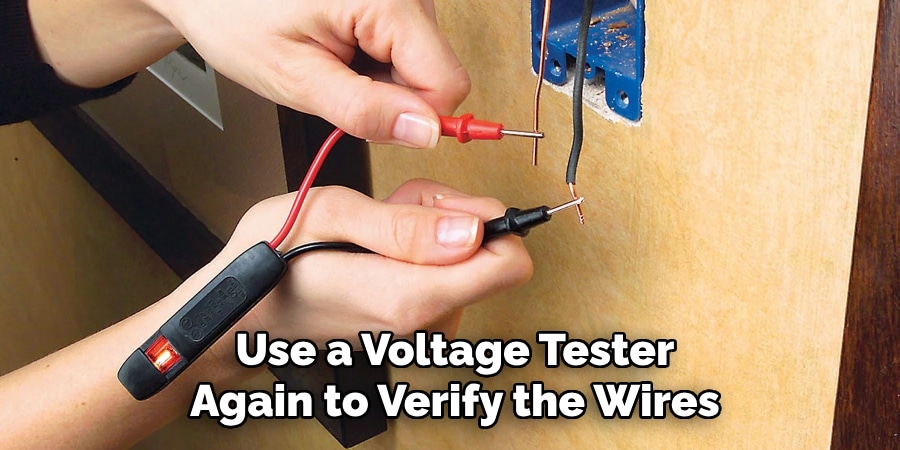
Use a voltage tester again to verify that wires are completely de-energized. If the wire ends are old or dirty, strip a small section of insulation to expose clean copper for the new connections. Clean, secure wiring is critical for reliable fixture operation and long-term safety.
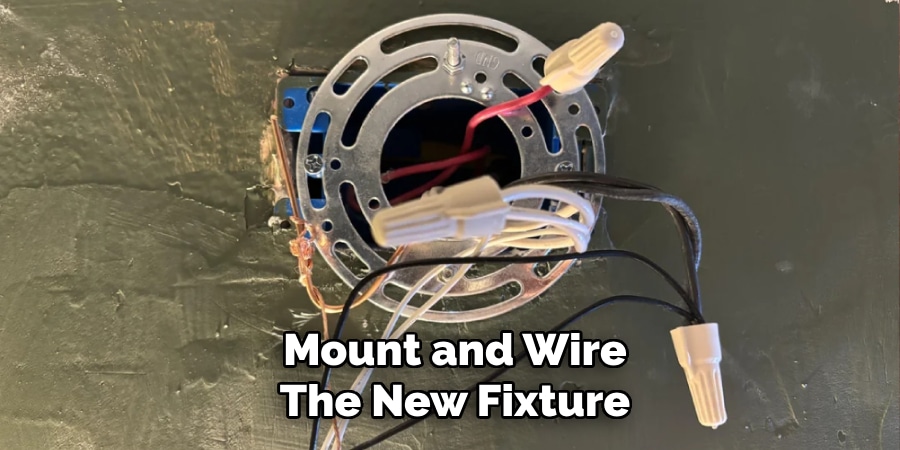
Step 5: Mount and Wire the New Fixture
Next, prepare to install your new light fixture. Some LED panels or recessed lights require additional mounting hardware such as brackets or hanging kits to fit securely within the ceiling grid. Follow the manufacturer’s instructions carefully to install any supports necessary to keep the fixture level and stable.
Now, connect the wiring. Match the fixture’s black (live) wire to the ceiling’s black wire, the white (neutral) wire to the white wire, and the green or bare copper wire to the grounding wire. Use wire nuts or push-in connectors to secure each connection tightly, then tuck the wires neatly into the junction box or ceiling space to prevent pinching.
Step 6: Install and Test Fixture
Once wired, carefully place the fixture back into the ceiling grid opening. Make sure it fits snugly and lies flush with surrounding tiles. Use clips, screws, or brackets included with the fixture to stabilize it and prevent sagging.
After securing the fixture, restore power at the breaker panel. Turn on the light and test it to ensure it operates correctly. If your fixture has dimming capabilities or smart features, test these functions now to confirm compatibility and smooth operation. Troubleshoot any issues with wiring or controls before finalizing the installation.
Step 7: Final Adjustments and Repeat
Finally, clean the lens or diffuser of your new fixture to remove fingerprints or dust that may have accumulated during installation. Reposition adjacent ceiling tiles as needed to maintain a uniform, professional look. Double-check that all fixtures are level and securely fastened.
Repeat these steps for each light fixture in your drop ceiling. For a cohesive and balanced lighting design, maintain consistent brightness and color temperature across all fixtures in the space. Proper planning and execution will result in an upgraded ceiling lighting system that is efficient, visually appealing, and ready to serve your space for years to come.
Troubleshooting Tips
If something goes wrong during or after the installation, here are a few quick troubleshooting steps to consider.
Light Doesn’t Turn On: Double-check the wiring, breaker switch, and fixture compatibility. Use your voltage tester to confirm power is reaching the wires.
Light Flickers: This could be caused by loose wiring, a faulty dimmer switch, or an incompatible bulb/fixture combination.
Fixture Sags or Doesn’t Fit: Make sure your ceiling grid is level and properly supported. Use additional brackets or crossbars if needed.
Uneven Lighting: Avoid mixing different brands or color temperatures. Stick with the same Kelvin rating and fixture style throughout the ceiling for even illumination.
Maintenance Tips After Installation
To ensure long-lasting performance, dust your fixtures regularly with a soft cloth. Every few months, inspect for any loose connections or signs of wear. If you plan on expanding your lighting later, buy the same brand and model to keep things consistent. And if your lights are smart-enabled, consider using surge protectors to safeguard against electrical spikes.
Frequently Asked Questions
Q: What type of lighting is best for a drop ceiling?
Ans: LED flat panels and LED troffers are the most efficient, reliable, and visually appealing options. They fit standard grid sizes and deliver excellent brightness.
Q: Can I install LED panels without rewiring?
Ans: Yes, in most cases. If your current wiring is standard and in good condition, you can usually install LED replacements without running new wires.
Q: How long do LED ceiling lights last?
Ans: Quality LED panels last between 30,000 to 50,000 hours, which translates to several years of operation even with daily use.
Q: Do I need an electrician to update drop ceiling lighting?
Ans: Not always. If you’re confident with basic electrical work and follow safety practices, it’s a manageable DIY project. For complex setups or smart integrations, hiring an electrician may be wise.
Q: Can drop ceiling lights be dimmable?
Ans: Absolutely. Many modern LED fixtures are dimmable, but you’ll need a compatible dimmer switch. Check the product specifications before installing.
Conclusion
Upgrading your drop ceiling lighting is one of the most impactful changes you can make to your space—whether it’s for work, study, or everyday living. You get enhanced aesthetics, better energy efficiency, and a safer, low-maintenance lighting solution. And the best part? With the right tools, some careful planning, and this step-by-step guide, you don’t need to be an expert to get professional-looking results.
As you consider your options, think long-term. Choose fixtures that align with your needs today and offer the flexibility for tomorrow. Whether it’s dimmable lights for your home office or smart panels for a high-tech workspace, updating your ceiling lights will brighten more than just your room—it’ll elevate your entire environment.