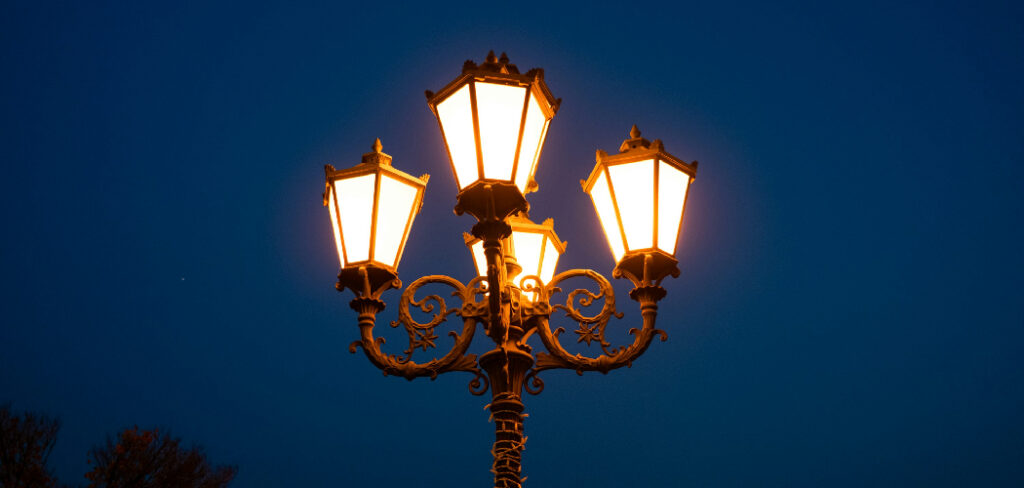
Outdoor lighting enhances both the aesthetics and functionality of your home, illuminating pathways, gardens, and security areas. However, exposure to harsh weather conditions like rain, snow, and humidity can damage these lights, leading to corrosion, electrical malfunctions, and potential safety hazards.
Without proper protection, moisture can seep into the wiring, causing short circuits or reducing the lifespan of your fixtures. In this guide, we will explore how to waterproof outdoor lights effectively, including sealing connections, using weatherproof enclosures, and choosing the right materials.
Whether you’re dealing with string lights, floodlights, or garden fixtures, these steps will help you protect your investment and avoid frequent replacements or costly repairs. With the right approach, you can enjoy a well-lit outdoor space regardless of the weather, enhancing both security and ambiance while ensuring your lighting system remains efficient and long-lasting.
Why Waterproofing Outdoor Lights is Essential
Protection from Water Damage
Outdoor lights are constantly exposed to moisture from rain, snow, and humidity. Without proper waterproofing, water can seep into the electrical components, causing rust, corrosion, and malfunctions. Over time, this damage can lead to flickering lights, reduced brightness, or even complete failure. By ensuring your outdoor lights are waterproof, you can extend their lifespan and maintain their efficiency in all weather conditions.
Enhancing Durability
Outdoor lighting fixtures are investments meant to last for years. However, exposure to moisture, dirt, and temperature fluctuations can deteriorate their quality. Waterproofing provides an extra layer of protection, reducing wear and tear. This means fewer replacements, saving you both time and money in the long run.
Safety Concerns
Water and electricity are a dangerous combination. Moisture intrusion in lighting fixtures can cause short circuits, leading to electrical hazards such as shocks, fires, or power failures. Waterproofing prevents water ingress, reducing these risks and making your outdoor space safer for family members and visitors.
Weatherproofing for Different Climates
Different regions experience varying weather conditions, from heavy rainfall to extreme cold. Waterproofing techniques, such as sealed enclosures and weather-resistant coatings, ensure that your lights remain functional regardless of climate changes, providing reliable illumination year-round.
Materials and Tools Needed for Waterproofing Outdoor Lights
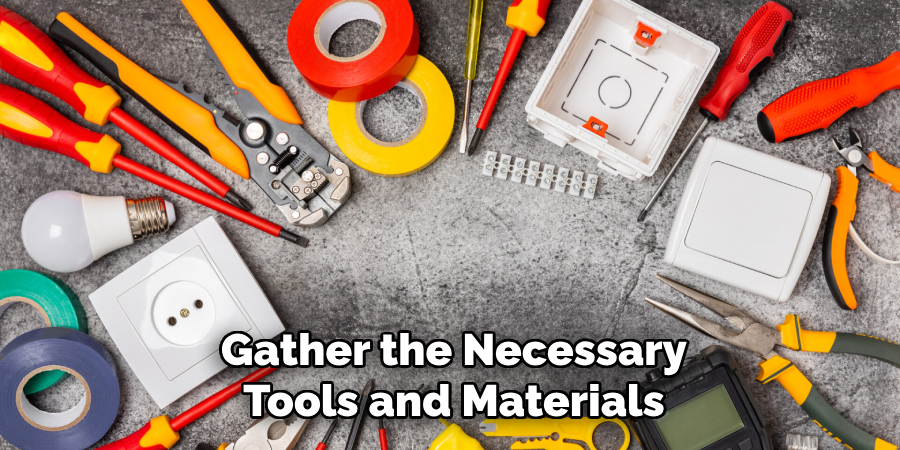
Before starting, gather the following items:
- Waterproof sealant
- Silicone tape or electrical tape
- Heat shrink tubing
- Waterproof covers or housings
- Caulking gun
- Electrical connectors or waterproof junction boxes
- Gloves and cleaning materials
Types of Outdoor Lights That Require Waterproofing
Landscape Lighting
Pathway, garden, and accent lights often face exposure to water, making waterproofing crucial.
String and Festive Lights
Holiday and decorative lights are prone to rain damage and should be properly sealed.
Floodlights and Spotlights
These high-intensity lights, used for security and illumination, must be well-protected against moisture.
Security and Motion-Sensor Lights
Since these lights are exposed to all weather conditions, sealing them properly ensures consistent functionality.
Solar-Powered Outdoor Lights
While many come with built-in weather resistance, additional waterproofing can extend their lifespan.
Decorative Patio and Balcony Lights
String lights, hanging lamps, and wall sconces need extra protection, especially in open spaces.
6 Easy Steps Guide on How to Waterproof Outdoor Lights
Follow this step-by-step guide to properly waterproof your outdoor lighting system.
Step 1: Prepare the Lights
Before you start waterproofing, it is essential to prepare your outdoor lights to ensure the process is effective.
- Turn Off the Power: Safety is the top priority when working with electrical components. Make sure to switch off the power from the main electrical panel before handling the lights. If the lights are plugged into an outlet, unplug them to prevent accidental electric shocks.
- Clean the Fixtures: Over time, dust, dirt, and debris accumulate on the light fixtures. Use a damp cloth or a mild detergent solution to wipe down the lights. For stubborn dirt, use a soft brush to remove buildup without damaging the fixture. Cleaning ensures that sealants adhere properly and that there are no gaps where water can seep in.
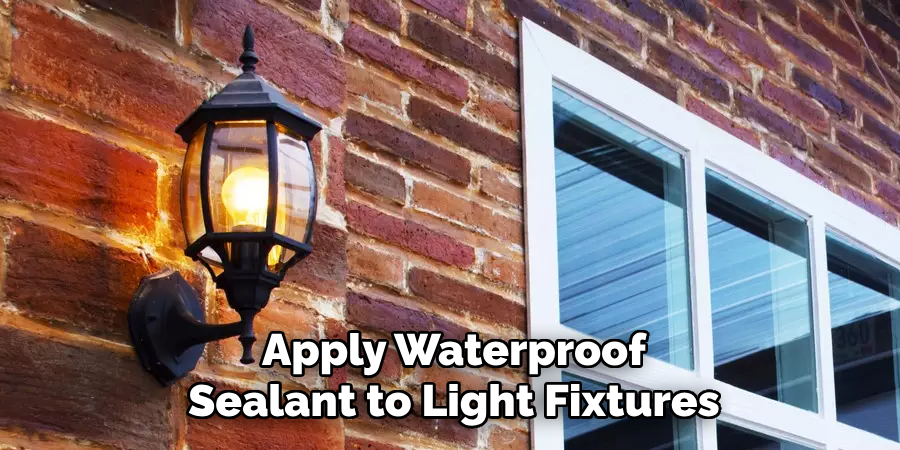
Step 2: Apply Waterproof Sealant to Light Fixtures
Applying a waterproof sealant prevents water from entering the light fixture, which can cause electrical shorts and rust.
- Choose the Right Sealant: Use a high-quality silicone-based waterproof sealant. Silicone is durable, resistant to extreme weather conditions, and provides a strong barrier against moisture.
- Seal Seams and Joints: Apply the sealant around seams, joints, and any visible gaps in the light fixture where water might enter. Focus on areas around the bulb socket and casing.
- Let It Dry Completely: Allow the sealant to dry for the recommended time before turning the lights back on. This ensures a proper bond and a watertight seal.
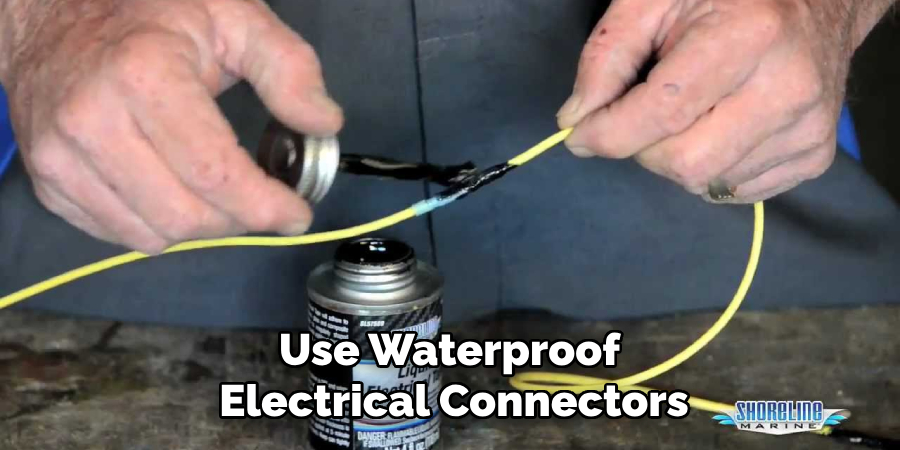
Step 3: Protect Electrical Connections
Electrical connections are one of the most vital parts of outdoor lights. If they are not properly protected, moisture can cause short circuits, corrosion, or even electrical fires.
- Use Waterproof Electrical Connectors: These specialized connectors are designed to keep water out of wire connections. Replace standard connectors with waterproof versions to enhance protection.
- Apply Heat Shrink Tubing: Cut a piece of heat shrink tubing slightly longer than the exposed wire. Slide the tubing over the connection, then use a heat gun to shrink it, forming a tight seal. This method adds an extra layer of waterproofing and prevents moisture from reaching the wires.
Step 4: Use Waterproof Covers or Housings
Protecting the entire fixture from rain, snow, and humidity extends its lifespan and improves efficiency.
- Choose Weatherproof Enclosures: Use outdoor-rated covers designed to withstand various weather conditions. Look for enclosures made of rust-resistant materials such as stainless steel or high-quality plastic.
- Ensure a Snug Fit: The cover should fit securely without obstructing light output. If necessary, use additional sealant around the edges to prevent water intrusion.
- Consider Glass or Acrylic Shields: These shields protect the bulbs while allowing maximum light dispersion. Make sure they are sealed tightly to the fixture.
Step 5: Seal the Power Source
The power source is another critical area that requires proper waterproofing.
- Wrap the Power Cord and Plug: Use electrical tape or silicone tape to wrap around the plug and exposed wiring. This creates a waterproof barrier that prevents moisture from seeping in.
- Use Outdoor-Rated Extension Cords: If you need an extension cord, ensure it is rated for outdoor use. These cords are designed with weather-resistant insulation to protect against moisture.
- Elevate the Connections: Avoid placing power connections directly on the ground where they can be exposed to puddles. Use mounting brackets or waterproof boxes to keep them elevated and dry.
Step 6: Test the Waterproofing
Once you have completed the waterproofing steps, it is important to test the effectiveness before leaving the lights exposed to the elements.
- Perform a Water Spray Test: Lightly spray water onto the fixture to simulate rain exposure. Observe if any water enters the sealed areas.
- Check for Moisture Intrusion: Open the fixture and inspect the interior for signs of moisture. If you notice dampness, reapply sealant and check for any missed gaps.
- Monitor Over Time: After installation, periodically check your outdoor lights for signs of water damage. Reapply waterproofing measures as needed to maintain protection.
Maintenance and Care After Waterproofing
Once you have waterproofed your outdoor lights, regular maintenance is essential to ensure they remain in top condition. Proper care helps extend their lifespan and maintain optimal performance, especially in harsh weather conditions.
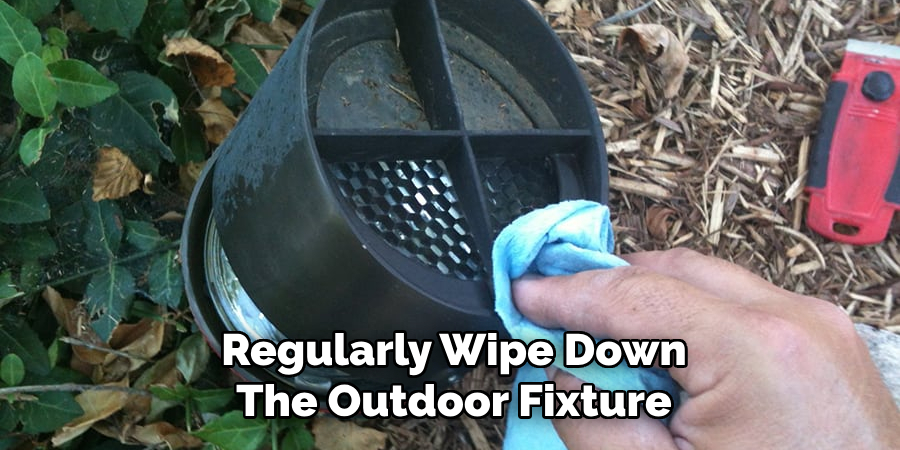
Regular Cleaning
Dirt, dust, and debris can accumulate on outdoor light fixtures, diminishing their brightness and effectiveness. Regularly wipe down the fixtures with a damp cloth and use a mild detergent to remove stubborn grime. Keeping them clean prevents blockages that could trap moisture and lead to long-term damage.
Inspect and Reapply Waterproofing
Over time, waterproofing materials such as sealants, rubber gaskets, and weatherproof covers may degrade. Inspect these components periodically, especially after heavy rainfall or extreme weather. Reapply waterproofing sprays, replace damaged seals, and ensure all connections remain secure to maintain water resistance.
Check for Wear and Tear
Outdoor lights are exposed to constant environmental stress. Look for cracks, rust, or exposed wiring that could compromise their waterproofing. Address any issues promptly to prevent further damage.
Proper Storage for Seasonal Lights
When not in use, store seasonal outdoor lights in a dry, temperature-controlled space. Use airtight containers to protect them from dust and moisture, ensuring they remain functional for future use.
Frequently Asked Questions
How do I know if my outdoor lights are waterproof?
Ans: Most outdoor lights come with an IP (Ingress Protection) rating that indicates their resistance to water and dust. Look for lights with an IP65 or higher rating for optimal waterproofing. Additionally, check for weather-sealed enclosures and rubber gaskets around electrical components.
Can I make my existing outdoor lights waterproof?
Ans: Yes, you can enhance the waterproofing of your outdoor lights by using waterproof sealants, weatherproof junction boxes, and rubber gaskets around connections. Additionally, applying silicone caulking to exposed areas and using heat shrink tubing over wiring can help keep moisture out.
How often should I check and maintain my waterproofed outdoor lights?
Ans: It’s recommended to inspect your outdoor lights at least once every few months, especially after heavy rain, snow, or storms. Regular maintenance includes cleaning the fixtures, checking seals, and reapplying waterproofing materials as needed.
What happens if water gets inside my outdoor light?
Ans: If water enters your light fixture, turn off the power immediately to prevent electrical hazards. Remove the fixture, dry it thoroughly, and inspect for damage. If necessary, replace any compromised parts and improve the waterproofing before reinstalling.
Are solar outdoor lights waterproof?
Ans: Most solar outdoor lights are designed to be waterproof, but their level of water resistance varies. Check the IP rating and ensure proper sealing around the solar panel and battery compartment to prevent water damage.
Conclusion
Waterproofing outdoor lights is essential for longevity, safety, and efficiency. By following the right techniques, you can prevent damage, reduce maintenance, and ensure your outdoor space remains well-lit in all weather conditions. Regular maintenance and using high-quality waterproofing materials will help extend the life of your lights.
For the best results, invest in quality waterproofing products and tools to keep your outdoor lighting in top shape for years to come.